The brake warning switch on your 1969 Ford Thunderbird plays a crucial role in your safety. It’s responsible for activating the brake lights when you press the pedal and alerting you to potential issues within the braking system. If you’re experiencing problems with your brake warning switch, this guide is here to help you diagnose and potentially fix the issue.
Common Symptoms of a Failing Brake Warning Switch
Before diving into troubleshooting, it’s essential to identify if the brake warning switch is the culprit. Here are some telltale signs:
- Brake lights stay on constantly: A faulty switch can get stuck in the “on” position, leading to your brake lights remaining illuminated even when the pedal is released.
- Brake lights don’t turn on: Conversely, if the switch fails in the “off” position, your brake lights won’t activate when you apply the brakes, creating a dangerous situation for you and other drivers.
- Erratic brake light behavior: Sometimes, the switch might malfunction intermittently, causing the brake lights to flicker or turn on and off unexpectedly.
Diagnosing the Problem
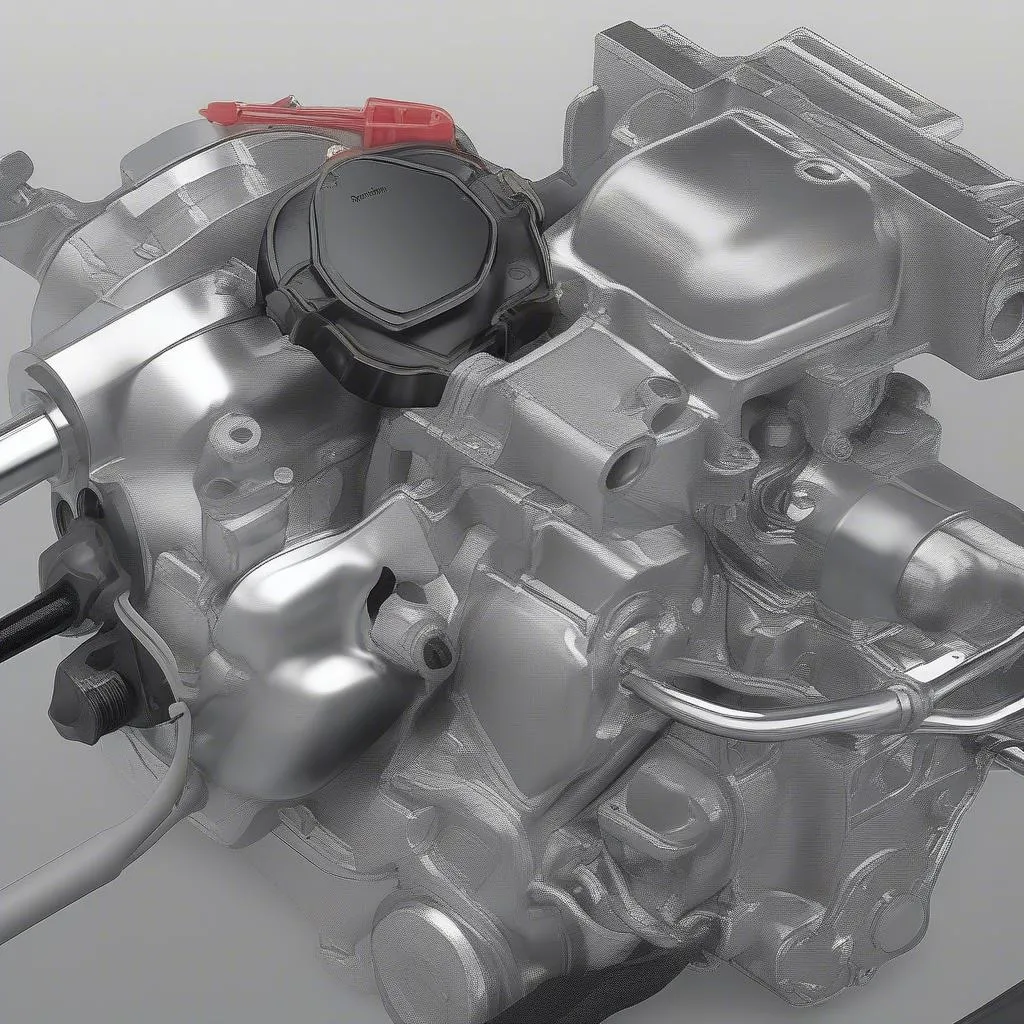
1. Check the Switch’s Location and Condition:
The brake warning switch is typically located above the brake pedal arm, mounted to the pedal support bracket. Begin by visually inspecting the switch for any signs of damage, such as cracks, loose connections, or corrosion.
2. Test the Switch’s Functionality:
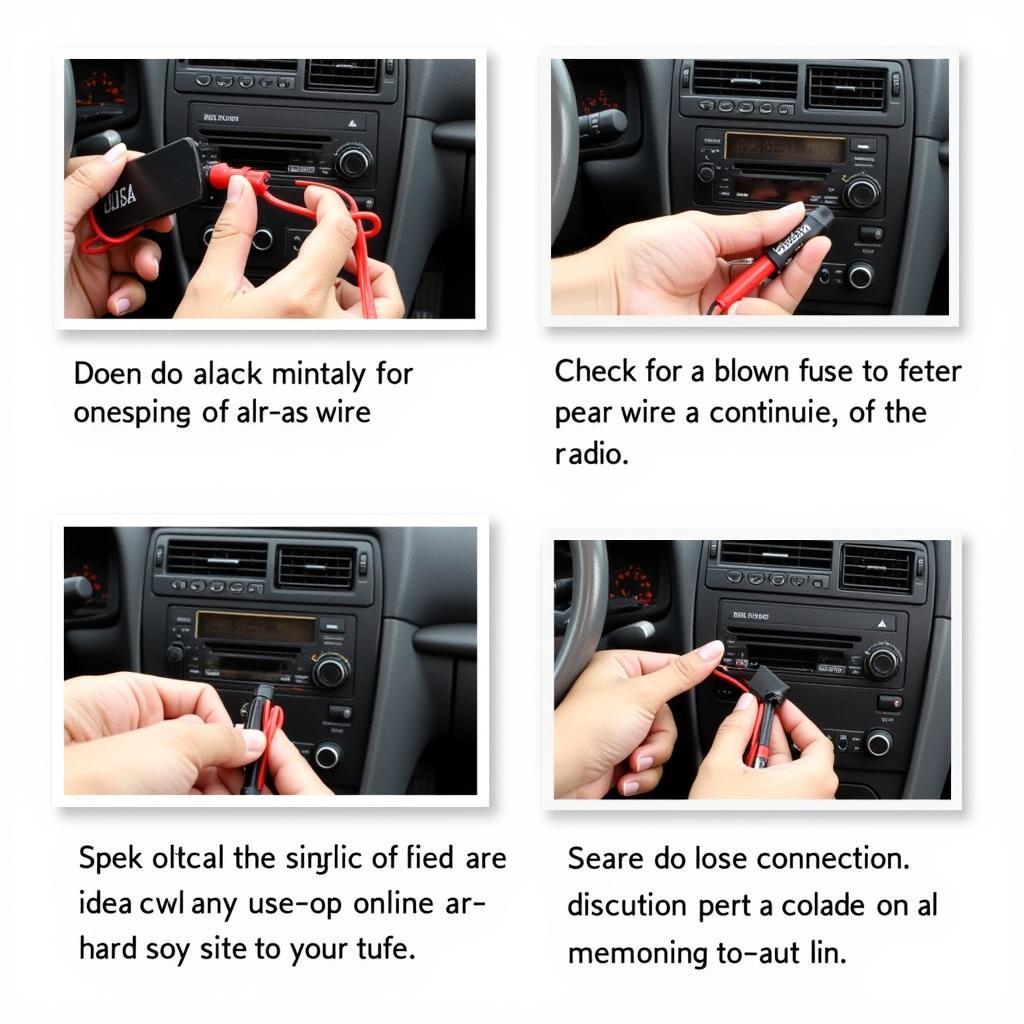
With the ignition off, disconnect the electrical connector from the brake warning switch. Use a multimeter set to the ohms setting to test the switch’s continuity.
- Press the brake pedal down. The multimeter should show continuity (close to zero ohms) indicating a closed circuit.
- Release the brake pedal. The multimeter should now show no continuity (infinite resistance) indicating an open circuit.
3. Inspect the Wiring Harness:
Carefully examine the wiring harness connected to the brake warning switch for any frayed wires, loose connections, or signs of damage. A compromised wiring harness can disrupt the signal flow and cause similar symptoms.
*"A common mistake is overlooking the wiring harness,"* says John Miller, a veteran automotive electrician with over 20 years of experience. *"Even a slightly loose connection can lead to intermittent brake light problems that are tough to diagnose."*Solutions and Repairs
 Replacing the Brake Warning Switch
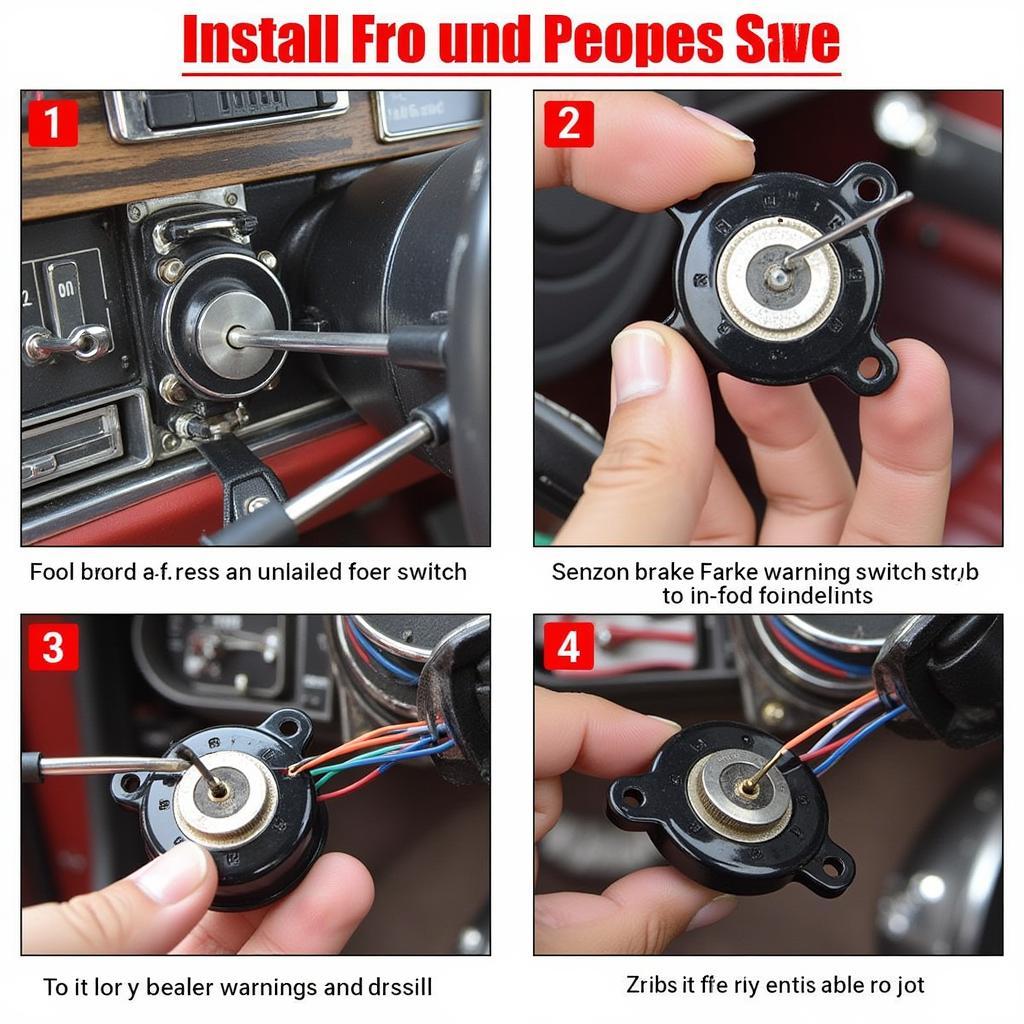
1. Replacing the Brake Warning Switch:
If you’ve determined that the switch is faulty, replacement is the most reliable solution.
- Disconnect the Battery: Disconnect the negative battery cable before starting any electrical work.
- Remove the Old Switch: Carefully disconnect the electrical connector and unscrew the old switch from its mounting bracket.
- Install the New Switch: Screw in the new switch, ensuring it’s securely mounted. Reconnect the electrical connector.
- Test the New Switch: Turn on the ignition and depress the brake pedal to verify that the brake lights are functioning correctly.
2. Repairing the Wiring Harness:
If the wiring harness is damaged, repair or replace the affected sections. Use heat-shrink tubing or electrical tape to insulate any exposed wires properly.
3. Addressing Underlying Issues:
In some cases, a malfunctioning brake warning switch might be a symptom of a larger problem, such as a faulty brake light bulb, a blown fuse, or a ground issue within the electrical system.
*"Always double-check the basics,"* advises Miller. *"A simple blown fuse can mimic a more serious problem. It's always a good idea to rule out the easy fixes first."*Conclusion
A properly functioning brake warning switch is essential for safe driving. By understanding the common symptoms, diagnostic steps, and repair options outlined in this guide, you’ll be well-equipped to address issues with your 1969 Ford Thunderbird’s brake warning switch. Remember to prioritize safety and seek professional help if you’re uncomfortable performing any of these tasks yourself.