The brake warning light on your 1977 Chrysler New Yorker is a crucial indicator of potential issues with your braking system. When this light illuminates, it’s a signal to address the problem immediately, as it could indicate a serious safety hazard. In this comprehensive guide, we will explore the common causes of a brake warning light, troubleshoot the issue, and guide you through the repair process.
Understanding the Brake Warning Light System
The brake warning light system in your 1977 Chrysler New Yorker utilizes a switch that is mechanically activated by the brake pedal. This switch connects to a circuit that leads to the warning light on your dashboard. When you press the brake pedal, the switch closes the circuit, allowing electricity to flow to the light, which then turns off. However, if the switch malfunctions, it can either fail to close the circuit or become stuck closed, resulting in a faulty warning light.
Identifying the Brake Warning Light Switch
The brake warning light switch is typically located near the brake pedal assembly. It is a small, cylindrical component with a wire connector attached. To locate it, you can follow these steps:
- Locate the brake pedal assembly: This is the metal frame that holds the brake pedal. It is located underneath the dashboard.
- Identify the brake pedal linkage: This is the rod that connects the brake pedal to the master cylinder.
- Look for a small, cylindrical component: The brake warning light switch will be connected to the brake pedal linkage, often near the pivot point.
Common Causes of a Brake Warning Light
There are a few reasons why the brake warning light may illuminate on your 1977 Chrysler New Yorker. Some of the most common include:
- Malfunctioning brake warning light switch: This is the most likely culprit, as it can fail to close the circuit or become stuck closed.
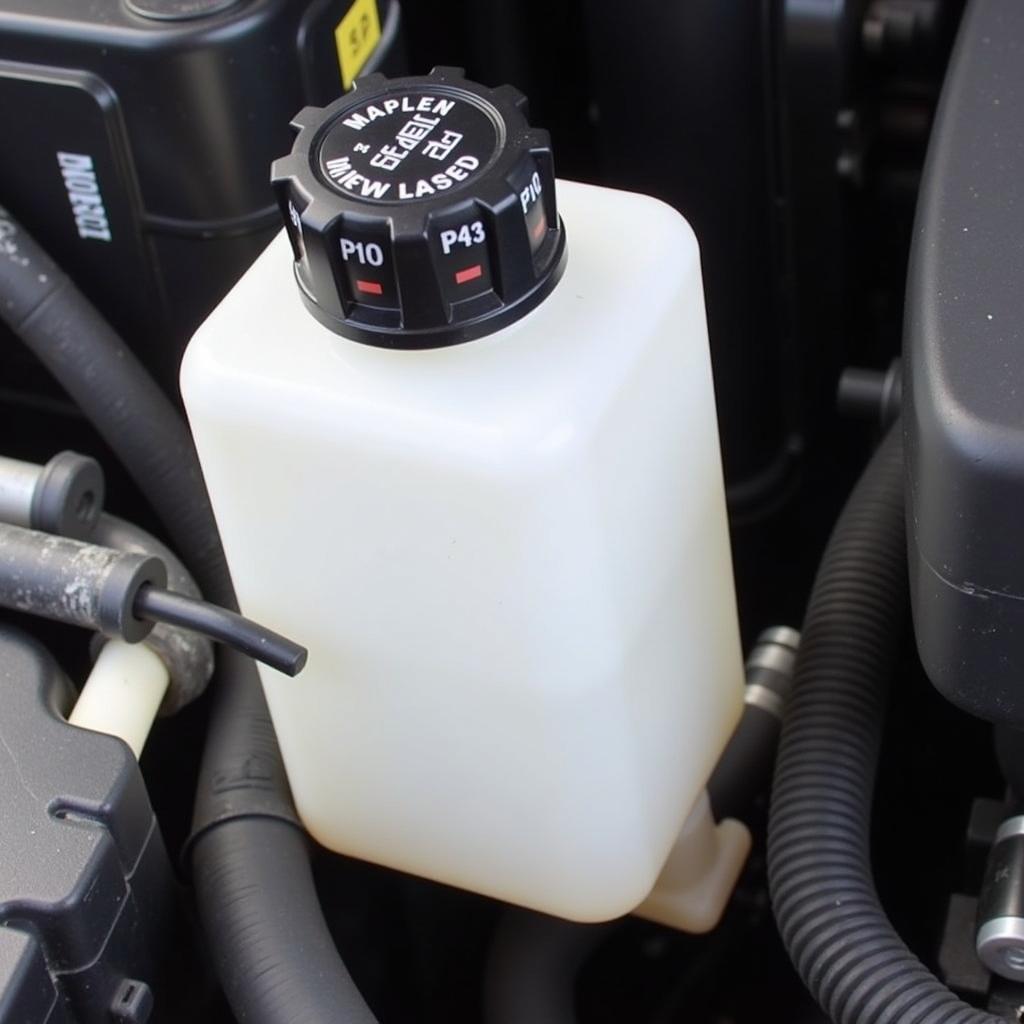
- Low brake fluid level: When the brake fluid level drops below a certain point, a sensor in the master cylinder will activate the warning light.
- Faulty brake system components: A faulty component such as a caliper, wheel cylinder, or brake hose can cause a loss of pressure in the braking system, triggering the warning light.
- Electrical issue: A short circuit or a blown fuse in the brake warning light circuit can also cause the light to illuminate.
Troubleshooting the Brake Warning Light
To troubleshoot the brake warning light, follow these steps:
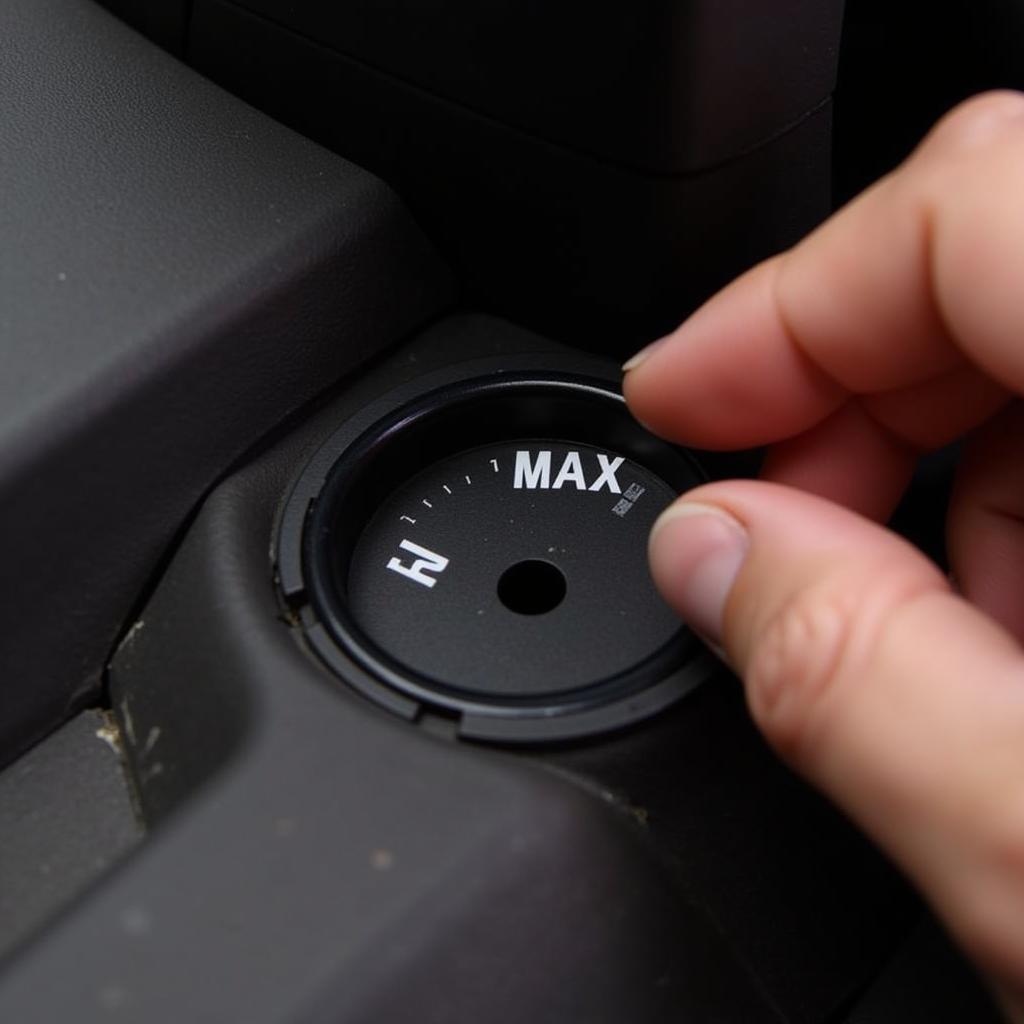
- Check the brake fluid level: Locate the master cylinder reservoir and check the fluid level. If it is low, add brake fluid of the correct type. Be sure to consult your owner’s manual for the recommended fluid type.
- Inspect the brake warning light switch: Visually inspect the switch for any damage or signs of wear. If the switch appears damaged, it may need to be replaced.
- Check for leaks: Inspect the brake lines, hoses, and wheel cylinders for any signs of leaks. If you find any leaks, they should be repaired immediately.
- Test the brake system: With the engine running, press the brake pedal several times. If you feel a soft or spongy pedal, or if the pedal goes to the floor, there may be a problem with the brake system.
- Check the electrical connections: Ensure that all electrical connections to the brake warning light switch are secure.
Repairing the Brake Warning Light Switch
If you determine that the brake warning light switch is the cause of your problem, you can replace it yourself. Here are the steps:
- Disconnect the battery: Disconnect the negative terminal of the battery to prevent any accidental electrical shocks.
- Locate and disconnect the switch: Locate the brake warning light switch and disconnect the wire connector.
- Remove the old switch: Use a wrench or socket to loosen the mounting nut or bolt holding the switch in place. Remove the switch from the brake pedal linkage.
- Install the new switch: Install the new switch in the same location as the old one. Ensure that it is securely tightened.
- Reconnect the electrical connector: Reconnect the electrical connector to the new switch.
- Reconnect the battery: Reconnect the negative terminal of the battery.
Conclusion
The brake warning light on your 1977 Chrysler New Yorker is a critical safety feature. If the light comes on, it is essential to address the issue immediately. By following the troubleshooting and repair steps outlined above, you can resolve the problem and ensure the safe operation of your vehicle. Remember to consult your owner’s manual or a qualified mechanic for specific instructions and procedures.
FAQ
Q: What happens if I ignore the brake warning light?
A: Ignoring the brake warning light can lead to brake failure, resulting in a dangerous situation. It’s crucial to address the problem promptly.
Q: Can I drive with the brake warning light on?
A: It is not advisable to drive with the brake warning light on. It indicates a potential issue that needs to be addressed immediately.
Q: Can I replace the brake warning light switch myself?
A: Yes, you can replace the brake warning light switch yourself. However, if you are not comfortable with automotive repairs, it’s best to consult a qualified mechanic.
Q: How often should I check the brake fluid level?
A: It’s recommended to check the brake fluid level at least once a month, or more frequently if you notice any changes in the brake pedal feel.
Q: What are some other possible causes of a brake warning light?
A: Other possible causes include: a stuck brake caliper, a leak in the hydraulic system, or a problem with the brake booster.