The brake warning light on your 1981 Vanagon is a crucial safety feature that shouldn’t be ignored. When illuminated, it signals a potential issue with your braking system, requiring immediate attention. This article will guide you through the common causes of a lit brake warning light in a 1981 Vanagon and provide troubleshooting steps to help you address the problem.
While this guide offers general advice, remember that consulting a qualified mechanic specializing in classic Volkswagen vans is crucial for accurate diagnosis and repair.
Understanding the Brake Warning Light System
The brake warning light system in your 1981 Vanagon is designed to alert you of two primary issues:
- Low Brake Fluid Level: A drop in brake fluid often indicates a leak in the system, which can severely compromise your ability to stop safely.
- Engaged Parking Brake: While less serious than a fluid leak, driving with the parking brake engaged can lead to brake component overheating and premature wear.
Common Causes of a Lit Brake Warning Light
Several factors can trigger the brake warning light in your 1981 Vanagon. Identifying the root cause is essential for effective troubleshooting:
1. Low Brake Fluid Level
Symptoms: Besides the illuminated warning light, you might notice:
- A spongy or soft brake pedal
- Increased stopping distance
- Unusual noises when braking
Troubleshooting:
- Check the brake fluid level: Park your Vanagon on a level surface and locate the brake fluid reservoir (usually a translucent plastic container mounted on the master cylinder). The fluid level should fall between the “MIN” and “MAX” markings.
- Inspect for leaks: If the fluid level is low, visually examine the brake lines, hoses, calipers, and wheel cylinders for any signs of leaks, such as wetness, dripping, or corrosion. Pay close attention to areas around the wheels and under the vehicle.
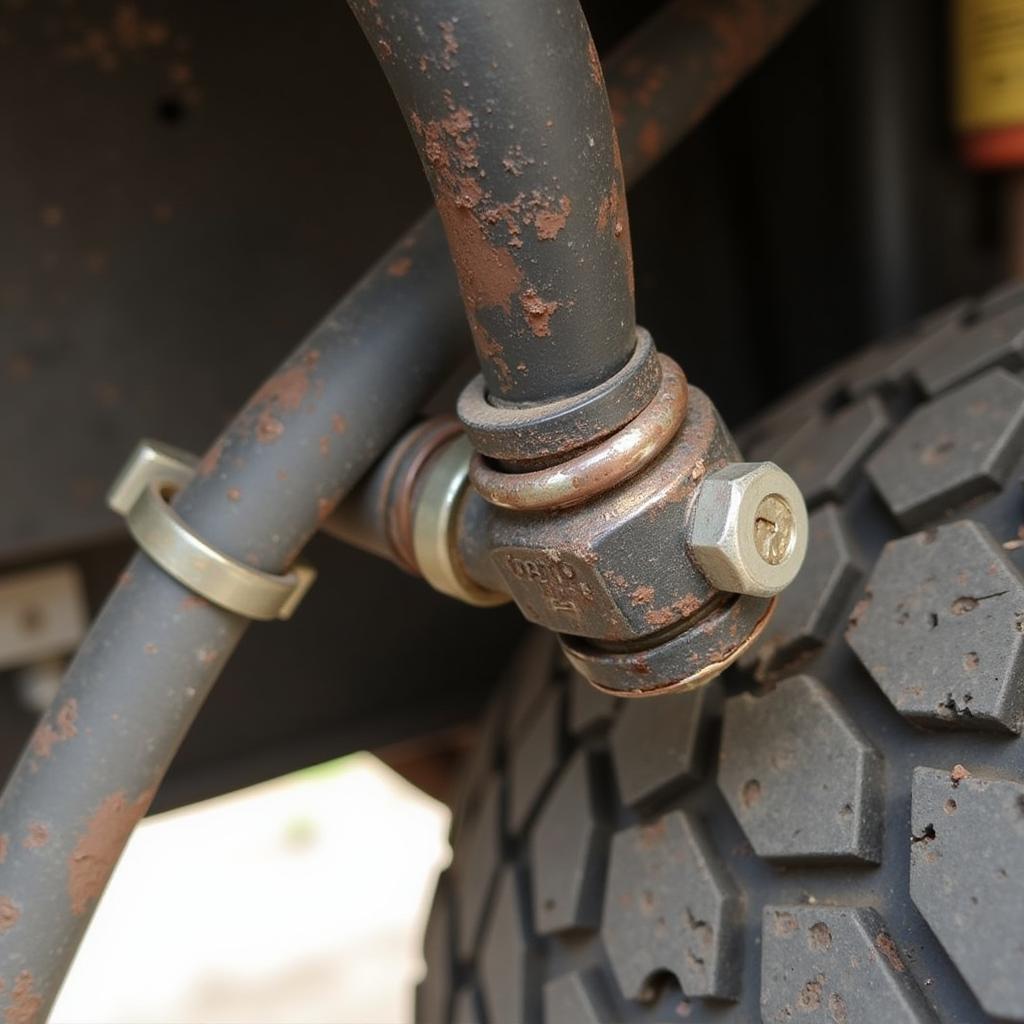 1981 Vanagon Brake Fluid Leak
2. Worn Brake Pads
Worn brake pads can also trigger the brake warning light. Most 1981 Vanagons have wear indicators that make contact with the brake rotor as the pads thin, completing a circuit and illuminating the warning light.
Symptoms: You might experience:
- Squealing or grinding noises when braking
- Vibration in the brake pedal
- Longer stopping distances
Troubleshooting:
- Inspect the brake pads: You’ll need to remove the wheel to access the brake pads. Look for significant wear and tear on the pad material. If the pad thickness is close to the minimum recommended level, replacement is necessary.
3. Faulty Brake Light Switch
The brake light switch is responsible for activating your brake lights when you press the pedal. A malfunctioning switch can sometimes trigger the brake warning light.
Symptoms:
- Brake lights might not illuminate when the pedal is pressed
- Brake lights might stay on constantly
Troubleshooting:
- Locate the brake light switch: The switch is typically located above the brake pedal arm under the dashboard.
- Test the switch: With the ignition off, depress and release the brake pedal while observing the brake lights. If they don’t function correctly, the switch might need replacement.
4. Issues with the Brake Master Cylinder
The brake master cylinder is a crucial component that converts hydraulic pressure from the brake pedal into force applied to the brakes. A failing master cylinder can lead to various brake problems, including a lit warning light.
Symptoms:
- Soft or spongy brake pedal
- Brake pedal sinking to the floor
- Difficulty stopping the vehicle
Troubleshooting:
Diagnosing a faulty master cylinder often requires specialized tools and knowledge. If you suspect an issue, it’s best to consult a qualified mechanic.
What to Do When the Brake Warning Light Comes On
A lit brake warning light signals a potential problem with your braking system. Here’s what to do:
- Pull over safely: As soon as it’s safe, pull over to the side of the road and assess the situation.
- Check the parking brake: Ensure the parking brake is fully disengaged. If it was engaged, disengaging it might extinguish the warning light.
- Inspect the brake fluid level: If the parking brake isn’t the issue, carefully check the brake fluid level.
- Seek professional help: If the brake fluid is low or you notice any leaks, do not attempt to drive the vehicle. Contact a qualified mechanic immediately to diagnose and repair the problem.
Conclusion
Addressing a lit brake warning light in your 1981 Vanagon is crucial for your safety and the vehicle’s longevity. While simple checks like inspecting the fluid level and parking brake engagement are a good starting point, seeking professional help for diagnosis and repair is always recommended. Remember, a well-maintained braking system is paramount for a safe and enjoyable driving experience.