The brake pressure warning switch is a critical component of your 1984 Corvette’s braking system. It serves as an early warning system, alerting you to a potential loss of brake pressure. If you’re seeing the brake warning light illuminated on your dashboard, it’s crucial to diagnose and address the issue promptly to ensure safe braking performance.
This comprehensive guide delves into the intricacies of the 1984 Corvette brake pressure warning switch, equipping you with the knowledge to troubleshoot and resolve common issues. We’ll cover symptoms, causes, diagnostic procedures, and replacement guidance.
Understanding the Brake Pressure Warning Switch
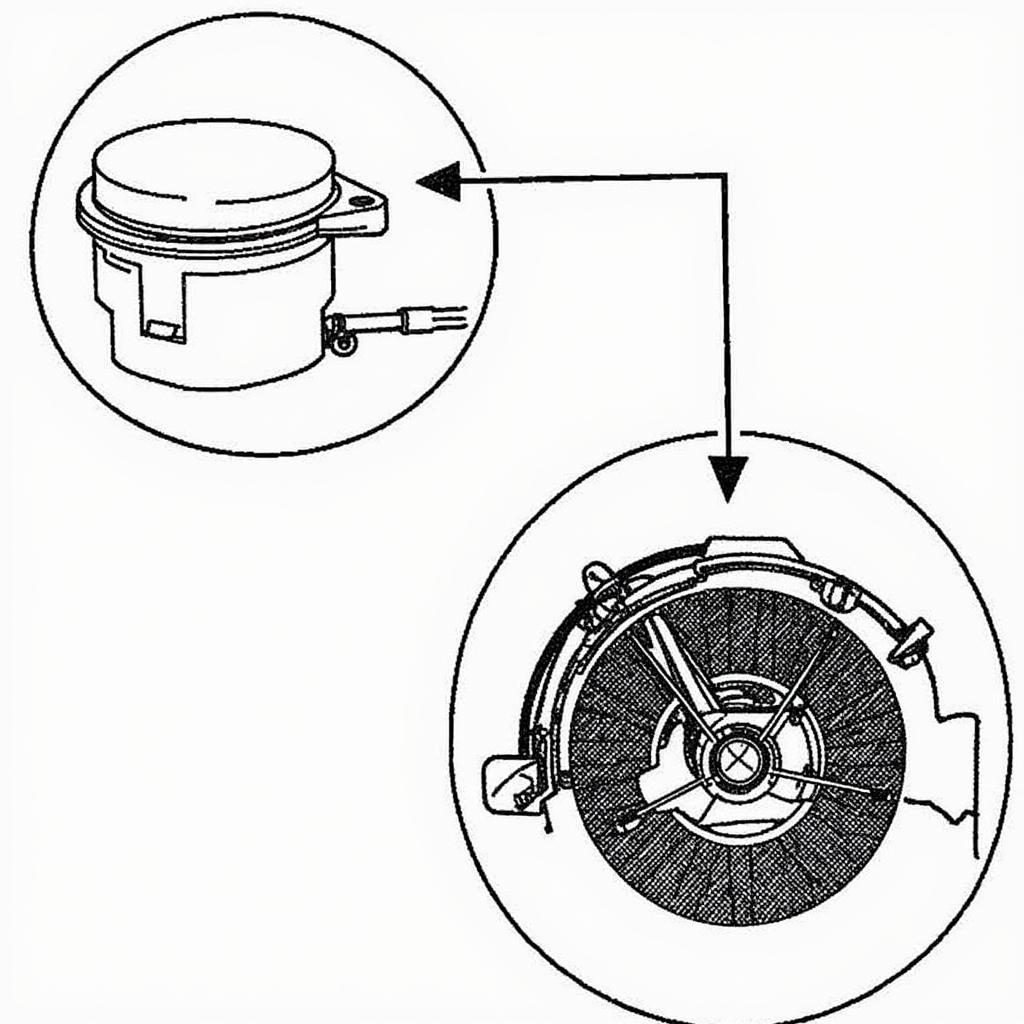
The brake pressure warning switch in your 1984 Corvette is a pressure-sensitive switch typically located on the brake master cylinder or along the brake lines. Its primary function is to monitor the hydraulic pressure within the braking system.
Here’s how it works:
-
Normal Pressure: When you press the brake pedal, hydraulic pressure builds within the system. During normal operation, the pressure switch remains closed.
-
Pressure Loss: If there’s a drop in brake fluid or a leak in the system, the hydraulic pressure decreases. This pressure drop triggers the switch, opening the circuit.
-
Warning Light: When the switch opens, it completes a circuit that illuminates the brake warning light on your dashboard. This visual cue signals a potential issue with your brakes.
Common Symptoms of a Faulty Brake Pressure Warning Switch
A malfunctioning brake pressure warning switch can manifest in several ways:
-
Illuminated Brake Warning Light: The most obvious symptom is a constantly lit brake warning light on your dashboard, even when the parking brake is disengaged.
-
Intermittent Warning Light: The brake warning light may flicker or illuminate intermittently, particularly when driving over bumps or making turns.
-
No Warning Light Despite Brake Issues: In some cases, a faulty switch may fail to activate the warning light, even if there’s a genuine brake pressure problem.
Diagnosing the Problem
Before replacing the brake pressure warning switch, it’s essential to perform a proper diagnosis to rule out other potential causes of brake problems:
-
Check Brake Fluid Level: The first step is to inspect the brake fluid level in the master cylinder reservoir. Low brake fluid is a common culprit for brake pressure issues. If the level is low, add the appropriate brake fluid and inspect for leaks.
-
Inspect for Leaks: Thoroughly examine the brake lines, hoses, calipers, and wheel cylinders for any signs of leaks. Leaking brake fluid will compromise system pressure and trigger the warning light.
-
Test the Switch: If the brake fluid level is adequate and no leaks are detected, the next step is to test the brake pressure warning switch itself.
-
Locate the switch: Consult your Corvette’s service manual for the precise location of the switch.
-
Disconnect the electrical connector: With the ignition off, disconnect the electrical connector from the switch.
-
Use a multimeter: Set the multimeter to ohms and connect the probes to the switch’s terminals.
-
Press the brake pedal: While pressing the brake pedal, observe the multimeter reading. A closed switch should show continuity (close to zero ohms), while an open switch will indicate high resistance or an open circuit.
-
Interpreting Results:
- Switch closes with pressure: If the multimeter reading shows continuity when the brake pedal is pressed, the switch is likely functioning correctly. This suggests the issue lies elsewhere in the braking system.
- Switch remains open: If the switch doesn’t close (show continuity) when the brake pedal is pressed, it’s likely faulty and needs replacement.
-
Replacing the Brake Pressure Warning Switch
Replacing the brake pressure warning switch is a relatively straightforward procedure:
-
Gather Materials: You’ll need a new brake pressure warning switch (compatible with your 1984 Corvette), wrench or socket set, brake fluid, and a clean rag.
-
Depressurize the Brake System: Before disconnecting any brake lines, it’s crucial to depressurize the system. This can be done by opening the bleeder screw on one of the brake calipers and slowly pressing the brake pedal until the pressure is released.
-
Disconnect the Switch: Using a wrench or socket, carefully loosen and disconnect the old brake pressure warning switch from the master cylinder or brake line.
-
Install the New Switch: Thread the new switch into place, being careful not to overtighten.
-
Reconnect the Electrical Connector: Plug the electrical connector back into the new switch.
-
Bleed the Brakes: After installing the new switch, you’ll need to bleed the brakes to remove any air that may have entered the system. This is typically done by opening the bleeder screws on each caliper (starting with the wheel farthest from the master cylinder) and having an assistant press and release the brake pedal until the brake fluid flows clear and free of air bubbles.
-
Top Off Brake Fluid: Once the brakes are bled, add brake fluid to the master cylinder reservoir to the appropriate level.
-
Test the System: Start the engine and depress the brake pedal several times to ensure the new switch is functioning correctly and the warning light no longer illuminates.
Conclusion
A properly functioning brake pressure warning switch is vital for the safety and reliability of your 1984 Corvette’s braking system. If you encounter a brake warning light or suspect a problem with the switch, it’s crucial to address the issue promptly. By following the diagnostic and replacement procedures outlined in this guide, you can maintain optimal braking performance and ensure a safe driving experience. However, if you’re uncomfortable performing these procedures yourself, it’s always best to consult with a qualified mechanic.