If your 1992 Geo Tracker’s brake warning light is stubbornly illuminating your dashboard, don’t hit the panic button just yet. While a glowing brake light can signal a serious issue, it can also be triggered by surprisingly simple problems. This comprehensive guide will walk you through the common culprits behind a persistent brake warning light on your 1992 Geo Tracker and empower you with the knowledge to address them.
Understanding Your Brake Warning Light
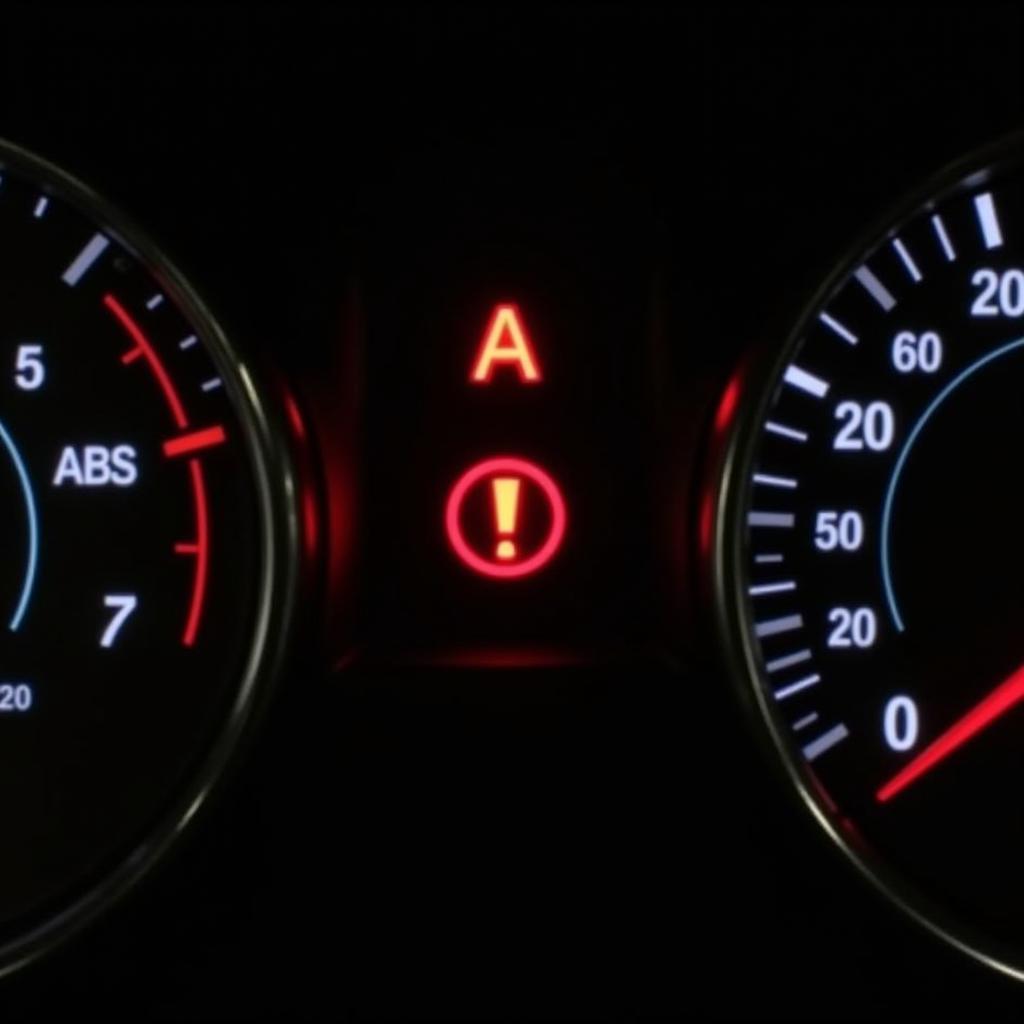
Your Geo Tracker’s brake warning light serves as a critical communication channel between your vehicle’s braking system and you, the driver. It’s designed to illuminate when the system detects an irregularity. Think of it as your car’s way of saying, “Hey, let’s take a look at the brakes.”
Common Causes of a Stubborn Brake Light
There are several reasons why your 1992 Geo Tracker’s brake warning light might be stuck in the “on” position:
-
Low Brake Fluid: This is often the most straightforward culprit. Your brake system relies on hydraulic pressure to function correctly, and brake fluid is the lifeblood of this system. A leak or simply low fluid levels can trigger the warning light.
-
Worn Brake Pads: Brake pads are designed to wear down over time. When they reach a certain level of thinness, a sensor within the brake pad will make contact, completing a circuit, and turning on the warning light.
-
Faulty Brake Light Switch: This switch, typically located above the brake pedal, signals when you’re applying the brakes. If it malfunctions, it can send a false positive to your dashboard.
-
Parking Brake Not Fully Released: Yes, it’s that simple! Sometimes, the parking brake may not be fully disengaged, causing the light to stay on.
-
ABS Issue: If your Geo Tracker is equipped with Anti-lock Brakes (ABS), a problem within this system, such as a malfunctioning sensor, can also trigger the brake warning light.
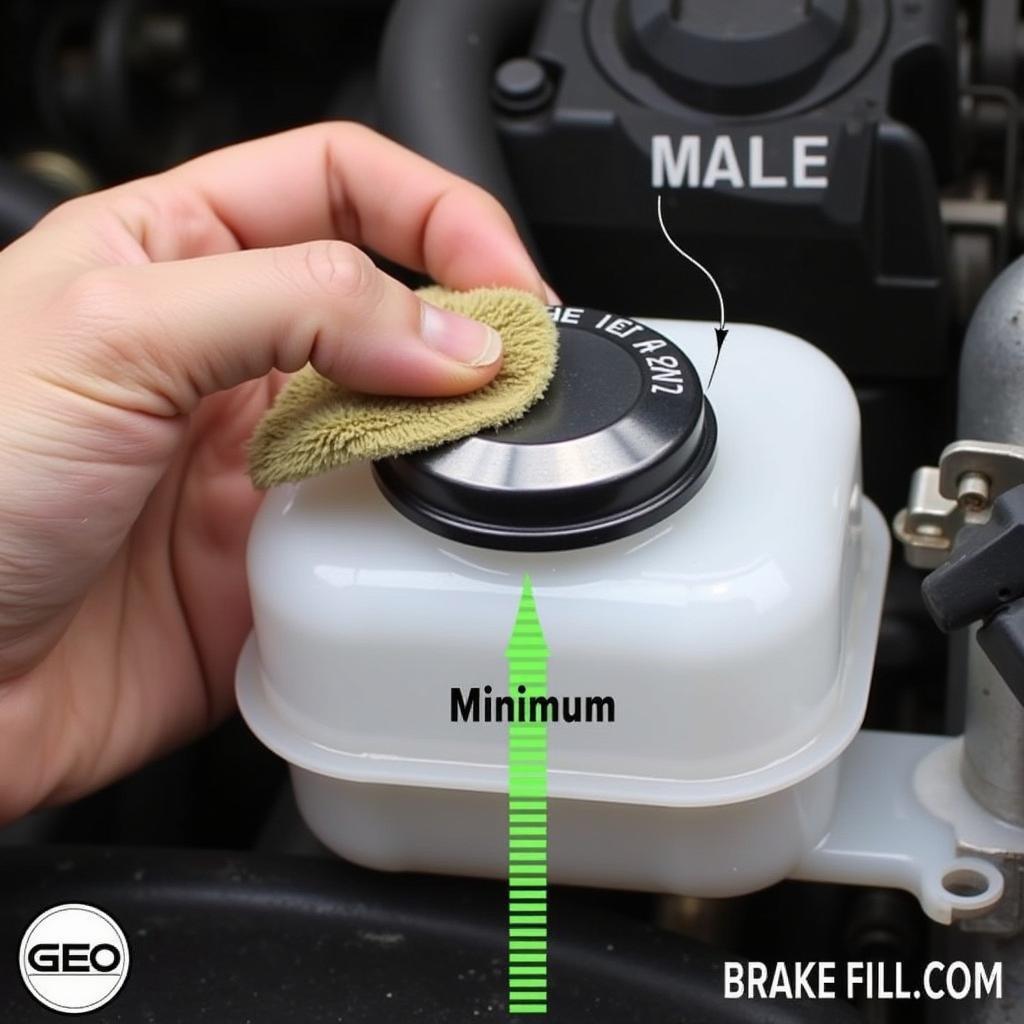 Checking the Brake Fluid Reservoir
Troubleshooting Your Brake Warning Light
Here’s a step-by-step guide to help you diagnose and potentially fix the problem:
-
Check Your Parking Brake: Begin with the simplest solution. Ensure your parking brake is fully released.
-
Inspect Brake Fluid Level: Park your Geo Tracker on level ground, pop the hood, and locate the brake fluid reservoir. The reservoir will typically have “DOT 3” or “DOT 4” printed on the cap. Check the fluid level. If it’s below the “minimum” line, you’ll need to add more brake fluid.
-
Examine Brake Pads: If your brake fluid level is fine, the next step is to check your brake pads. While you can visually inspect them for wear, it’s best to consult a mechanic, especially if you’re not comfortable working on your vehicle’s braking system.
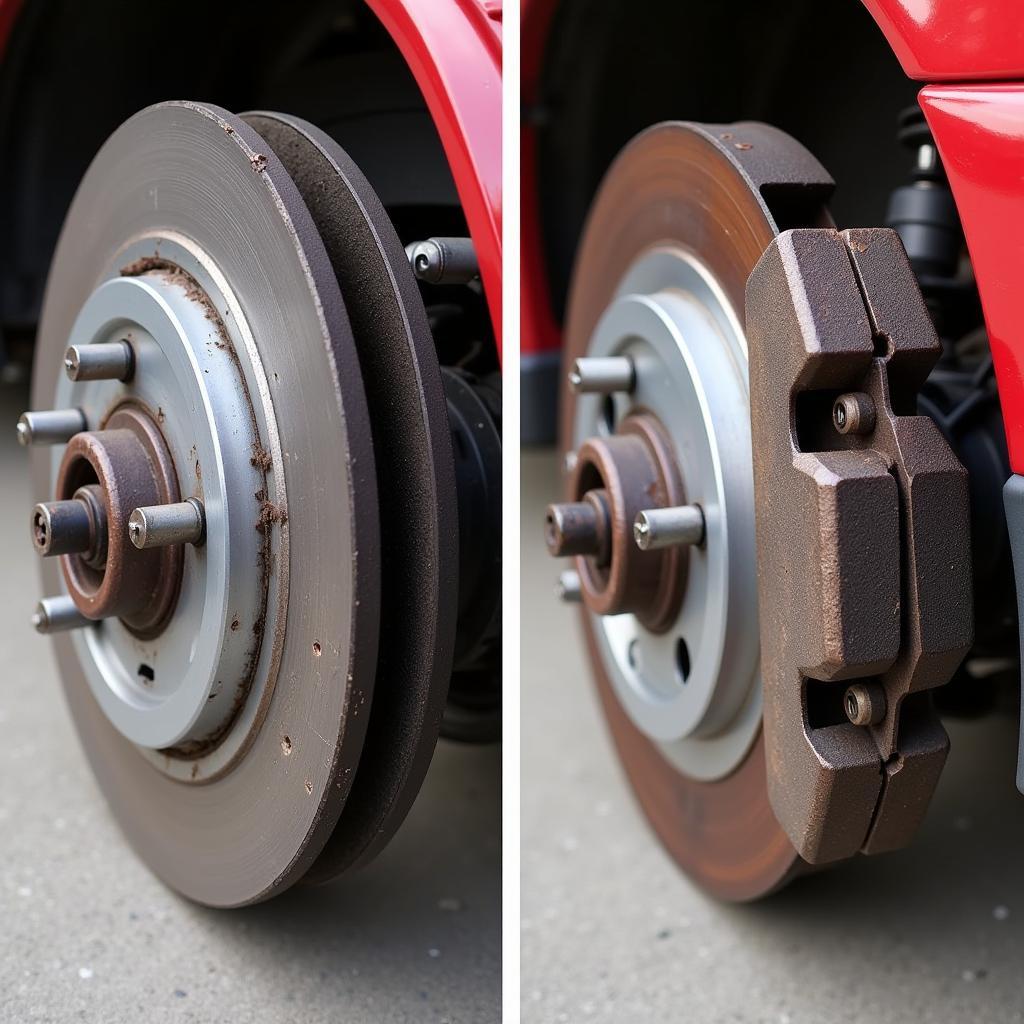 Comparison of Worn and New Brake Pads
 -
Test the Brake Light Switch: This step often requires some mechanical knowledge. The brake light switch can usually be accessed under the dashboard, near the brake pedal. You can test its functionality using a multimeter. However, if you’re unsure, it’s best to consult a mechanic.
-
Consider ABS Diagnostics: If the previous steps haven’t illuminated the source of the issue, and your Geo Tracker has ABS, it’s time to consider that the problem might lie within the ABS system. Diagnosing ABS issues requires specialized tools and expertise, so it’s best left to a qualified mechanic.
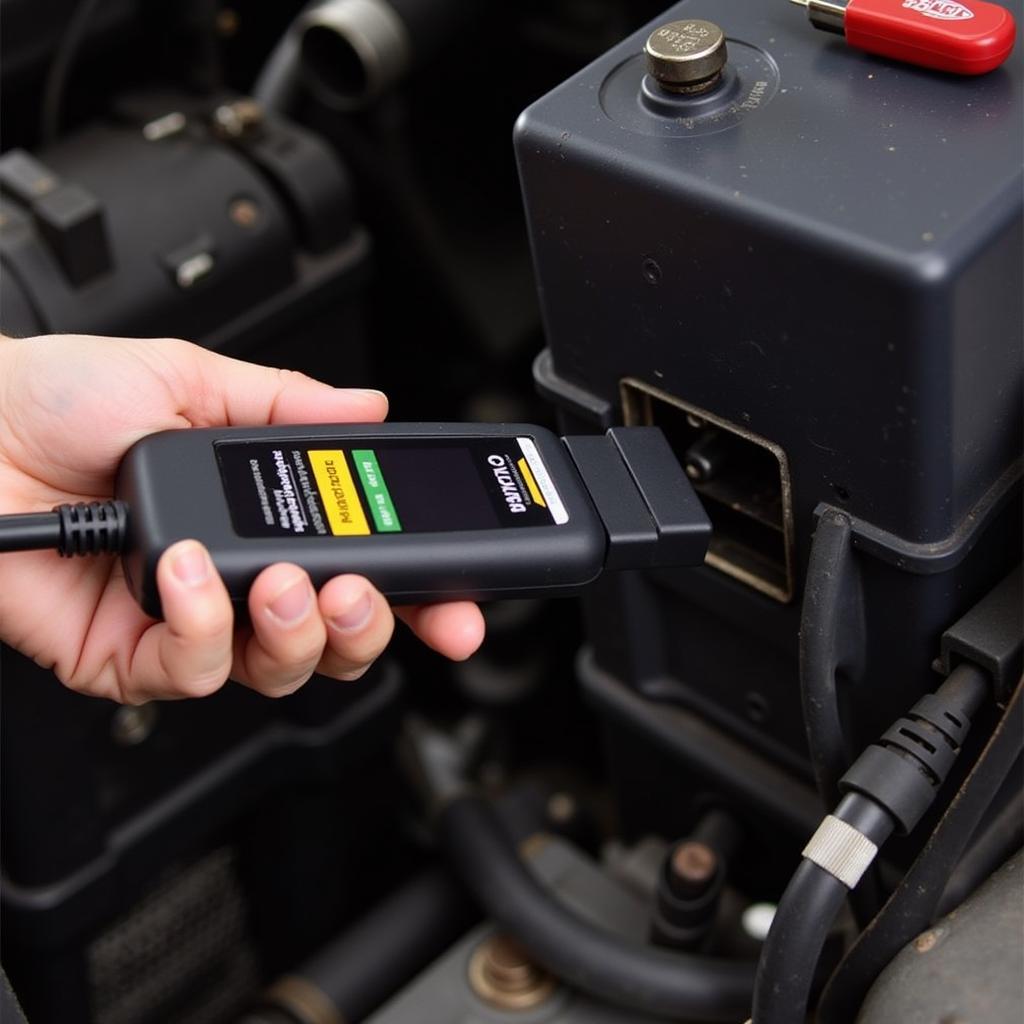 Mechanic Connecting Diagnostic Tool to Geo Tracker
When in Doubt, Seek Professional Help
Your vehicle’s braking system is paramount to your safety. If you’re uncomfortable with any of the troubleshooting steps or suspect the issue might be more complex, don’t hesitate to consult a qualified mechanic.
Conclusion
A persistently lit brake warning light on your 1992 Geo Tracker shouldn’t be ignored. By understanding the common culprits and following these troubleshooting steps, you can take the necessary steps to ensure your vehicle’s braking system is in optimal condition, providing you with peace of mind and, most importantly, a safe driving experience.