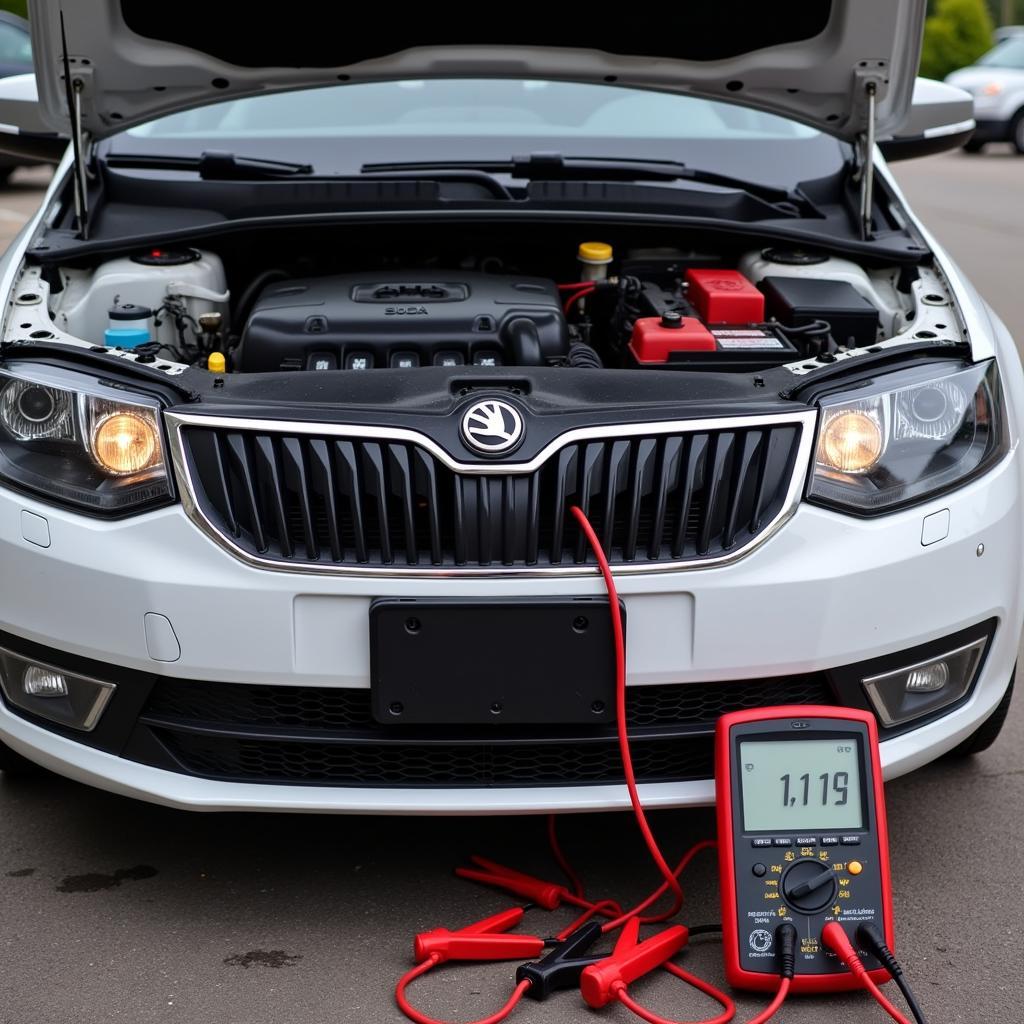
A glowing brake pad warning light on your 2006 Mini Cooper S is an unwelcome sight. While it can signal worn brake pads needing replacement, sometimes it’s a false alarm. This guide will walk you through troubleshooting the issue and resetting the light, helping you get back on the road with confidence.
Understanding Your Mini Cooper S Brake Pad Warning System
Your Mini utilizes a straightforward system to alert you about brake pad wear. Embedded within the brake pads are wear sensors. When the pad material wears down to a certain level, the sensor contacts the brake rotor, triggering the warning light on your dashboard.
Common Reasons Your Brake Pad Light is On
Before you attempt a reset, it’s crucial to understand why the light is on in the first place.
- Worn Brake Pads: The most common culprit. If your pads are nearing the end of their life, the wear sensor will activate the warning light.
- Faulty Sensor: Sometimes, the sensor itself can be damaged or malfunctioning, leading to a false warning.
- Wiring Issue: A loose or damaged wire connecting the sensor to the vehicle’s electrical system can also cause the light to illuminate.
- Recent Brake Job: If you or a mechanic recently replaced your brake pads, the light might still be on due to an improper reset procedure.
How to Check Your Brake Pads
Inspecting your brake pads is a straightforward process:
- Safety First: Ensure your vehicle is parked on a level surface and the parking brake is engaged.
- Locate the Calipers: Look behind your wheels. The caliper is the metal component that houses the brake pads.
- Inspect the Pads: You should be able to visually assess the thickness of the brake pads through the spaces in the caliper. If the pad material is less than 1/4 inch thick, it’s time for a replacement.
Resetting the Brake Pad Warning Light on a 2006 Mini Cooper S
Important: Only reset the brake pad warning light after confirming the brake pads and sensors are in good working order.
If you’ve verified your brake pads are fine, or if you’ve replaced them and the light persists, you can manually reset the warning light:
- Disconnect the Battery: Locate your Mini’s battery and disconnect the negative (black) terminal using a wrench. Wait for a few minutes to ensure the electrical system is discharged.
- Reconnect the Battery: Reconnect the negative battery terminal.
- Turn on the Ignition: Turn your car to the “on” position but don’t start the engine.
- Depress the Brake Pedal: Press and hold the brake pedal firmly for at least 30 seconds. This allows the system to recalibrate.
- Check the Warning Light: The brake pad warning light should now be off. If it persists, there might be an underlying issue requiring professional diagnosis.
When to Consult a Professional
While resetting the brake pad warning light on your Mini Cooper S can often be handled DIY-style, certain situations warrant a trip to a qualified mechanic:
- Persistent Warning Light: If the light remains on after trying the reset procedure, it indicates a problem beyond simple sensor recalibration.
- Visible Damage: If you notice any damage to the brake pads, sensors, or wiring, don’t attempt a reset.
- Unsure About the Process: If you’re uncomfortable working with your car’s electrical system, it’s best to leave the job to the professionals.
“Remember, brakes are your vehicle’s most crucial safety system,” says Master Technician John Smith from Smith’s Automotive. “Never ignore a brake warning light. Addressing the issue promptly ensures your safety and the well-being of others on the road.”
Conclusion
A glowing brake pad warning light doesn’t necessarily mean an expensive repair. By understanding your Mini Cooper S’s brake system and following this guide, you can often troubleshoot and resolve the issue yourself. However, always prioritize safety and consult a professional if you encounter any uncertainties or complexities. A well-maintained vehicle ensures a smooth and secure driving experience.

