The brake pad warning light on your 2009 Audi A4 is a crucial safety feature, alerting you when the brake pads have worn down and require replacement. While addressing the worn brake pads is essential, knowing how to reset the warning light after the repair is equally important. This guide provides a comprehensive walkthrough on resetting the brake pad warning light on your 2009 Audi A4, empowering you to handle this task confidently.
Understanding the Brake Pad Warning Light System
Before delving into the reset procedure, it’s beneficial to grasp the fundamentals of the brake pad warning light system in your 2009 Audi A4. This system is engineered to monitor the thickness of your brake pads and alert you when they thin out, typically through a sensor embedded within the brake pad itself. Once the sensor detects a critically low pad thickness, it triggers the warning light on your dashboard.
Why Resetting the Brake Pad Warning Light is Necessary
After replacing the worn brake pads with new ones, you must reset the warning light. Failure to do so will leave the warning light illuminated even though the new brake pads are in place. Resetting the light serves several crucial purposes:
- Confirmation of Repair: Resetting the light confirms that you’ve successfully addressed the brake pad wear issue.
- Accurate Monitoring: A reset ensures that the system accurately monitors the new brake pads and alerts you when they eventually wear down.
- Preventing False Warnings: Resetting avoids continued illumination of the warning light, which could mask or delay the detection of any other potential issues with your braking system.
Methods to Reset the 2009 Audi A4 Brake Pad Warning Light
You can typically reset the 2009 Audi A4 brake pad warning light using two primary methods:
1. Resetting Using the Instrument Cluster
This method involves a straightforward procedure using your Audi A4’s instrument cluster:
- Turn the ignition ON: Insert your key into the ignition and turn it to the “ON” position, but do not start the engine.
- Access the Service Menu: Navigate to the service menu within your instrument cluster. You can typically do this by using the buttons on your steering wheel or the controls on the instrument panel itself. Refer to your owner’s manual for specific instructions for your A4 model.
- Select “Brake Pad” or “Service Reset”: Within the service menu, locate and select the option related to “Brake Pad” or “Service Reset.” The exact wording may vary slightly depending on the specific software version of your instrument cluster.
- Follow On-Screen Prompts: The instrument cluster will guide you through a series of on-screen prompts to reset the brake pad warning light. Follow these prompts carefully to complete the reset procedure.
2. Resetting Using a Diagnostic Scanner
If resetting through the instrument cluster proves unsuccessful, you might need to use a diagnostic scanner, a specialized tool that connects to your car’s onboard computer.
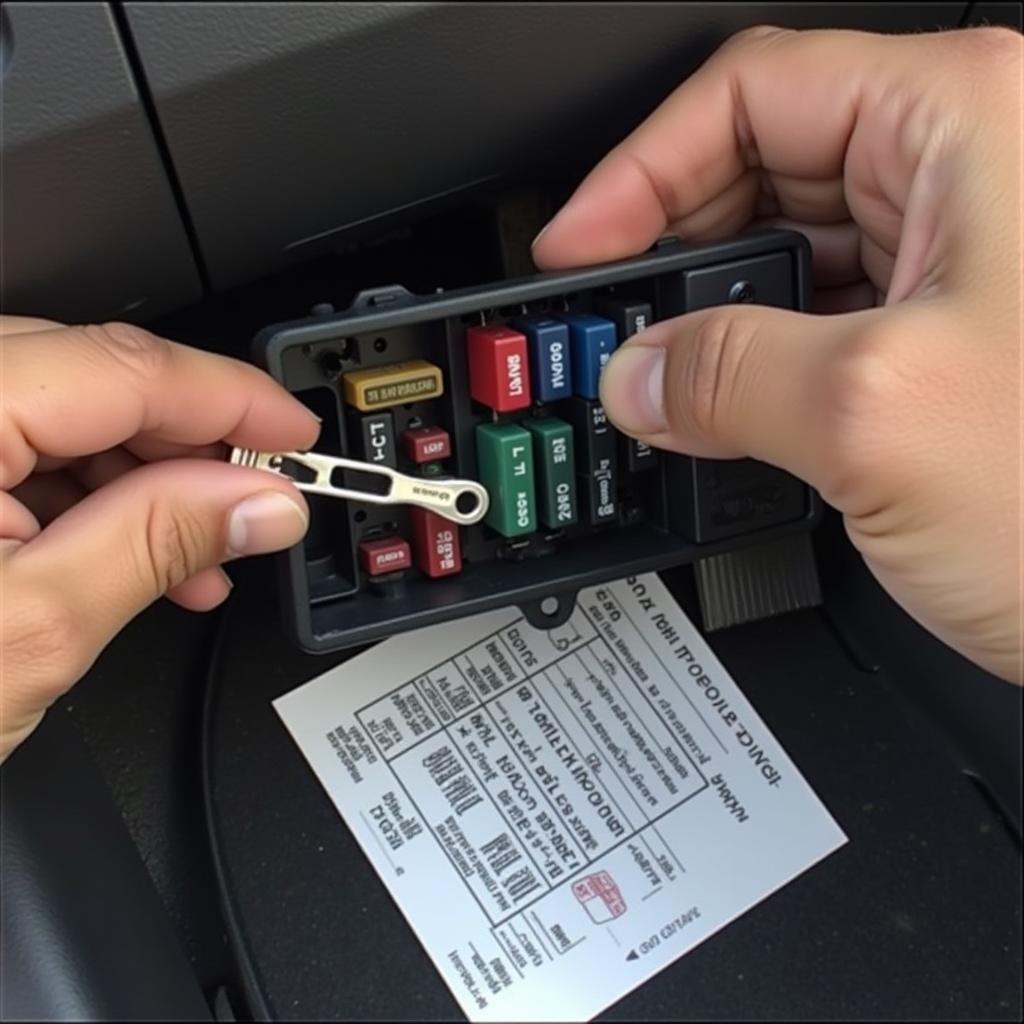
- Connect the Diagnostic Scanner: Locate the OBD-II port on your Audi A4, usually situated under the dashboard on the driver’s side. Connect your compatible diagnostic scanner to this port.
- Turn the Ignition ON: Turn the ignition to the “ON” position without starting the engine.
- Access the Brake System Module: Using the diagnostic scanner, navigate to the module related to the brake system.
- Select “Reset Brake Pad Warning Light”: Find and select the specific function to reset the brake pad warning light within the brake system module.
- Follow Scanner Instructions: Follow the on-screen instructions provided by your diagnostic scanner to complete the reset procedure.
Expert Insight from Mark Stevenson, ASE Certified Master Technician: “While many 2009 Audi A4 models allow for a simple instrument cluster reset, some might require a diagnostic scanner, especially if the warning light persists after replacement. Always consult your owner’s manual or contact a qualified mechanic if you encounter any difficulties during the reset process.”
Troubleshooting Tips
If you’re experiencing challenges resetting the brake pad warning light, consider these troubleshooting tips:
- Double-Check Your Work: Ensure that you have correctly installed the new brake pads and that all connections are secure.
- Verify Sensor Connection: Inspect the brake pad wear sensor connection to make sure it is properly attached and free of damage.
- Consult Your Owner’s Manual: Your Audi A4 owner’s manual provides model-specific instructions that can be incredibly helpful for troubleshooting.
- Seek Professional Assistance: If the warning light persists after attempting both reset methods and troubleshooting, seeking help from a qualified mechanic or dealership is recommended. They have the expertise and tools to diagnose and resolve any underlying issues with your brake system.
Conclusion
Resetting the brake pad warning light on your 2009 Audi A4 is a crucial step after brake pad replacement, ensuring your safety and the optimal performance of your vehicle. By understanding the process and following the steps outlined in this guide, you can confidently address this task. Remember to consult your owner’s manual or seek professional help if you encounter any difficulties. Safe driving!