A glowing brake warning light on your 2010 Mini Cooper’s dashboard can be a worrying sight. While it usually signals a potential issue with your braking system, it can also illuminate after a routine brake pad replacement. This guide will walk you through understanding why the 2010 Mini One brake warning light might be on and how to reset it.
Understanding Your Mini Cooper’s Brake Warning Light
The brake warning light is part of your Mini’s sophisticated onboard computer system. It’s designed to illuminate when the system detects an anomaly, urging you to investigate the issue. Here’s what might trigger the brake warning light:
- Worn Brake Pads: One of the most common reasons for the light to turn on is worn-out brake pads.
- Low Brake Fluid Level: The braking system relies on hydraulic pressure from the brake fluid to function correctly. A leak or low fluid level can trigger the warning light.
- Faulty Brake Sensor: Like many modern cars, the 2010 Mini Cooper uses sensors to monitor brake pad wear and other brake system components. A malfunctioning sensor can trigger a false warning.
- ABS Issue: If there’s a problem with your Anti-lock Braking System (ABS), the brake warning light may illuminate along with the ABS warning light.
Diagnosing the Problem
Before attempting a brake warning light reset on your 2010 Mini One, you must pinpoint the root cause.
- Check Your Brake Pads: Begin by inspecting your brake pads for wear. If they appear thin or you hear a grinding sound when braking, it’s time for a replacement.
- Inspect Brake Fluid Level: Locate the brake fluid reservoir under the hood and check the fluid level. If it’s below the minimum mark, add the appropriate brake fluid.
- Scan for Trouble Codes: A diagnostic scanner can read trouble codes stored in your Mini’s computer, providing valuable insights into the brake warning light trigger.
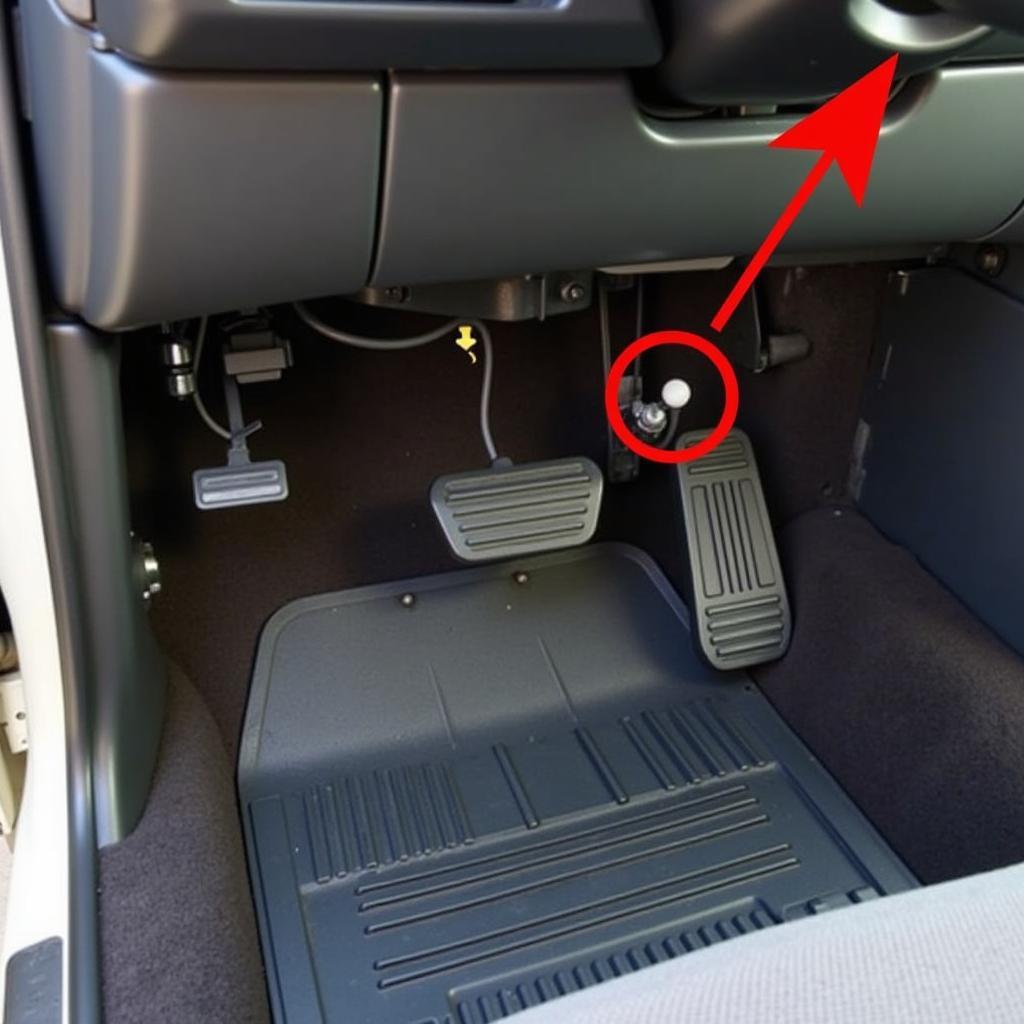
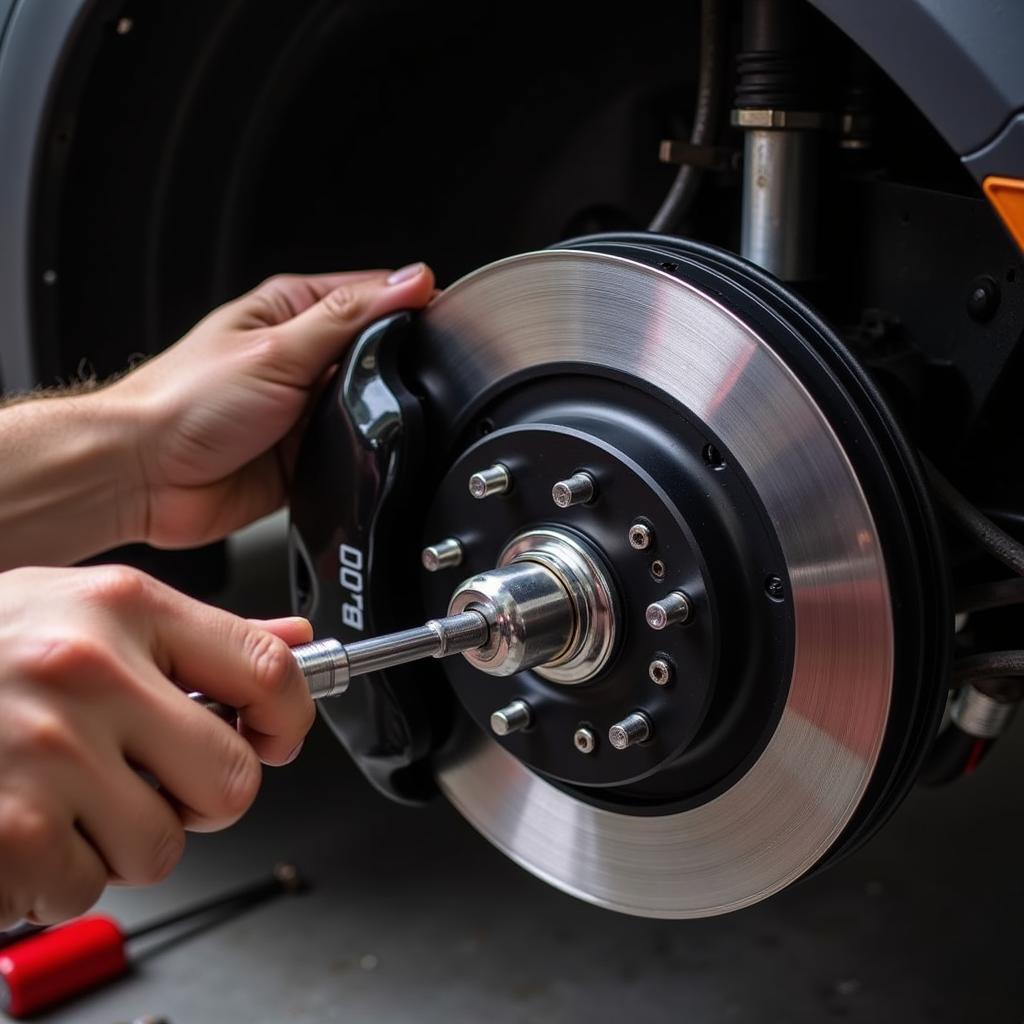 Inspecting 2010 Mini Cooper Brake Pads
How to Reset the 2010 Mini One Brake Warning Light
Once you’ve addressed the underlying issue, you can reset the brake warning light. Here are two methods:
Method 1: Driving the Car
- Start your Mini Cooper.
- Drive your car at a moderate speed for a short distance, applying the brakes gently a few times.
- If the issue was minor, like a temporary sensor glitch, the light should turn off.
Method 2: Using a Diagnostic Scanner
- Connect a compatible OBD-II scanner to your Mini Cooper’s diagnostic port, usually located under the dashboard.
- Turn on the ignition but don’t start the engine.
- Access the scanner’s menu and select “Read Codes” to identify the stored trouble codes related to the brake warning light.
- After addressing the underlying issues, select “Clear Codes” to reset the brake warning light.
When to Seek Professional Help
While resetting your 2010 Mini One brake warning light can sometimes be a simple DIY task, it’s crucial to remember that your brakes are vital for your safety. If you encounter any of these situations, seek professional help immediately:
- The Brake Warning Light Remains On: If the light persists after trying the reset methods, it indicates an unresolved problem.
- You Hear Unusual Noises: Grinding, screeching, or clicking sounds when braking indicate serious issues.
- Your Brake Pedal Feels Spongy or Soft: This suggests a loss of brake fluid pressure and requires immediate attention.
Preventing Future Brake Warning Light Issues
Regular maintenance is key to preventing brake warning light issues and ensuring optimal brake performance. Follow these tips:
- Regular Brake Inspections: Inspect your brake pads, rotors, and fluid levels every 10,000 miles or as recommended in your owner’s manual.
- Timely Brake Fluid Changes: Flush and replace your brake fluid according to the manufacturer’s recommended intervals.
- Quality Brake Components: When replacing brake pads or rotors, always opt for high-quality parts from reputable brands.
Conclusion
Addressing a 2010 Mini One brake warning light requires a systematic approach, from diagnosis to resolution. While some fixes are simple, always prioritize safety and seek professional help when needed. Remember, regular maintenance and timely repairs are vital for a safe and enjoyable driving experience. For those experiencing similar issues with other car models, you might find helpful information on resetting brake pad warning lights for vehicles like the Transit, Audi, or even how to turn off a brake switch warning light.
FAQs
Can I continue driving with the brake warning light on?
It’s highly discouraged to ignore a glowing brake warning light. It indicates a potential problem with your braking system, and continuing to drive could compromise your safety.
How much does it cost to reset a brake warning light?
The cost to reset a brake warning light varies depending on the underlying issue. Simple resets using a scanner might cost around $30-$50, while addressing problems like worn brake pads or a faulty sensor could be more expensive.
Can a dead battery cause the brake warning light to come on?
While a dead battery itself might not directly trigger the brake warning light, jump-starting the car incorrectly can sometimes cause electrical issues, leading to warning lights illuminating on the dashboard.
How often should I replace my brake pads?
Brake pad lifespan varies depending on driving style and conditions. However, it’s generally recommended to replace them every 20,000-70,000 miles. Consult your owner’s manual or a trusted mechanic for specific recommendations for your 2010 Mini One.
What kind of scanner do I need to reset the brake warning light?
A basic OBD-II scanner can read and clear trouble codes, including those related to the brake warning light. However, for more advanced diagnostics and functionalities, you might consider a higher-end scanner.