The brake pad warning light glaring on your 2013 Mini Cooper S dashboard can be a nuisance, especially if you’ve recently had your brakes serviced. This light is designed to alert you when your brake pads are wearing thin and need replacing. However, it can sometimes stay on even after a brake job if it isn’t reset properly. This article will guide you through the process of how to reset the brake pad warning light on your Mini Cooper S, empowering you to tackle this common issue.
Understanding Your Mini Cooper S Brake Pad Warning Light
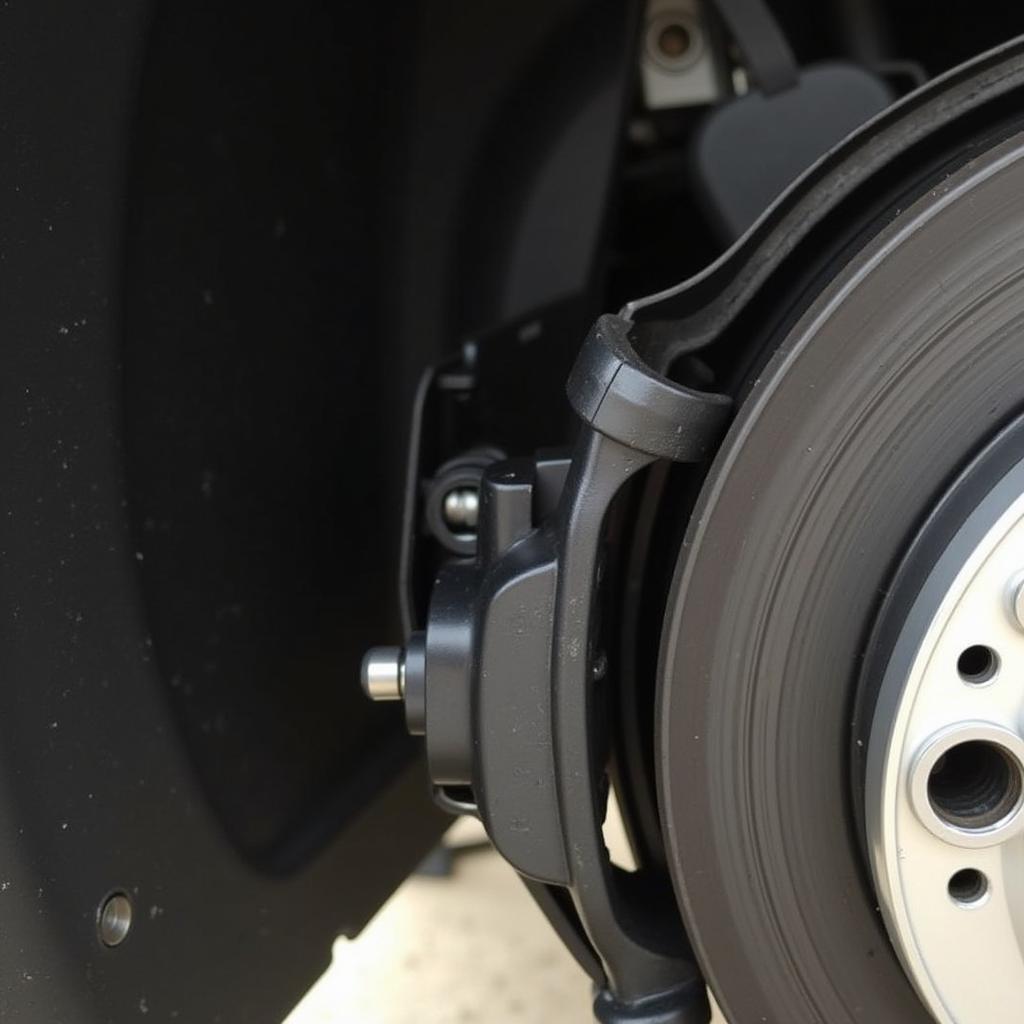
Before diving into the reset process, it’s important to understand why the brake pad warning light illuminates in the first place. Your Mini Cooper S is equipped with a sensor embedded within the brake pad system. This sensor monitors the thickness of your brake pads and triggers the warning light on your dashboard when the pads wear down to a predetermined level, indicating it’s time for a replacement.
Why Resetting the Brake Pad Warning Light is Important
Resetting the light after replacing your brake pads is crucial for a few reasons. First and foremost, it confirms that the new brake pads have been installed correctly and the sensor is functioning as intended. Secondly, it prevents the warning light from remaining on unnecessarily, which could lead you to ignore other potentially serious warning lights in the future.
Common Reasons Your Brake Pad Warning Light Might Be On
While worn brake pads are the most common culprit, other factors can trigger the warning light. These include:
- Faulty brake pad sensor: Like any other component, the sensor itself can malfunction and send a false signal.
- Wiring issues: Damaged or corroded wires connecting the sensor can disrupt the signal transmission.
- Issues with the braking system: Problems within the braking system, such as low brake fluid, can also trigger the warning light.
If you’ve recently replaced your brake pads and the light persists, it’s crucial to investigate these possibilities to ensure your Mini Cooper S’s braking system is functioning properly.
 Mini Cooper S Brake Pad Sensor
How to Reset Your 2013 Mini Cooper S Brake Pad Warning Light
Resetting the brake pad warning light on a 2013 Mini Cooper S is typically a straightforward process that can be done without specialized tools. Here’s a step-by-step guide:
- Turn on the ignition: Insert your key into the ignition and turn it to the “on” position without starting the engine.
- Locate the reset button: The reset button is usually located under the dashboard, near the steering column. It might be a small, black button labeled “Reset” or have a symbol resembling a speedometer.
- Press and hold the button: Press and hold the reset button for approximately 5-10 seconds. You might hear a beep or see the warning light blink, indicating the reset process has begun.
- Release the button: Once the light turns off, release the button.
- Turn off the ignition: Turn the ignition off and wait for a few seconds.
- Verify the reset: Start your Mini Cooper S and check if the brake pad warning light remains off. If the light is off, the reset was successful.
Note: The reset procedure may vary slightly depending on your specific model. Always refer to your owner’s manual for the most accurate instructions.
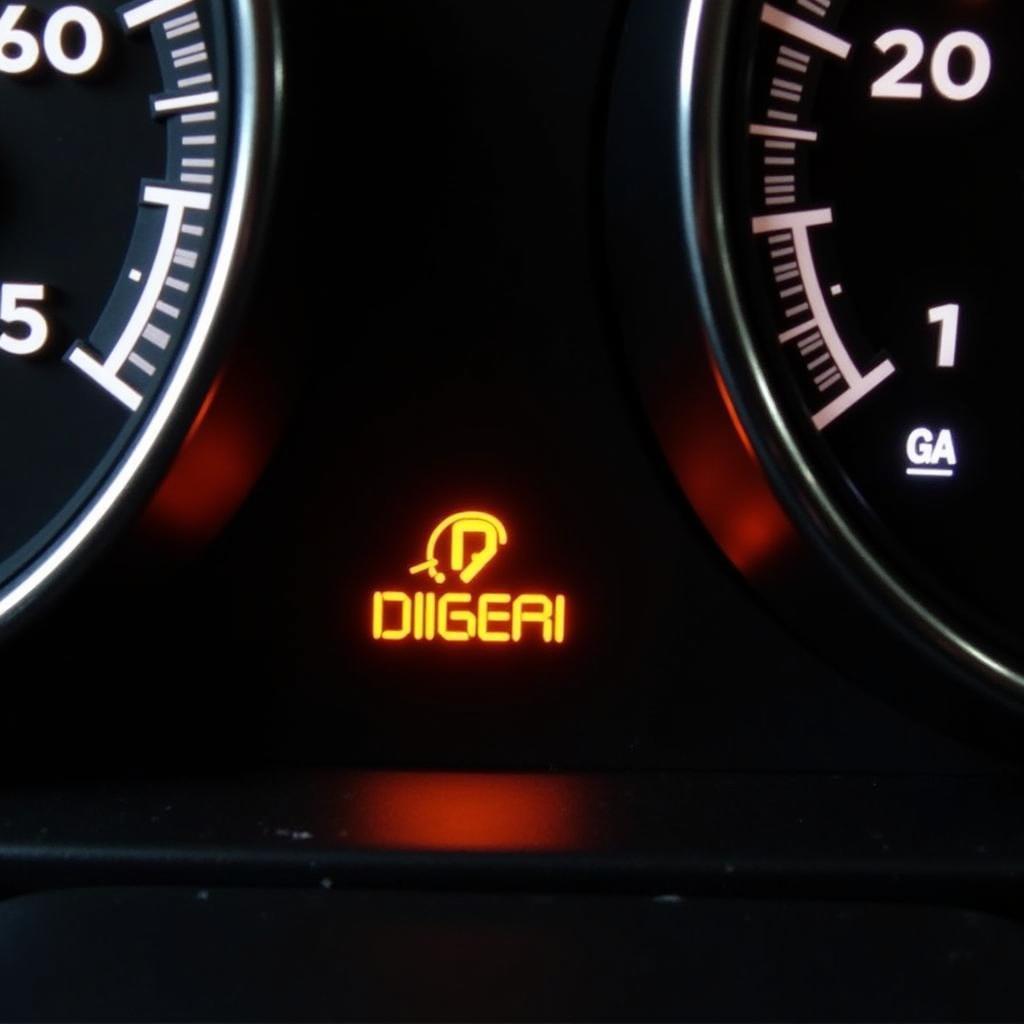
 Mini Cooper S Dashboard Warning Lights
When to Consult a Professional
While resetting the brake pad warning light is a task many car owners can handle, certain situations warrant seeking professional assistance. These include:
- The light remains on after the reset: If the light doesn’t turn off after following the reset procedure, it indicates a deeper underlying issue that requires diagnosis by a qualified mechanic.
- You’re uncomfortable performing the reset: If you’re unsure about any step of the process, it’s always best to err on the side of caution and consult a professional.
Remember, your car’s brakes are crucial for your safety. Never ignore a persistent brake pad warning light or any other signs of brake problems.
Tips for Maintaining Your Mini Cooper S Brakes
Regular brake maintenance can significantly extend the lifespan of your brake pads and ensure optimal braking performance:
- Regular brake inspections: Have your brakes inspected by a qualified mechanic at least once a year or as recommended in your owner’s manual.
- Brake fluid flush: Flush and replace your brake fluid every 2-3 years to prevent corrosion and maintain optimal hydraulic pressure.
- Driving habits: Avoid aggressive driving habits such as hard braking and rapid acceleration, which can accelerate brake pad wear.
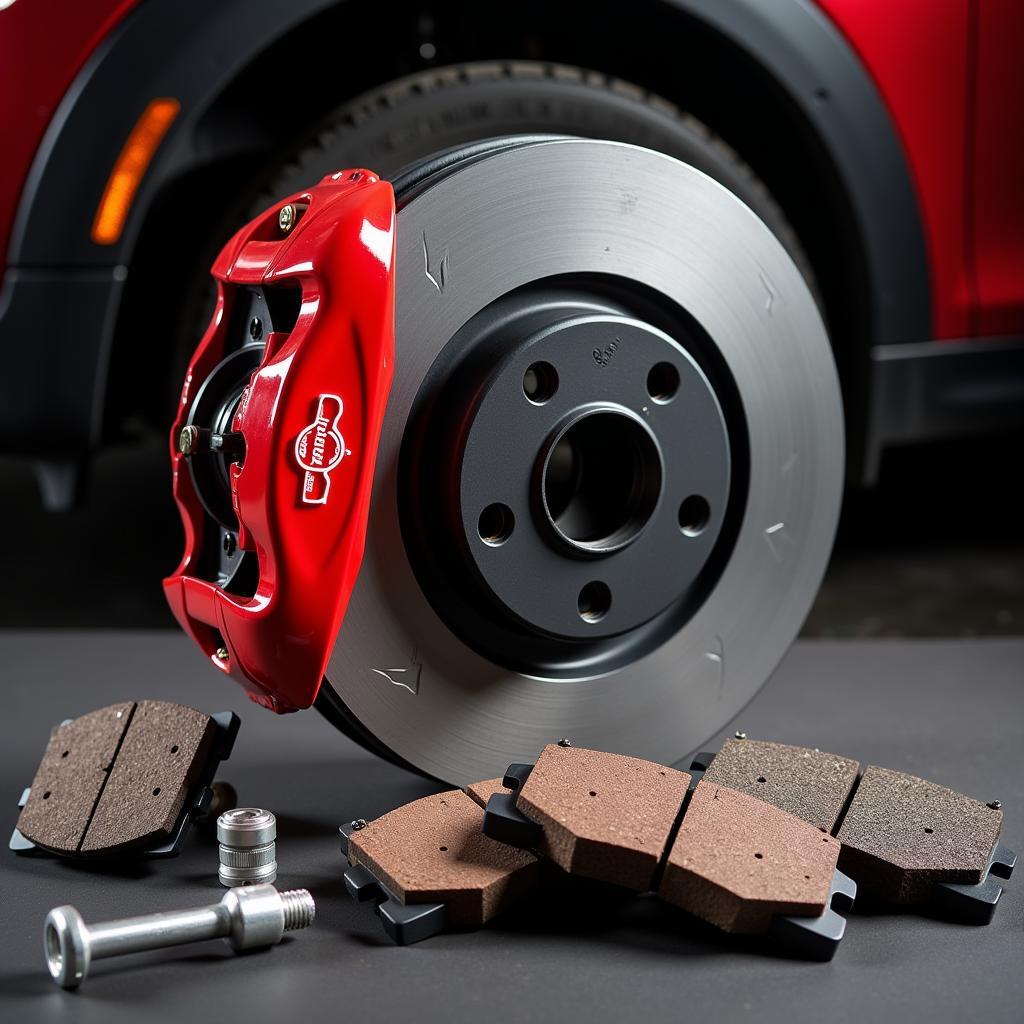
 Mini Cooper S Brake Pads and Rotors
Conclusion
Resetting the 2013 Mini Cooper S brake pad warning light is typically a simple process that most car owners can handle themselves. Understanding the reasons behind this warning light and following the correct reset procedure can save you unnecessary trips to the mechanic and give you peace of mind knowing your brakes are in good working order. However, always remember that your safety is paramount. If you encounter any difficulties or the warning light persists, don’t hesitate to consult a qualified professional.
