The 2014 Cadillac SRX brake pad warning light is a crucial safety feature, alerting drivers to potential brake wear. Ignoring this light can lead to costly repairs and compromised safety. This guide provides comprehensive information on diagnosing and resolving issues related to the 2014 SRX brake pad warning light, empowering you to take control of your vehicle’s maintenance and ensure optimal braking performance.
Understanding the 2014 SRX Brake Pad Warning Light
The brake pad warning light on your 2014 SRX illuminates when the brake pads reach a predetermined wear limit. This limit is designed to give you ample time to replace the brake pads before they wear down completely, potentially damaging the rotors and other brake components. While the most common cause is worn brake pads, other factors can trigger the warning light, including a faulty brake pad wear sensor, low brake fluid, or issues with the ABS (Anti-lock Braking System).
Diagnosing the Cause of the Warning Light
Before rushing to replace your brake pads, it’s essential to diagnose the actual cause of the illuminated warning light.
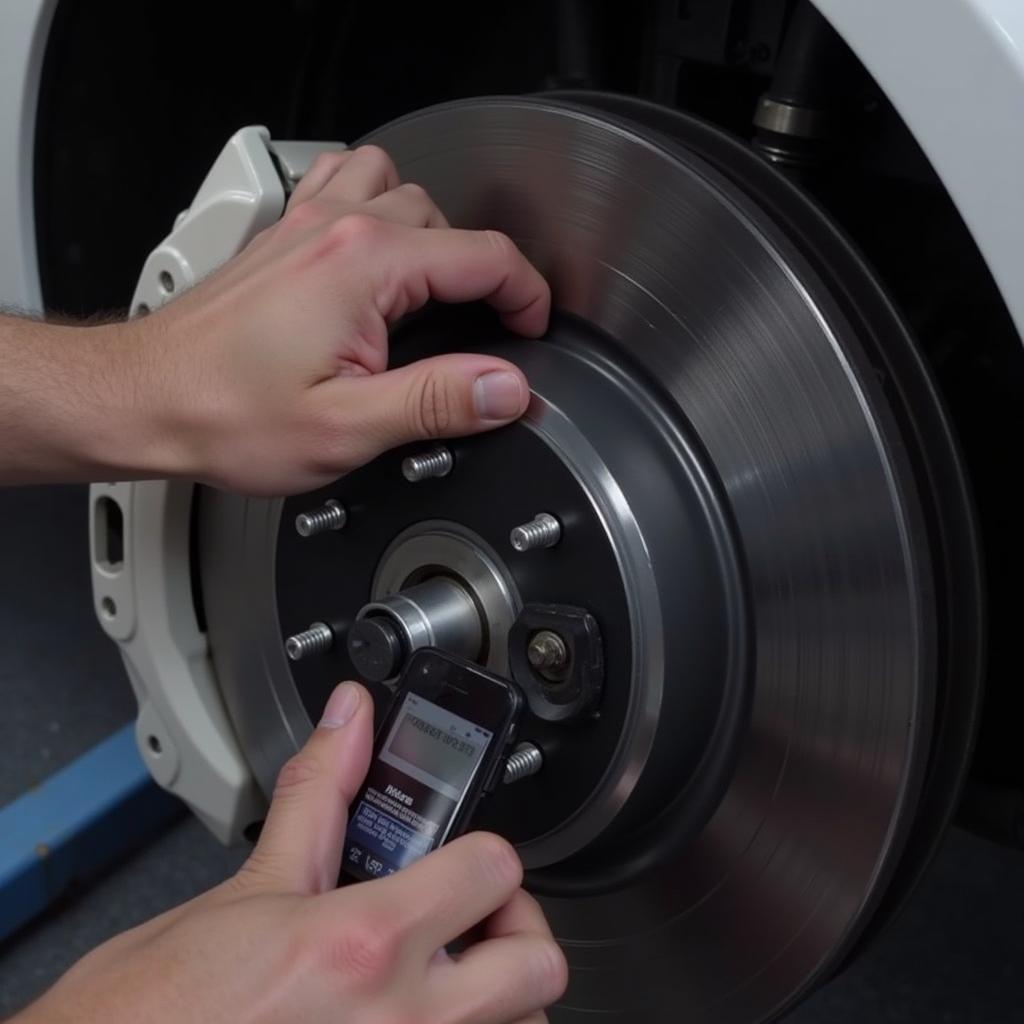
- Check the brake pad thickness: Visually inspect the brake pads through the wheel spokes. If the pad material is thin or you can see the metal backing plate, it’s time for new brake pads.
- Inspect the brake pad wear sensor: The brake pad wear sensor is a small wire embedded in the brake pad material. If this wire is damaged or broken, it can trigger the warning light even if the brake pads are still good.
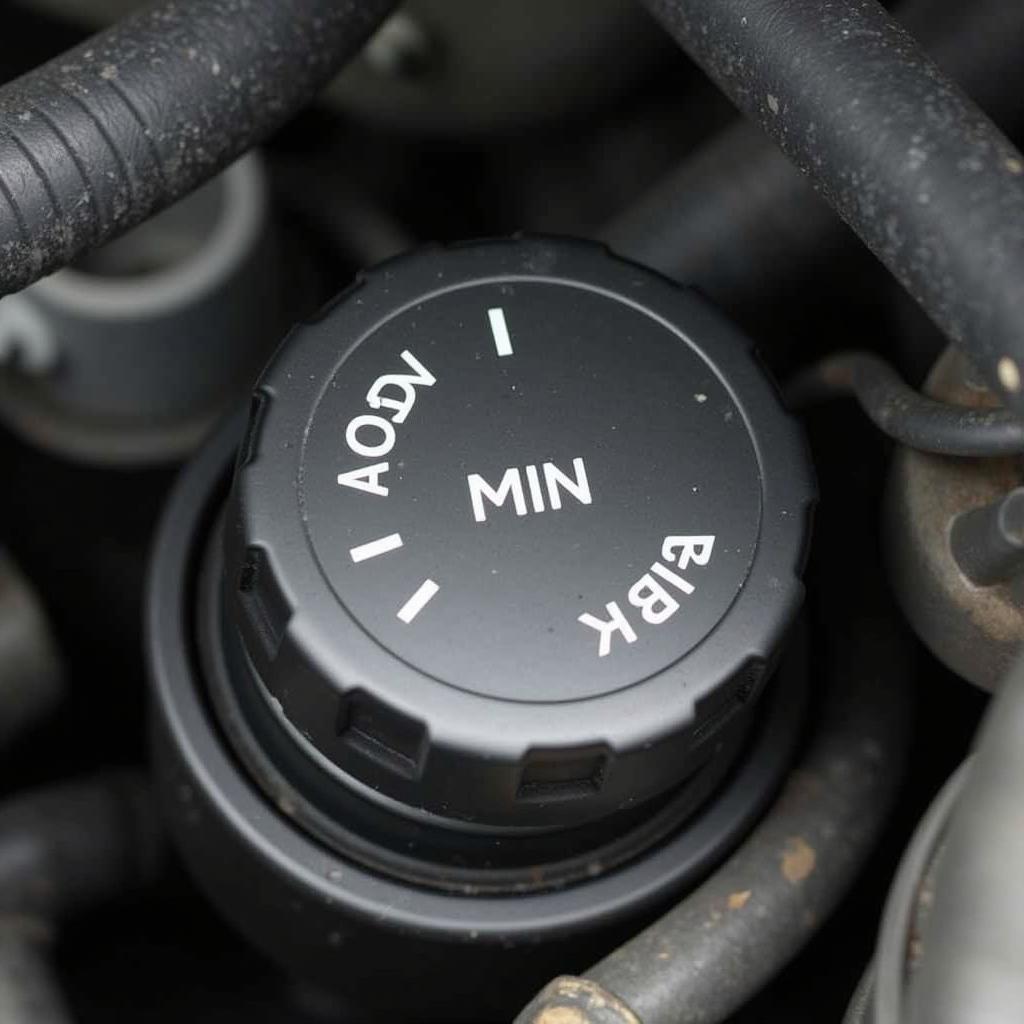
- Check the brake fluid level: Low brake fluid can also trigger the warning light. Check the brake fluid reservoir and top it off if necessary. However, consistently low brake fluid could indicate a leak, requiring immediate professional attention.
- Scan for ABS codes: A malfunctioning ABS system can sometimes cause the brake pad warning light to illuminate. Using an OBD-II scanner, you can check for any stored ABS codes that might pinpoint the issue.
 2014 Cadillac SRX Brake Pad Inspection
How to Reset the 2014 SRX Brake Pad Warning Light
After addressing the underlying issue, you may need to reset the brake pad warning light. In some cases, the light will reset itself after driving for a short distance. However, if the light persists, you can try disconnecting the battery for a few minutes or using an OBD-II scanner to manually reset the light.
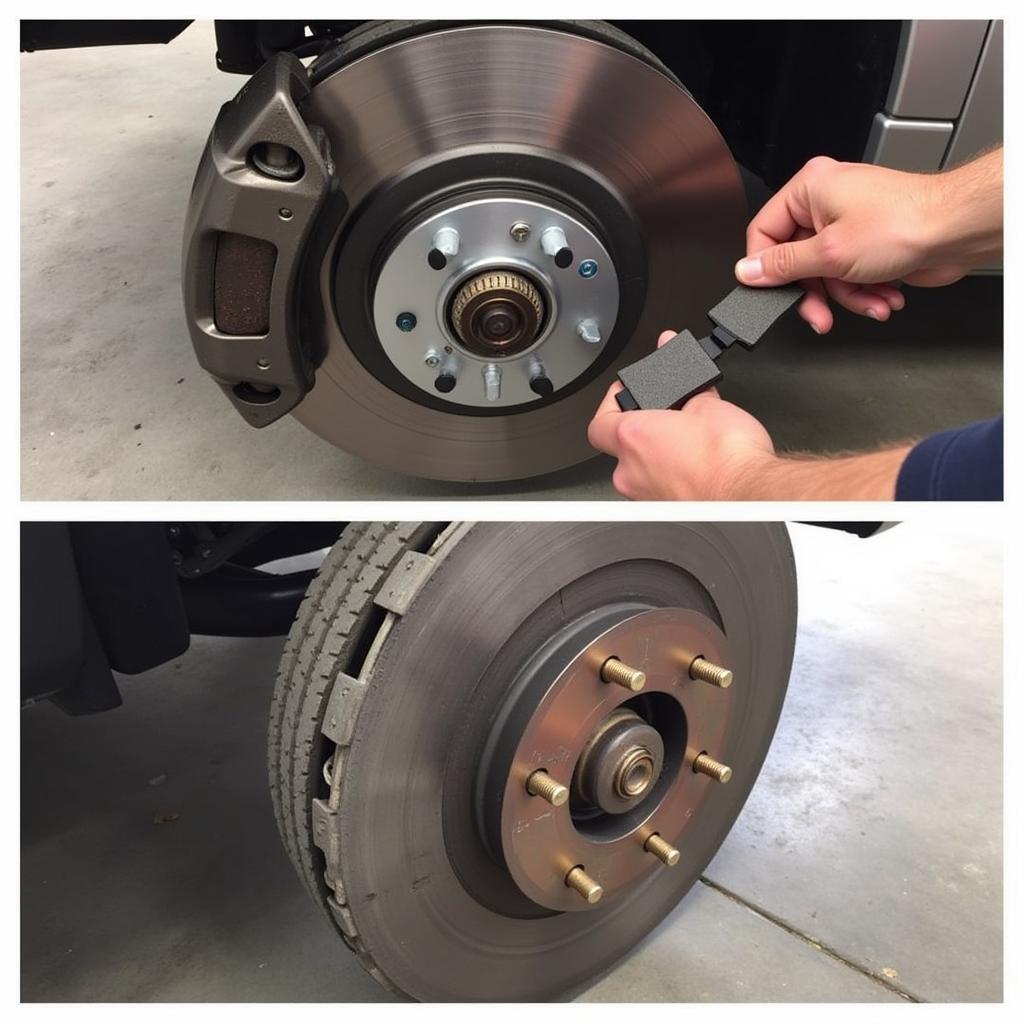
Replacing Brake Pads on a 2014 SRX
Replacing brake pads is a relatively straightforward procedure for those with basic mechanical skills. You’ll need new brake pads, a jack, jack stands, a lug wrench, and some basic hand tools.
- Lift the vehicle and remove the wheel: Securely lift the vehicle using a jack and jack stands. Remove the lug nuts and then the wheel.
- Remove the old brake pads: Compress the brake caliper piston using a C-clamp or specialized brake tool. Remove the retaining clips or pins holding the brake pads in place.
- Install the new brake pads: Insert the new brake pads into the caliper bracket, ensuring they are seated correctly.
- Reassemble the brake caliper and wheel: Reinstall the retaining clips or pins, then the caliper. Reattach the wheel and tighten the lug nuts.
- Lower the vehicle and test the brakes: Carefully lower the vehicle and test the brakes before driving.
 Replacing Brake Pads on a 2014 Cadillac SRX
When to Seek Professional Help
While diagnosing and replacing brake pads can often be handled by DIY enthusiasts, certain situations warrant professional assistance. If you’re uncomfortable working on your brakes, suspect a more complex issue, or encounter difficulties during the repair process, it’s best to consult a qualified mechanic.
“Brake systems are critical for safety,” says certified automotive technician, David Miller. “If you’re not confident in your abilities, don’t hesitate to seek professional help.”
Preventing Future Brake Pad Warning Light Issues
Regular brake inspections are crucial for preventing future issues with the brake pad warning light. It’s recommended to have your brakes inspected at least once a year or every 12,000 miles.
“Regular maintenance is key to keeping your brakes in optimal condition and avoiding costly repairs,” adds Miller. “Preventive maintenance can save you money and headaches in the long run.”
Conclusion
The 2014 SRX brake pad warning light is an important safety feature, and understanding its causes and solutions can help you maintain your vehicle’s braking system effectively. By following the steps outlined in this guide, you can diagnose the problem, address the underlying issue, and reset the warning light. Remember, if you are uncertain about any aspect of brake repair, seeking professional assistance is always the safest option, ensuring your 2014 SRX remains reliable and safe on the road.
FAQ
- How often should I replace my 2014 SRX brake pads? Brake pad lifespan varies depending on driving habits and conditions, but typically they need replacing every 30,000 to 70,000 miles.
- Can I drive with the brake pad warning light on? It’s not recommended. Driving with worn brake pads can damage the rotors and compromise braking performance, leading to dangerous situations.
- How much does it cost to replace brake pads on a 2014 SRX? The cost varies depending on whether you do it yourself or hire a mechanic, but typically it ranges from $150 to $300 per axle.
- What are the symptoms of worn brake pads? Symptoms include squealing or grinding noises, a pulsating brake pedal, and a longer stopping distance.
- How do I know if my brake rotors need replacing? Signs of worn rotors include vibrations in the steering wheel when braking, visible grooves or scoring on the rotor surface, and a reduced brake pedal response.
- Can I use aftermarket brake pads on my 2014 SRX? Yes, several reputable aftermarket brands offer brake pads compatible with the 2014 SRX.
- What is the importance of regular brake inspections? Regular brake inspections help identify potential problems early, preventing costly repairs and ensuring optimal braking performance for safety.

