If your 2017 Kia Optima LX dashboard is displaying a “Check Rear Brake Light” warning, you’re not alone. This common issue can be a minor annoyance or a sign of a more serious problem. Whether you’re a DIY enthusiast or plan on taking your Kia to a mechanic, this comprehensive guide will walk you through understanding and resolving the issue.
Understanding the “Check Rear Brake Light” Warning
Your Kia Optima uses sensors to monitor various systems, including your brake lights. When the “Check Rear Brake Light” warning appears, it means the system has detected a problem with one or more of your rear brake lights.
Common Causes of the Warning Light
Several culprits could be triggering your “Check Rear Brake Light” warning. Let’s explore some of the most common reasons:
-
Burnt Out Bulb: Just like any other car, the bulbs in your Kia Optima’s brake lights have a limited lifespan. Over time, the filament inside the bulb can burn out, causing the light to stop working.
-
Faulty Brake Light Switch: The brake light switch, located near the brake pedal, is responsible for sending a signal to activate your brake lights when you press the pedal. If this switch malfunctions, your brake lights may not illuminate properly.
-
Blown Fuse: Your Kia Optima uses fuses to protect its electrical circuits from damage caused by power surges. If the fuse associated with your brake lights blows, the lights will cease to function.
-
Wiring Issues: Exposure to the elements, wear and tear, or rodents can damage the wiring harness connected to your brake lights. Damaged or corroded wires can disrupt the flow of electricity, leading to a malfunctioning brake light.
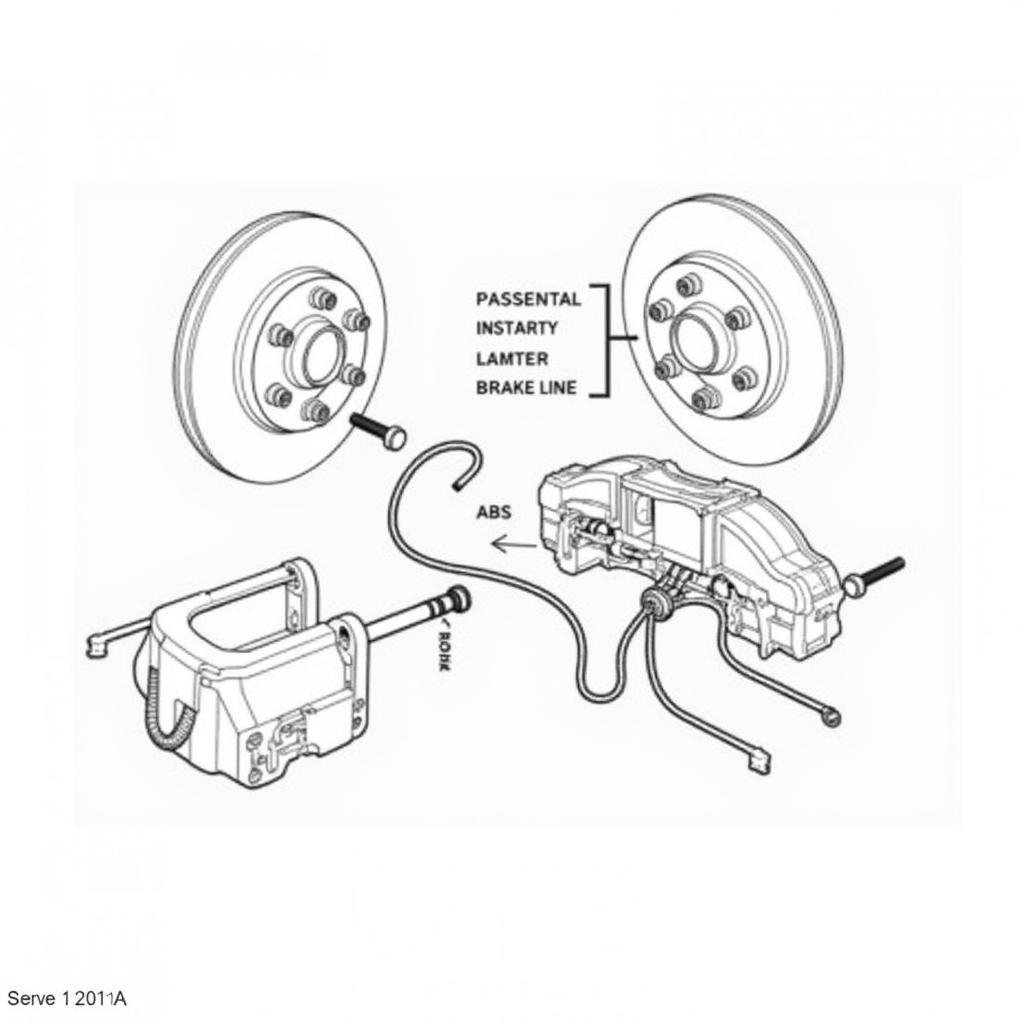
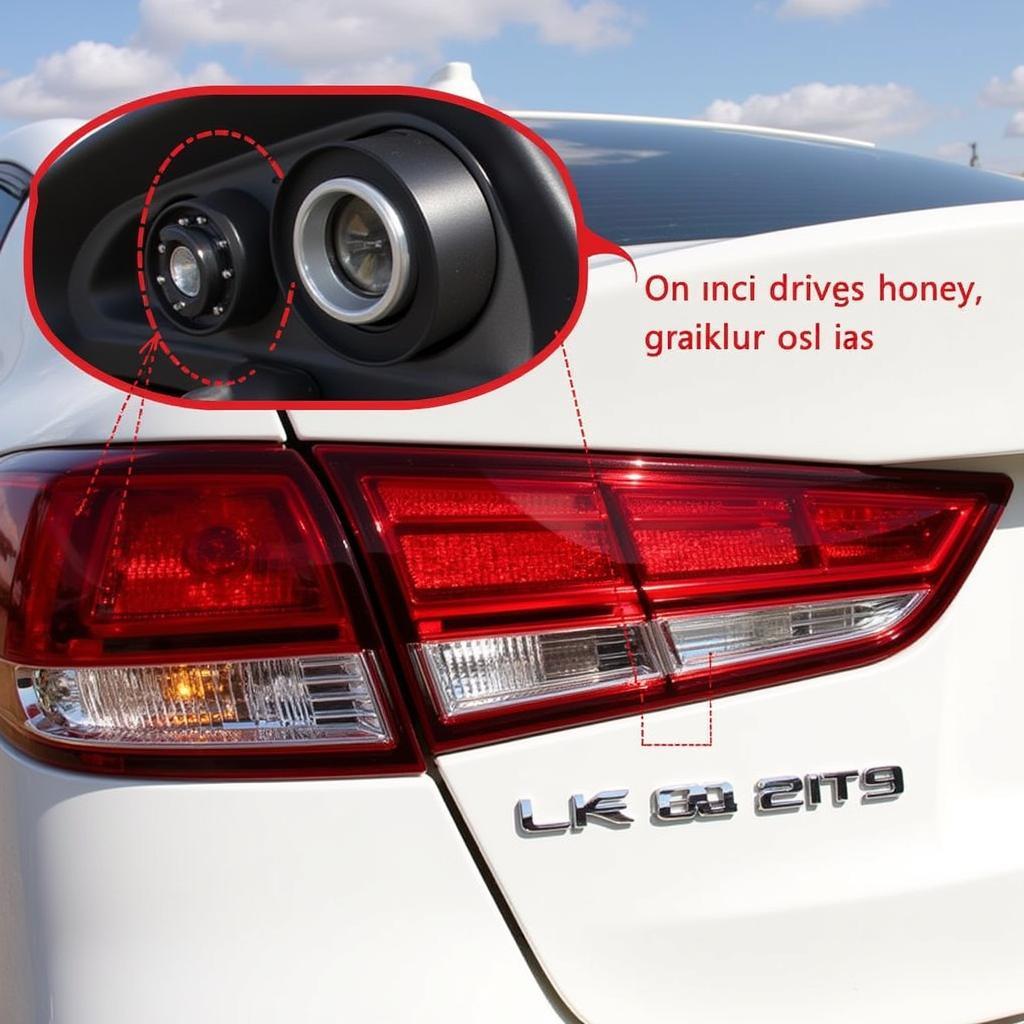 2017 Kia Optima Rear Brake Light
Troubleshooting the “Check Rear Brake Light” Warning
Before heading to the mechanic, you can perform a few simple checks to identify the source of the problem:
-
Inspect the Brake Lights: Ask a friend or family member to press the brake pedal while you stand behind the car. Check if both brake lights illuminate brightly. If one or both lights fail to turn on, you likely have a burnt-out bulb.
-
Check the Brake Light Bulbs: If you suspect a burnt-out bulb, open the trunk and locate the brake light bulb sockets on the rear of the taillight assembly. Carefully remove the bulb holder and inspect the filament for any breaks or blackening. If the filament is broken, the bulb needs replacement.
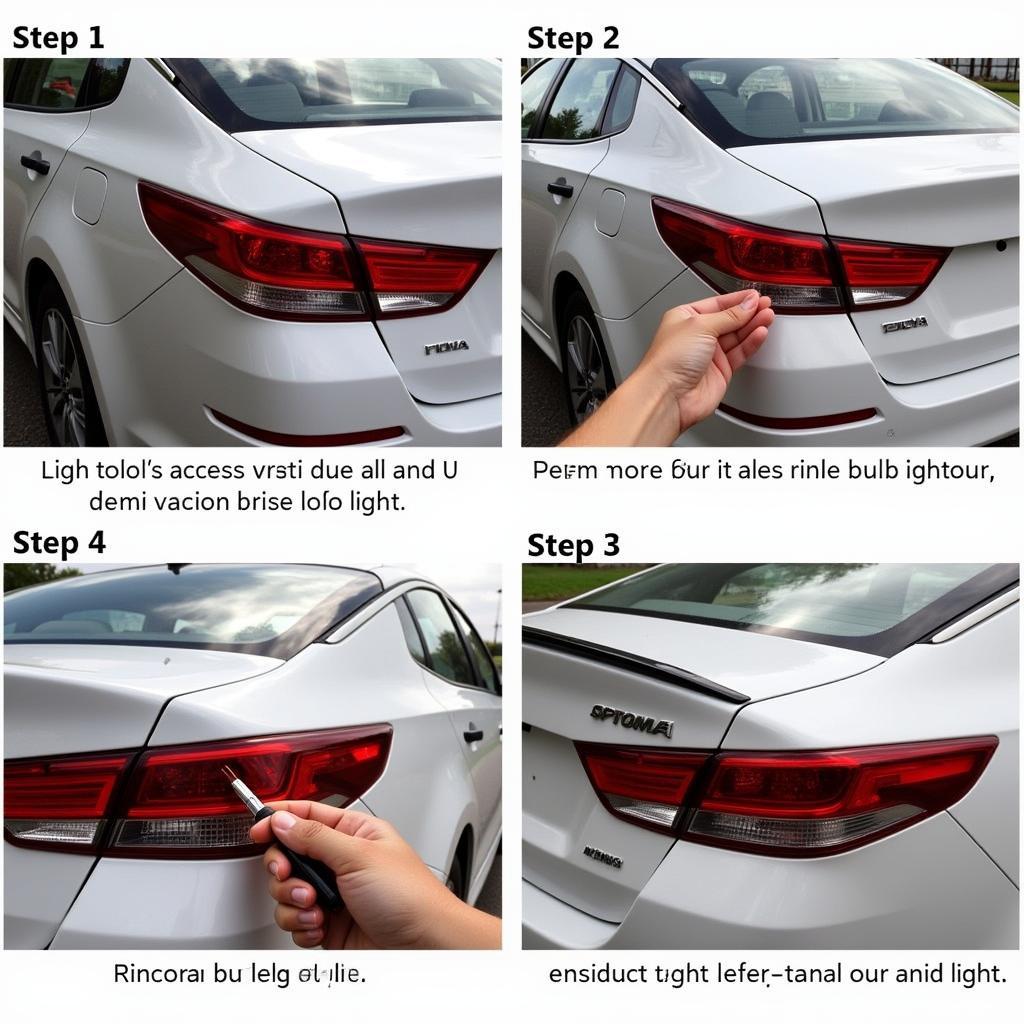 Replacing Kia Optima Brake Light Bulb
 -
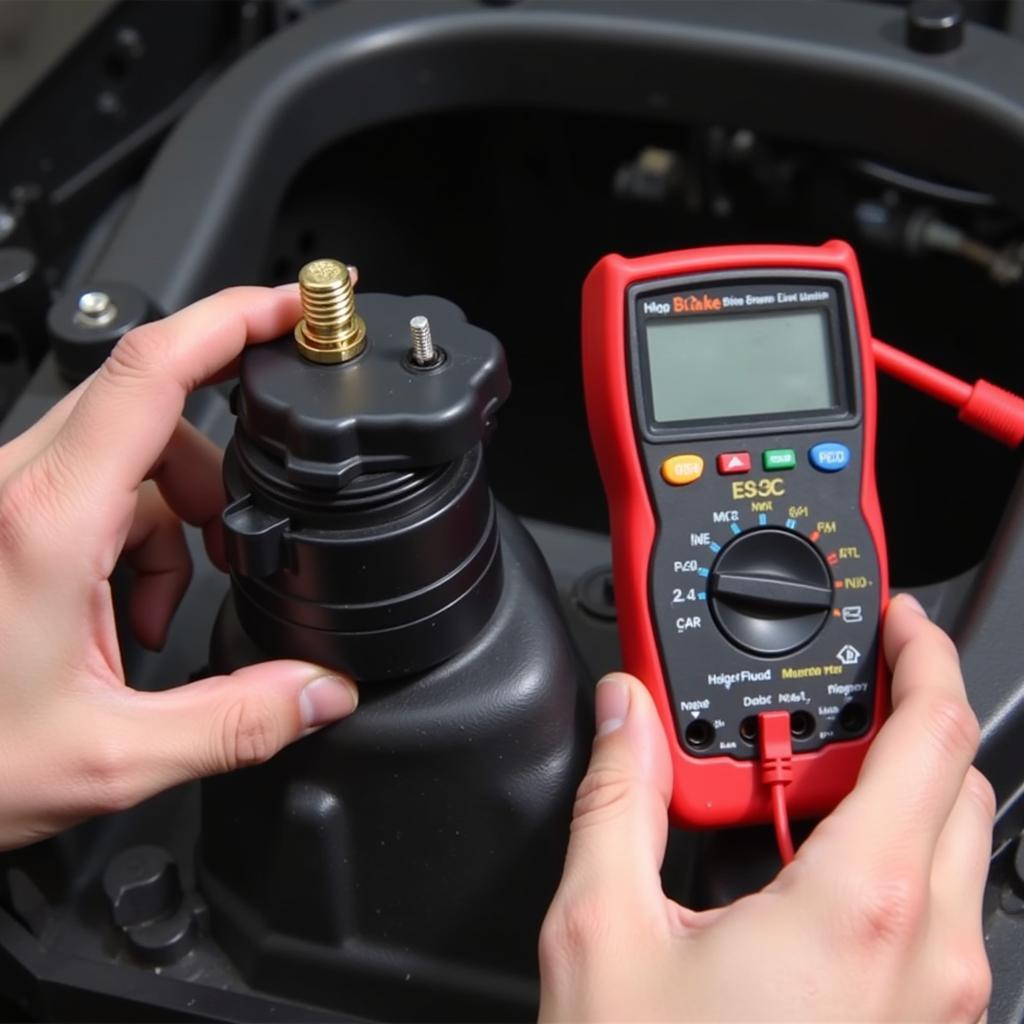
Inspect the Fuses: Consult your Kia Optima owner’s manual to identify the correct fuse box location and the fuse associated with the brake lights. Once you’ve located the fuse box, carefully remove the fuse in question and inspect it for any signs of damage, such as a broken wire or a dark, discolored spot. If the fuse is blown, replace it with a new fuse of the same amperage.
Expert Tip from John Miller, ASE Certified Master Technician: “When replacing a blown fuse, always ensure you are using a new fuse with the correct amperage rating. Using a fuse with a higher amperage than recommended can create a fire hazard.”
-
Examine the Wiring: While inspecting the bulbs and fuse, take a moment to examine the wiring harness connected to the brake lights. Look for any signs of damage, such as cuts, fraying, or corrosion. If you find any damaged wires, they will need to be repaired or replaced by a qualified mechanic.
When to Consult a Mechanic
If you’ve checked all the above and haven’t been able to identify the cause of the “Check Rear Brake Light” warning, it’s best to consult a qualified mechanic. A professional mechanic can diagnose the issue using advanced diagnostic tools and perform any necessary repairs.
Conclusion
The “Check Rear Brake Light” warning in your 2017 Kia Optima LX is a crucial safety feature designed to alert you to a potential problem. By following the troubleshooting steps outlined in this article, you can often identify and address the issue yourself. However, if you are unsure about any step or the problem persists, always consult with a qualified mechanic to ensure your vehicle remains safe and roadworthy.