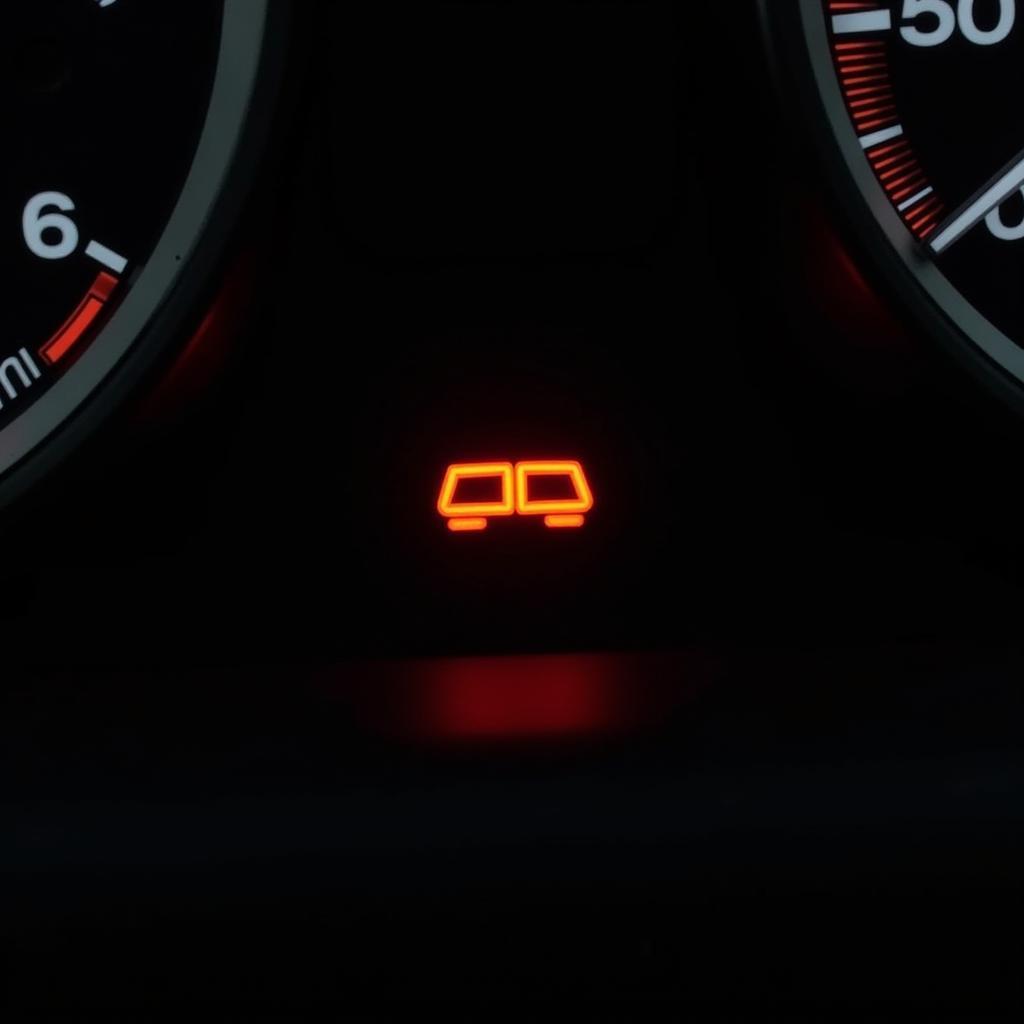
If your ambulance’s 9-inch warning lights activate when you apply the brakes, you’re facing a potentially serious issue that needs immediate attention. This problem can affect the safety of both the emergency medical personnel and other drivers on the road. Let’s explore the possible causes and solutions for this malfunction.
Understanding the Connection Between Brakes and Warning Lights
The simultaneous activation of the 9-inch warning lights and brakes suggests a potential electrical issue, possibly a short circuit or grounding problem. Your ambulance’s braking system and warning light system are likely interconnected, and a fault in one can impact the other. Understanding this connection is crucial to diagnosing and resolving the problem.
Common Causes of Warning Light Activation with Brakes
- Grounding Issues: A faulty ground connection is a common culprit. The warning lights might be grounding through the brake light circuit when the brakes are applied, causing them to illuminate.
- Short Circuit: A short circuit in the wiring harness, particularly in sections shared by both the brake lights and the warning lights, can lead to this issue. Damage to the wiring, perhaps from wear and tear or rodent activity, can create a short.
- Faulty Brake Light Switch: A malfunctioning brake light switch can send incorrect signals, potentially activating the warning lights along with the brake lights.
- Controller Malfunction: In modern ambulances with integrated electronic control modules, a faulty controller could be misinterpreting signals and triggering the warning lights.
- Incorrect Wiring: If recent work has been done on the ambulance’s electrical system, it’s possible that the wiring was not correctly reconnected, leading to this unintended interaction.
Diagnosing the Problem
Diagnosing the root cause requires a systematic approach. Start by checking the easiest and most common issues first.
- Inspect Ground Connections: Begin by thoroughly inspecting all ground connections related to both the brake lights and the 9-inch warning lights. Look for loose connections, corrosion, or damage.
- Test the Brake Light Switch: Check the brake light switch for proper operation using a multimeter. A faulty switch might need replacement.
- Inspect the Wiring Harness: Carefully examine the wiring harness for any signs of damage, chafing, or rodent activity. Pay particular attention to sections where the brake light and warning light wiring run close together.
- Check the Controller (if applicable): If your ambulance has an electronic control module for the lights, diagnose it using a diagnostic scanner for any error codes related to the warning or brake light circuits.
Solutions and Repairs
Once you’ve identified the source of the problem, the necessary repairs can be carried out.
- Repairing Ground Connections: Clean and tighten loose ground connections, and replace any corroded or damaged components.
- Replacing the Brake Light Switch: If the brake light switch is faulty, it will need to be replaced.
- Repairing or Replacing Wiring: Damaged sections of the wiring harness should be repaired or replaced entirely to prevent future issues.
- Updating or Replacing the Controller: If a faulty controller is identified, it may require a software update or replacement.
- Consulting a Specialist: For complex electrical issues, consulting a qualified automotive electrician specializing in ambulance systems is highly recommended.
Remote Diagnostics and Programming
In some cases, remote diagnostics and programming can be utilized to identify and resolve software-related issues with the warning light controller. This can save valuable time and potentially avoid the need for an on-site visit from a technician.
“Remote diagnostics has become invaluable in our field. It allows us to address issues quickly and efficiently, minimizing downtime for ambulances,” says John Smith, Lead Automotive Electrician at Emergency Vehicle Solutions.
Preventing Future Problems
Regular preventative maintenance is crucial to avoid similar issues in the future.
- Regular Inspections: Implement a routine inspection schedule for all electrical systems, including the brake and warning lights.
- Protective Measures: Protect the wiring harness from damage by securing it properly and using protective conduits where necessary.
- Prompt Repairs: Address any minor electrical issues promptly to prevent them from escalating into more significant problems.
Conclusion
The issue of 9-inch warning lights activating with the brakes on an ambulance is a serious concern that requires prompt attention. By understanding the potential causes, following a systematic diagnostic approach, and implementing appropriate repairs, you can ensure the safe and effective operation of your ambulance. Regular maintenance is essential for preventing similar issues in the future, keeping your emergency vehicles on the road and ready to respond.
FAQ
- What is the most common cause of this issue? Grounding problems are often the culprit.
- Can I fix this myself? Simple fixes like cleaning ground connections can be DIY, but more complex issues require professional help.
- Is this a safety hazard? Yes, malfunctioning warning lights compromise safety.
- How can I prevent this from happening again? Regular maintenance is key.
- What if the problem persists after trying these solutions? Consult a qualified automotive electrician specializing in ambulance systems.
- Is remote diagnostics a viable option? Yes, for software-related controller issues, remote diagnostics can be very effective.
- How often should I inspect my ambulance’s electrical system? Regular inspections, at least every six months, are recommended.

