Working on your Mercedes-Benz and need to remove or replace a valance trim piece? Whether you’re fixing damage, upgrading your style, or tackling a DIY project, having the right tools makes all the difference. This guide will walk you through the essentials of Mercedes valance trim tools, ensuring you have the knowledge to get the job done right.
Understanding Mercedes Valance Trim
Before diving into the tools, let’s clarify what we mean by “valance trim.” On a Mercedes, the valance refers to the body panels located below the bumpers, often at the front, rear, or sides. These panels can be purely aesthetic or house functional components like fog lights or exhaust tips.
The “trim” refers to the decorative or protective pieces attached to these valance panels. They’re often made from plastic, chrome, or rubber and can be held in place by clips, screws, or adhesive.
Essential Mercedes Valance Trim Tools
Having the correct tools can prevent damage and frustration during removal and installation. Here are some must-haves for your toolkit:
1. Trim Removal Tools
These are your best friend when prying off delicate trim pieces. Look for a set with various shapes and sizes to accommodate different clips and fasteners.
Pro Tip: “Always pry gently and use a wide, flat tool to distribute pressure and minimize the risk of marking or cracking the trim,” advises Michael Schmidt, author of “Automotive Trim and Molding Repair.”
2. Screwdriver Set
While many trim pieces rely on clips, you’ll likely encounter screws as well. A quality set with both Phillips and flat-head screwdrivers in various sizes will cover most scenarios.
3. Plastic Pry Tools
Similar to trim removal tools, but specifically designed to avoid scratching delicate surfaces. These are perfect for working around painted areas or sensitive materials.
4. Adhesive Remover
If your trim is held in place with adhesive tape or bonding strips, you’ll need an adhesive remover to soften and loosen the grip.
5. Protective Gear
Don’t forget about safety! Gloves protect your hands from sharp edges and chemicals, while safety glasses shield your eyes from debris.
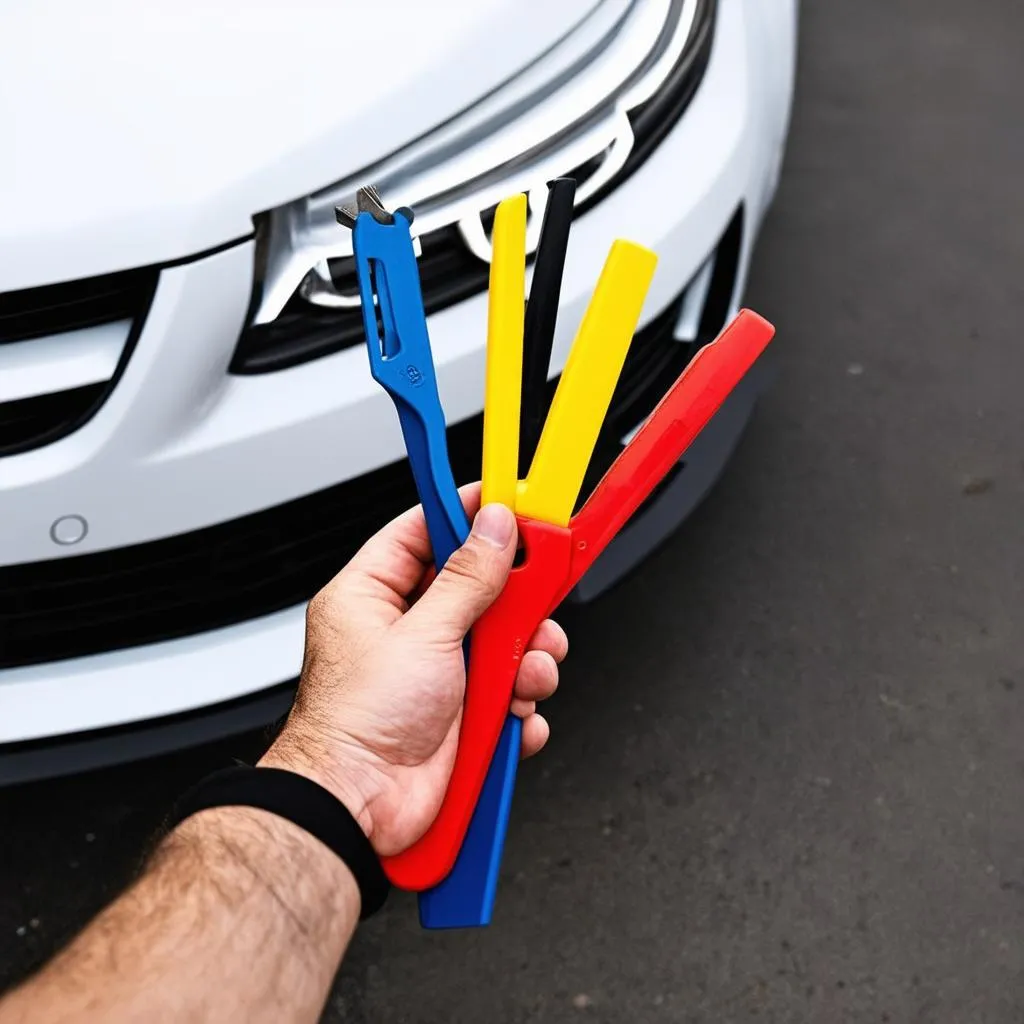 Trim Removal Tool Kit
Common Mercedes Valance Trim Issues
Understanding potential problems you might encounter can save you headaches down the road:
- Broken Clips: These small plastic pieces are notorious for breaking during removal. It’s wise to have a few spare clips on hand before starting your project.
- Stubborn Adhesive: Removing old, hardened adhesive can be challenging. Patience and the right adhesive remover are key.
- Hidden Fasteners: Some trim pieces might have hidden screws or bolts behind other components. Consult your Mercedes’ service manual for specific locations.
FAQs About Mercedes Valance Trim
Q: Can I reuse the old clips when reinstalling the trim?
A: While tempting, it’s best to replace old clips with new ones. Over time, clips become brittle and lose their holding power, potentially leading to loose or rattling trim.
Q: What’s the best way to remove adhesive residue without damaging the paint?
A: Use a dedicated adhesive remover and follow the manufacturer’s instructions carefully. Apply a small amount, allow it to dwell, and gently scrape away the softened adhesive with a plastic scraper.
Q: Where can I find replacement trim pieces for my Mercedes?
A: Your local Mercedes dealership is a reliable source for genuine parts. Additionally, reputable online retailers specializing in Mercedes parts offer a wide selection.
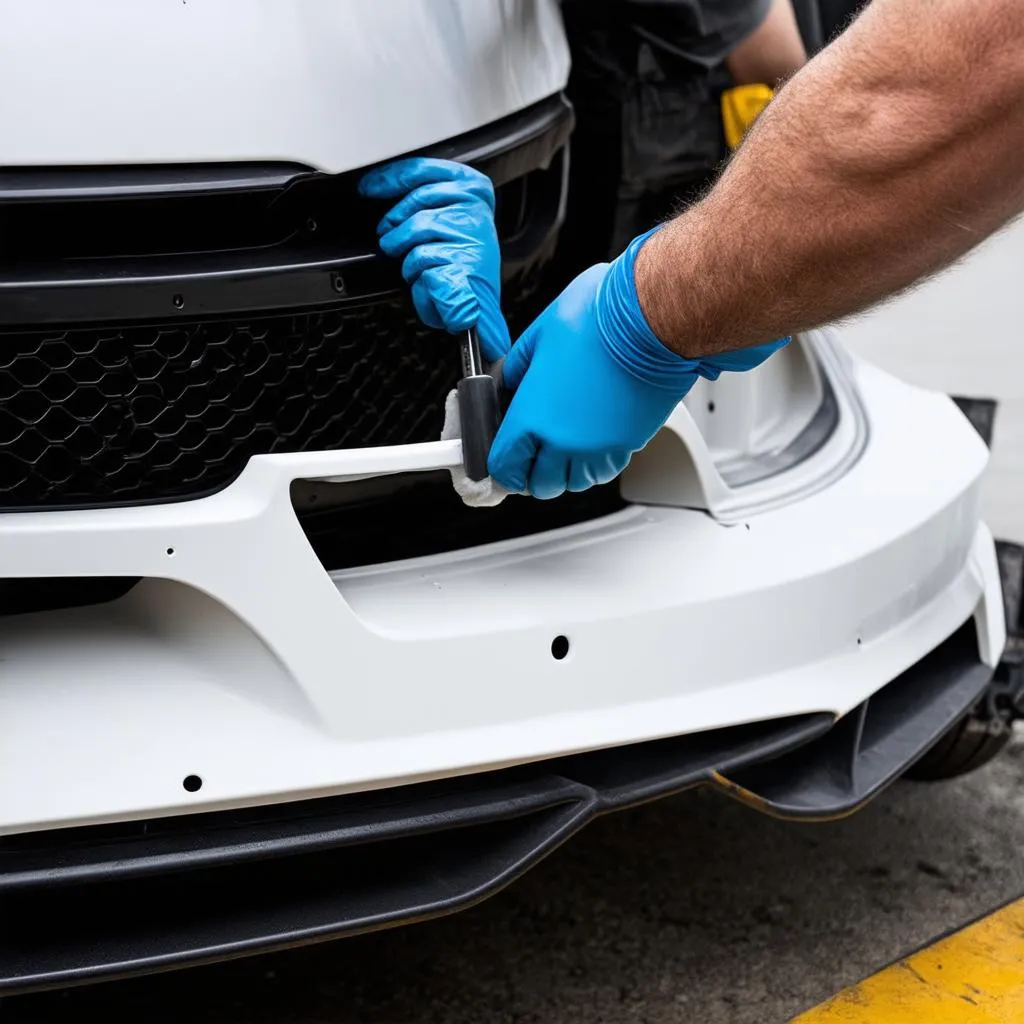 Mechanic Replacing Trim on Car
Conclusion
Equipping yourself with the right tools and knowledge makes working on your Mercedes valance trim a manageable DIY task. Remember to take your time, work carefully, and don’t hesitate to consult your service manual or seek professional help if needed.
For additional information on Mercedes diagnostic tools and resources, visit CARDIAGTECH.com for a wide range of solutions tailored to your automotive needs.