A malfunctioning marker light might seem like a minor inconvenience, but it can lead to serious safety hazards on the road. If your Mercedes C230’s marker light is out, don’t panic! This comprehensive guide will walk you through the process of diagnosing and fixing the issue yourself, saving you a potentially costly trip to the mechanic.
Understanding the Problem: Why is My Marker Light Out?
Before you start tinkering, it’s essential to understand what might be causing the problem. A marker light, also known as a parking light or sidelight, can fail for several reasons, including:
- Burnt-out bulb: This is the most common culprit. Like all bulbs, marker light bulbs have a limited lifespan and eventually burn out.
- Corroded socket: Over time, the socket that the bulb connects to can become corroded, preventing proper electrical contact.
- Wiring issues: A short circuit, a blown fuse, or damaged wiring can also cause the marker light to stop working.
- Faulty light switch: In some cases, a malfunctioning light switch could be the root of the problem.
Identifying the Culprit: Diagnosing the Marker Light Issue
Before you begin any repairs, you’ll need to confirm the cause of the problem. Here’s a quick troubleshooting guide:
- Check the bulb: Inspect the marker light bulb for any signs of damage, such as a broken filament or blackened glass. If the bulb looks burnt out, it needs to be replaced.
- Inspect the socket: Examine the bulb socket for any signs of corrosion or damage. If the socket is corroded, you can try cleaning it with electrical contact cleaner.
- Check the fuses: Locate your C230’s fuse box (refer to your owner’s manual for its location) and check the fuse associated with the marker light. A blown fuse will need to be replaced.
- Inspect the wiring: Carefully examine the wiring leading to the marker light for any signs of damage, such as fraying, cuts, or burns.
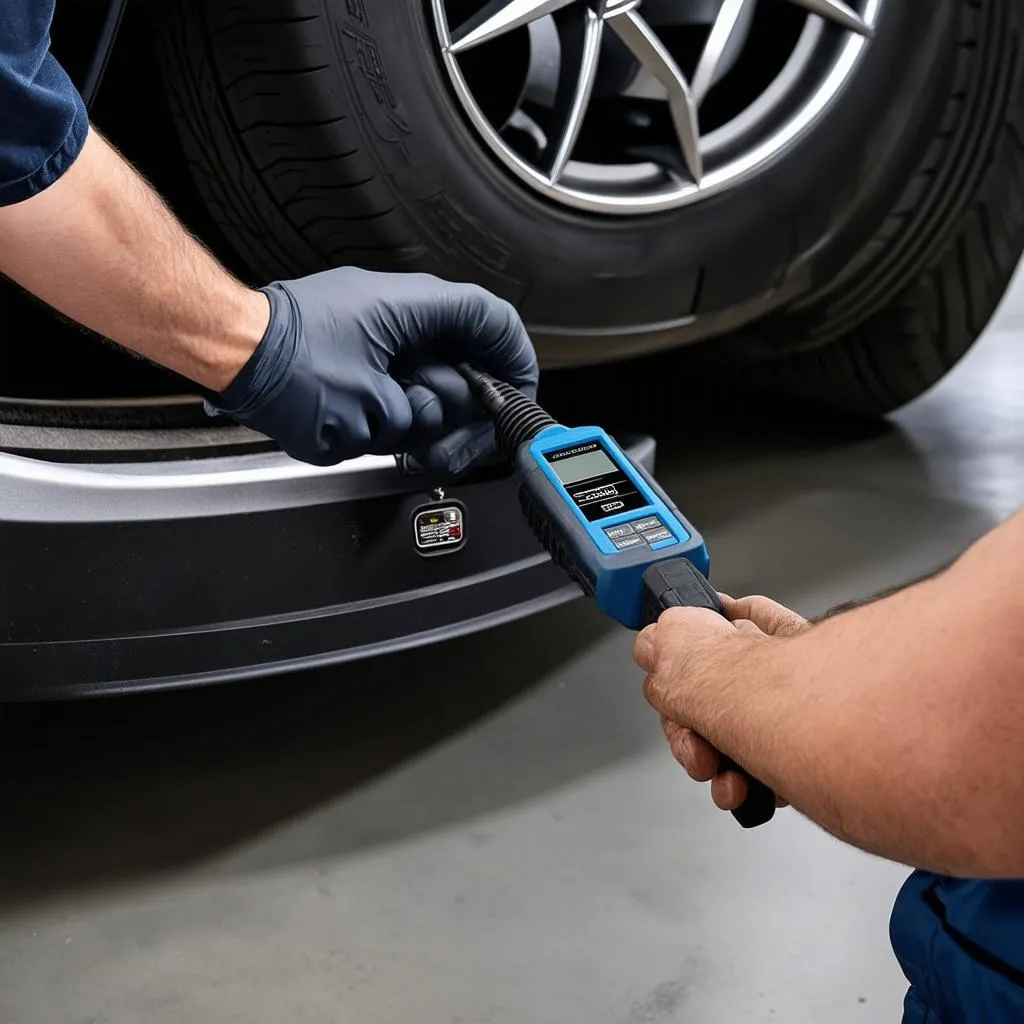
 Mercedes C230 Marker Light Location
Utilizing Diagnostic Tools for Advanced Troubleshooting
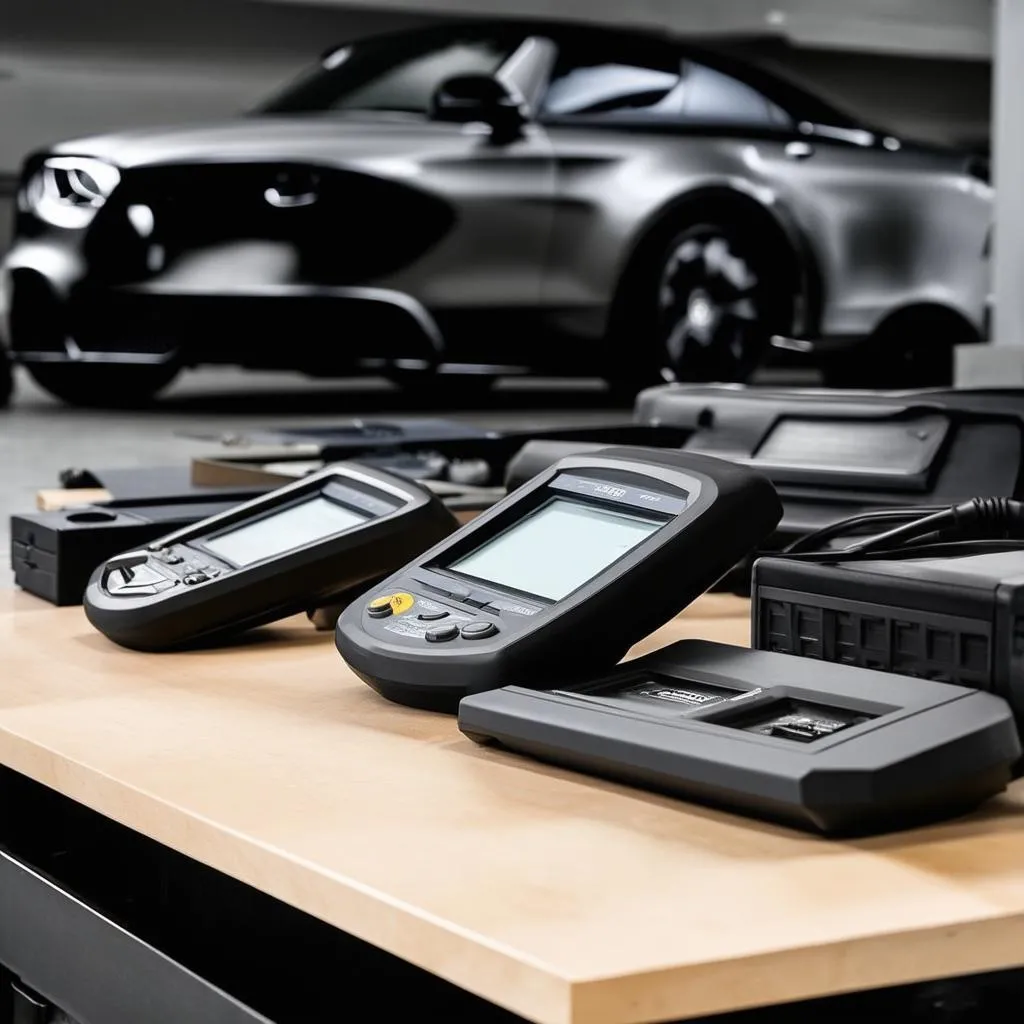
For a more comprehensive diagnosis, especially if you suspect wiring issues or a faulty light switch, using an OBD2 scanner can be incredibly helpful. A reliable OBD2 scanner, like those offered by Cardiagtech, can read your car’s computer system, providing valuable information about electrical faults and other potential issues.
Expert Insight: “Using a diagnostic tool can save you hours of guesswork and frustration,” says automotive electrician Michael Thompson, author of “Automotive Electrical Systems Simplified.” “These tools can pinpoint the exact location of an electrical fault, allowing for targeted repairs.”
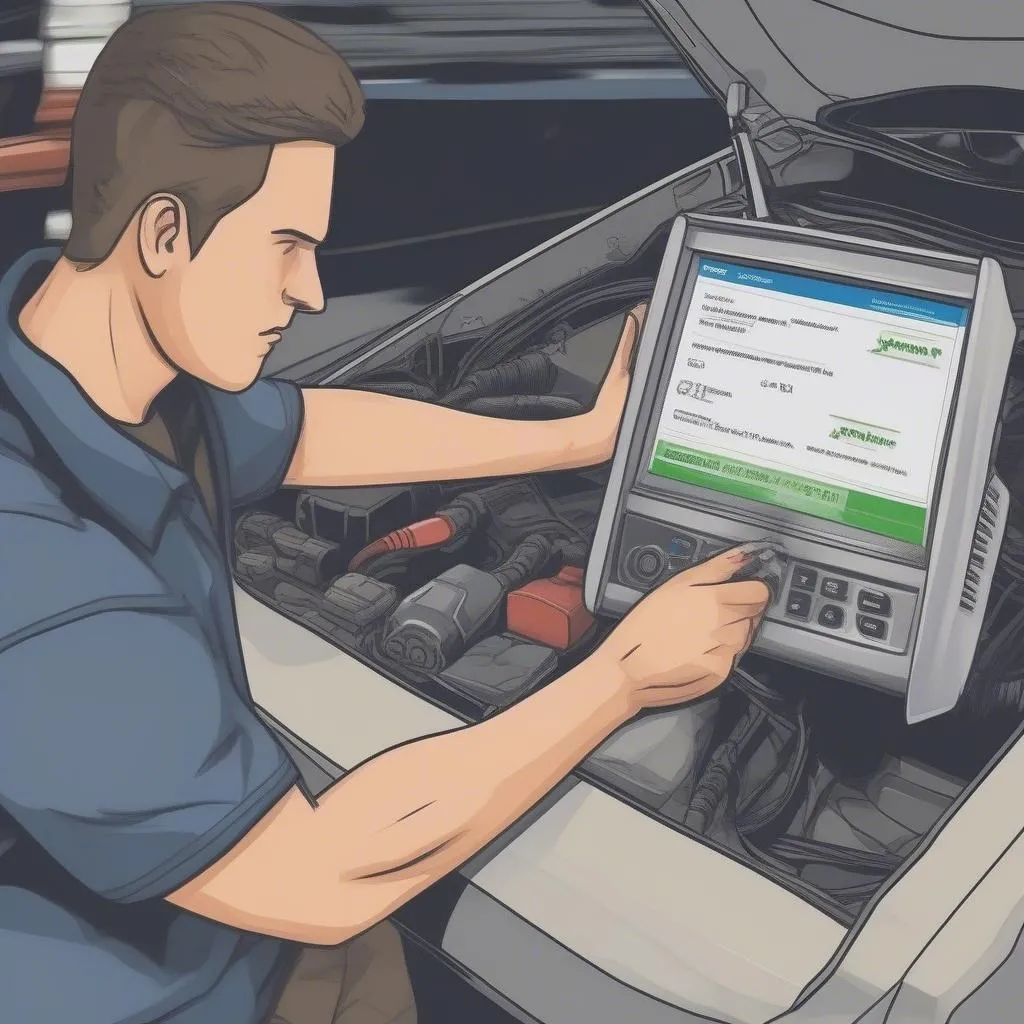 OBD2 Scanner Diagnosing Car Problems
Gathering Your Tools: What You’ll Need for the Fix
Having the right tools on hand will make the repair process much smoother. Here’s a list of what you’ll likely need:
- Replacement marker light bulb (check your owner’s manual for the correct type)
- Screwdriver (usually a Phillips or flathead)
- Socket wrench or pliers (if removing the headlight assembly is necessary)
- Electrical contact cleaner (if cleaning the bulb socket)
- Replacement fuse (if the fuse is blown)
- Wire strippers and crimpers (if repairing wiring)
- Protective gloves and safety glasses
Fixing the Marker Light: A Step-by-Step Guide
Once you’ve identified the issue and gathered your tools, you can start the repair process.
1. Accessing the Marker Light Bulb:
- Locate the marker light: Refer to your owner’s manual for the exact location of the marker light assembly on your C230. It’s usually located on the front corner of the vehicle, near the headlight.
- Open the hood and disconnect the battery: As a safety precaution, always disconnect the negative battery cable before working on any electrical components.
- Remove any necessary components: Depending on your C230’s model year, you might need to remove the headlight assembly, the air intake, or other components to access the marker light bulb. Consult your owner’s manual for specific instructions.
2. Replacing the Bulb:
- Twist the bulb socket counterclockwise to release it from the assembly.
- Pull the old bulb straight out of the socket.
- Insert the new bulb into the socket and twist it clockwise to secure it.
3. Addressing Other Issues:
- If the socket is corroded, spray it with electrical contact cleaner and let it dry completely before reinstalling the bulb.
- If you need to replace the fuse, locate the blown fuse in the fuse box (refer to your owner’s manual) and replace it with a new fuse of the same amperage.
- If you find damaged wiring, carefully repair or replace the affected section using wire strippers, crimpers, and electrical tape.
4. Reassembling and Testing:
- Reinstall any components you removed to access the marker light.
- Reconnect the battery and turn on your headlights to test if the marker light is working correctly.
Frequently Asked Questions
Q: Can I drive with a burnt-out marker light?
A: While it might seem like a minor issue, driving with a burnt-out marker light is illegal in most jurisdictions. Marker lights are crucial for visibility, especially at night and in low-light conditions.
Q: How often should I replace my marker light bulbs?
A: There’s no set replacement interval for marker light bulbs. However, it’s a good practice to inspect them regularly and replace them if you notice any signs of dimming or damage.
Q: I replaced the bulb, but my marker light is still not working. What should I do?
A: If replacing the bulb doesn’t solve the issue, the problem likely lies elsewhere, such as a faulty socket, wiring issues, a blown fuse, or a malfunctioning light switch. Using an OBD2 scanner, like those from CARDIAGTECH, can help pinpoint the exact cause.
Conclusion
Fixing a marker light on your Mercedes C230 is a relatively straightforward DIY task that can save you time and money. By following this step-by-step guide and taking necessary precautions, you can get your marker light back in working order and ensure your safety on the road.