Curb rash. It’s the bane of every Mercedes owner’s existence. Whether you misjudged a parking space or fell victim to a rogue curb, that unsightly scrape on your Mercedes’ wheel can feel like a major blow. But don’t despair! Fixing curb rash is easier than you might think, and it doesn’t have to cost a fortune.
This comprehensive guide will walk you through the steps to fix minor to moderate curb rash on your Mercedes wheels, restoring their pristine appearance and saving you a trip to the dealership.
Understanding Curb Rash and its Impact
Before we delve into the repair process, let’s quickly clarify what curb rash is and why it’s important to address. Curb rash refers to those scrapes, scratches, and gouges that occur on the outer edge of your Mercedes’ wheels when they come into contact with curbs. While primarily a cosmetic issue, untreated curb rash can:
- Diminish the aesthetic appeal of your Mercedes. Let’s face it, those gleaming wheels are a big part of your car’s charm.
- Potentially impact the resale value of your vehicle. A potential buyer might perceive curb rash as a sign of neglect, potentially lowering your car’s resale value.
- In severe cases, could expose the underlying metal wheel to the elements, leading to corrosion.
Identifying Curb Rash on Your Mercedes Wheels
Spotting curb rash is generally straightforward:
- Visually inspect your wheels for any scrapes, scratches, or gouges along the outer rim.
- Run your hand carefully along the wheel’s edge to feel for any roughness or unevenness.
Gathering the Necessary Tools and Materials
To effectively tackle curb rash on your Mercedes wheels, you’ll need a few essential tools:
- Automotive masking tape and paper to protect the tire and surrounding areas.
- Sandpaper in various grits (200, 400, 600, 800) for smoothing out the damaged area.
- Primer and paint specifically designed for wheels (match the existing color of your Mercedes wheels).
- Clear coat to seal and protect the paint.
- Soft cloths for cleaning and polishing.
- Soap and water for cleaning the wheels.
- Wheel cleaner (optional) for removing stubborn dirt and grime.
Expert Tip: “When selecting your paint, consider consulting with a specialist at your local auto parts store to ensure a perfect color match for your Mercedes wheels,” advises Sarah Thompson, an automotive repair specialist and author of “The Car Repair Handbook”.
A Step-by-Step Guide to Fixing Curb Rash on Your Mercedes
Now, let’s get down to the actual repair process. Follow these steps carefully:
-
Clean the Damaged Wheel: Begin by thoroughly cleaning the affected wheel with soap and water. Use a dedicated wheel cleaner for any stubborn dirt or brake dust. Allow the wheel to dry completely before proceeding.
-
Mask Off the Tire and Surrounding Areas: Apply masking tape carefully around the perimeter of the wheel, protecting the tire from any accidental sanding or paint. Use masking paper to cover the brake caliper and other nearby components.
-
Sand Down the Curb Rash: Starting with the coarsest sandpaper (200 grit), gently sand down the damaged areas. Apply even pressure and work your way progressively to finer grits (400, 600, 800) until the surface is smooth and the curb rash is no longer visible.
-
Clean and Prep for Painting: Once you’ve achieved a smooth finish, thoroughly clean the sanded area with soap and water. Rinse well and allow it to dry completely.
-
Prime the Sanded Area: Apply a thin, even coat of primer to the sanded area, following the manufacturer’s instructions. This will help the paint adhere properly. Allow the primer to dry completely.
-
Apply Wheel Paint: Now, it’s time to apply your chosen wheel paint. Using thin, even coats, apply the paint to the primed area. Allow each coat to dry thoroughly before applying the next. Two to three coats are usually sufficient for adequate coverage.
-
Apply Clear Coat: After the final coat of paint has dried, apply a clear coat to seal and protect the finish. Follow the manufacturer’s instructions for drying time.
-
Remove Masking and Allow to Cure: Carefully remove the masking tape and paper. It’s best to allow the paint to cure fully for 24 hours before driving.
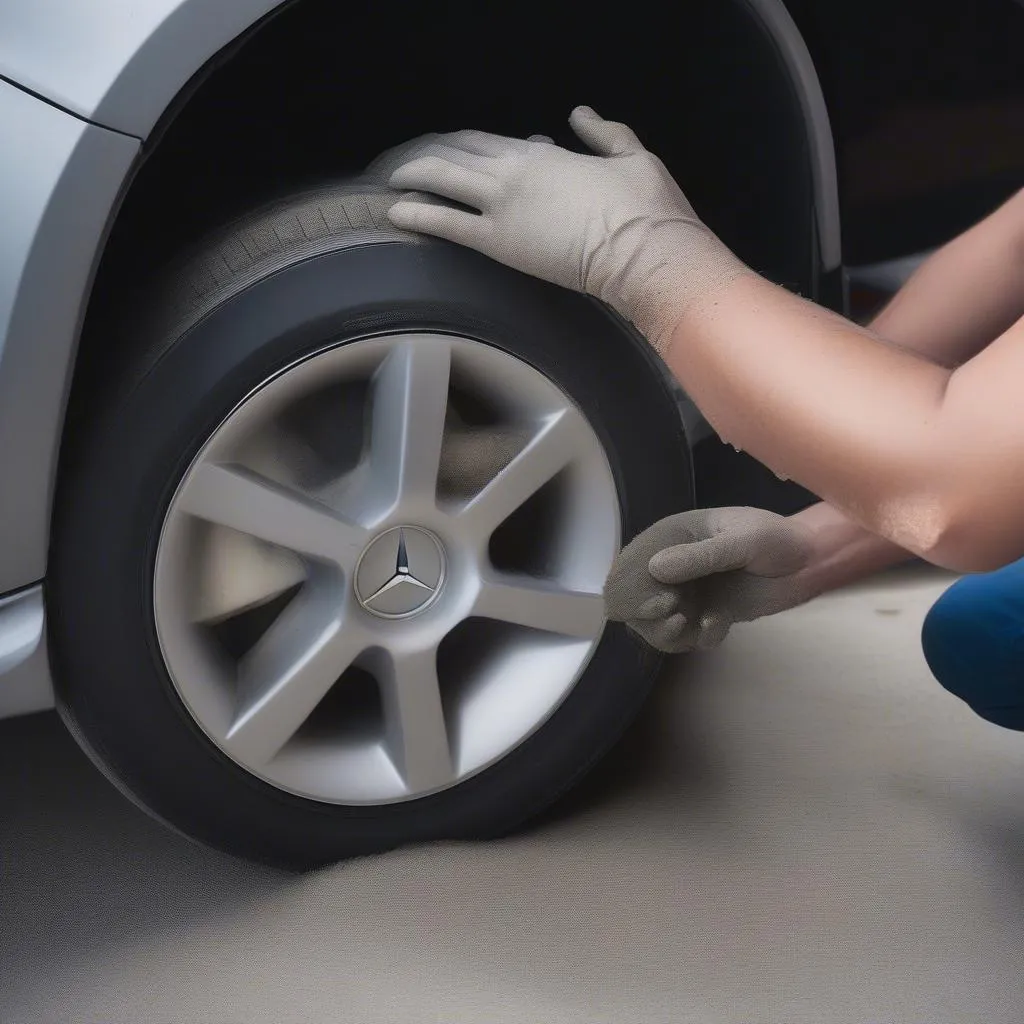
 Sanding down curb rash on a Mercedes wheel
Frequently Asked Questions About Curb Rash Repair
Q: Can I use a DIY curb rash repair kit on my Mercedes?
A: Yes, there are many reputable DIY curb rash repair kits available that can provide satisfactory results for minor to moderate damage. Just make sure to choose a kit that is compatible with your Mercedes’ wheel finish.
Q: When is it best to consult a professional for curb rash repair?
A: If the curb rash is severe, involves deep gouges or bends in the wheel, or you’re uncomfortable with DIY repairs, it’s always best to consult a professional wheel repair specialist. They have the expertise and equipment to handle complex repairs.
Q: Can curb rash affect my Mercedes’ tire pressure monitoring system (TPMS)?
A: In most cases, minor to moderate curb rash won’t affect your TPMS. However, if the damage is close to the valve stem or the TPMS sensor itself, there is a slight risk. If you experience any TPMS warnings after repairing curb rash, consult a professional.
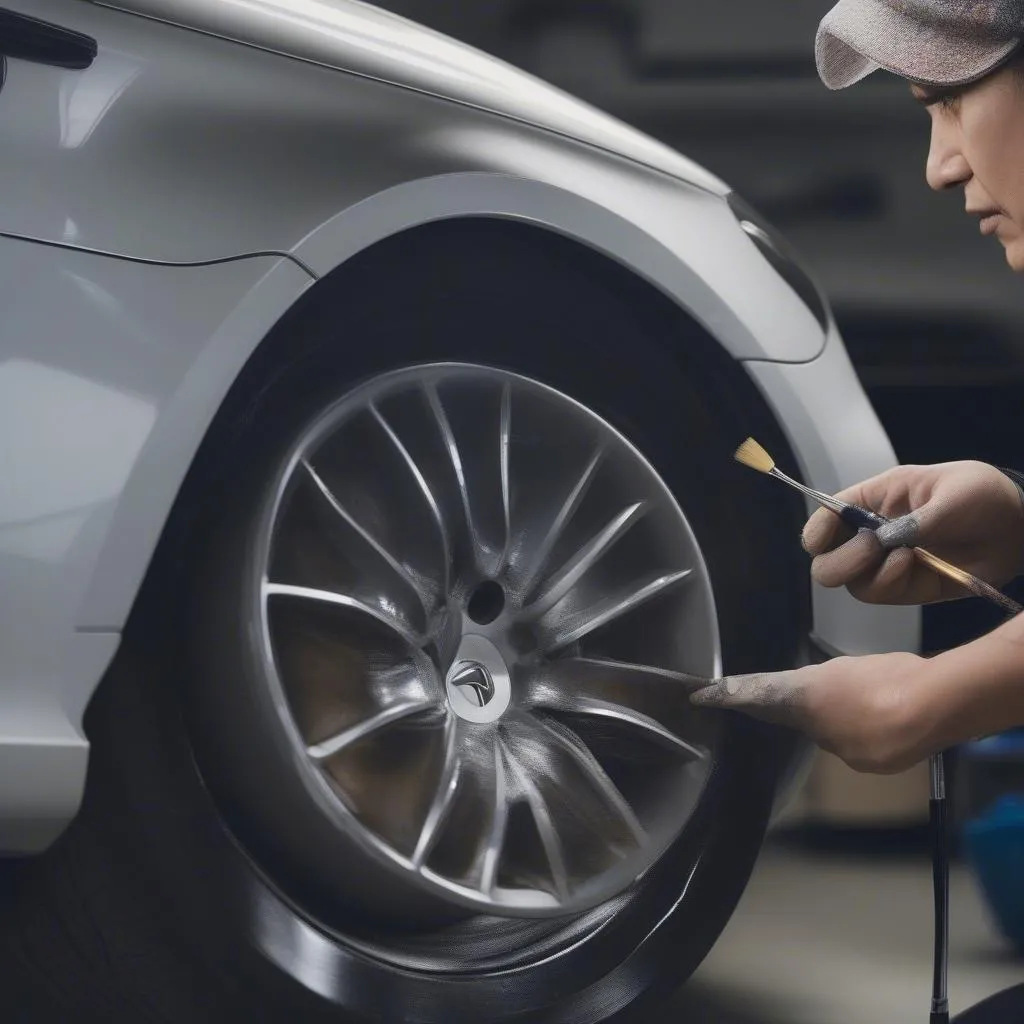
 Applying touch-up paint to a Mercedes wheel.
Keeping Your Mercedes Wheels Curb Rash Free
Prevention is always better than cure! Here are some tips to help you avoid curb rash in the future:
- Practice Parking Awareness: Be mindful of your surroundings when parking, especially in tight spaces.
- Utilize Your Mirrors Effectively: Take your time and use your rearview and side mirrors effectively to gauge distances.
- Consider Parking Aids: If your Mercedes is equipped with parking sensors or a rearview camera, make use of these helpful features.
By following these steps, you can restore your Mercedes wheels to their former glory and hit the road with confidence.
Remember, CARDIAGTECH offers a range of diagnostic tools and resources to help you maintain your Mercedes. From identifying fault codes to accessing repair information, CARDIAGTECH empowers you to take control of your car’s health.


