Is your 2000 Mercedes C230’s driver’s seat giving you a bumpy ride? Don’t worry, you’re not alone. Many C230 owners face issues with their driver’s seats over time. The good news is, with a little troubleshooting and some basic tools, you can often fix the problem yourself.
Common Driver Seat Issues in 2000 Mercedes C230s
Before we dive into the fixes, let’s identify some common culprits behind a troublesome driver’s seat:
- Worn Seat Adjuster Motor: Over time, the motor that controls the seat’s movement can wear out, leading to a seat that’s stuck in one position or moves erratically.
- Broken Seat Switch: The switches on the side of your seat that control its position can also wear out or break, leaving you with a non-responsive seat.
- Faulty Seat Control Module: In some cases, the issue might stem from a malfunctioning seat control module, which is the electronic brain that controls the seat’s functions.
- Damaged Seat Rails or Tracks: The metal rails or tracks that the seat moves along can become bent or damaged, preventing smooth movement.
worn-seat-adjuster-motor|Worn Seat Adjuster Motor|Close-up photo of a worn-out car seat adjuster motor, showing signs of wear and tear like rust and damage.
Diagnosing the Problem
To effectively fix your driver’s seat, you need to pinpoint the root cause:
- Listen carefully: When you try to adjust the seat, do you hear any unusual sounds, like grinding or clicking? This could indicate a mechanical issue with the seat rails, adjuster motor, or gears.
- Test the Switches: Check if all the seat adjustment switches are working. If a switch feels loose or doesn’t respond, it might need replacement.
- Inspect the Fuses: A blown fuse could also be the culprit behind a non-functional seat. Locate your C230’s fuse box and check the fuses related to the power seats.
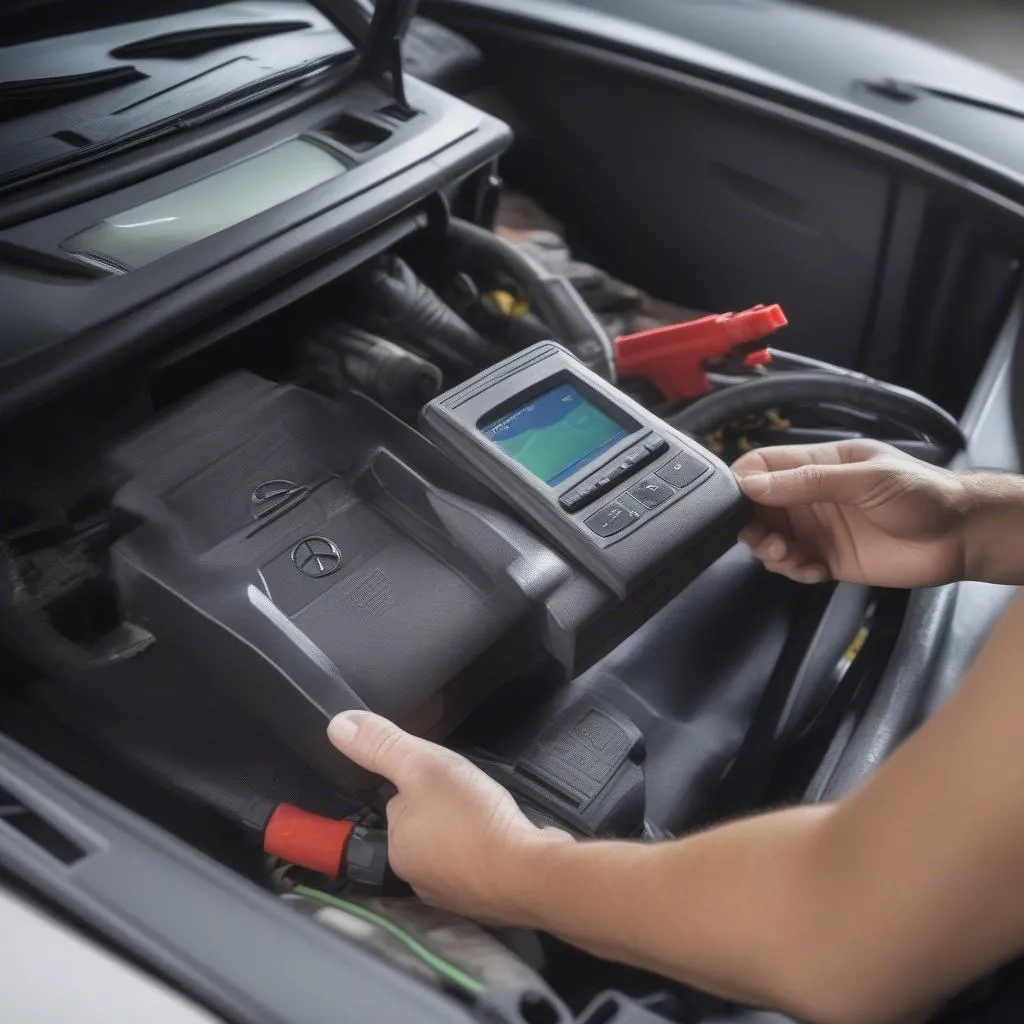
- Consider a Diagnostic Tool: For more complex electrical issues, a diagnostic tool like those offered by CARDIAGTECH can help pinpoint issues with the seat control module or other electronic components.
car-diagnostic-tool|Car Diagnostic Tool|A mechanic using a car diagnostic tool plugged into a car’s OBD-II port, with the car’s interior visible in the background.
Tools and Materials You Might Need
Gather the following before you get started:
- Socket set
- Screwdrivers (flathead and Phillips)
- Torx bit set
- Pliers
- Electrical tape
- Wire cutters/strippers (if replacing wiring)
- Replacement parts (seat switch, motor, etc., as needed)
Fixing Your C230’s Driver Seat: A Step-by-Step Guide
Note: The exact steps may vary slightly depending on the specific issue you’re facing.
- Disconnect the Battery: For safety, always disconnect the negative battery cable before working on any electrical components.
- Access the Seat: Move the seat forward or backward as needed to access the mounting bolts. You may need to remove plastic covers or trim panels to get to the bolts.
- Remove the Seat: Once the bolts are removed, carefully lift the seat out of the car. Be mindful of any wiring harnesses still connected.
- Address the Issue: Inspect the seat components based on your diagnosis. Replace any faulty parts like switches, motors, or wiring. If you’re dealing with damaged seat rails, you might need to straighten or replace them.
- Reinstall the Seat: Carefully lower the seat back into the car and secure the mounting bolts. Reconnect any wiring harnesses.
- Reconnect the Battery: Reattach the negative battery cable and test the seat functionality.