A malfunctioning coolant temperature gauge in your 1983 Mercedes 380SL can be a real headache. This seemingly minor issue can quickly escalate into major engine damage if left unchecked. This guide will walk you through the common causes, symptoms, and solutions to get your gauge working accurately again.
Understanding the Problem: Why Is My Temperature Gauge Inaccurate?
Before we dive into the fixes, it’s important to understand why your 1983 380SL’s coolant temperature gauge might be giving you a false reading. Here are the most common culprits:
- Faulty Coolant Temperature Sensor: This sensor, often located near the thermostat housing, is responsible for sending temperature readings to your gauge. A faulty sensor can send incorrect signals, leading to inaccurate readings.
- Wiring Issues: Corroded, damaged, or loose wiring between the sensor and the gauge can disrupt the signal, causing the gauge to malfunction.
- Malfunctioning Gauge Cluster: While less common, the gauge itself within the instrument cluster could be faulty.
- Grounding Problems: A poor ground connection can disrupt the electrical circuit, affecting the gauge’s accuracy.
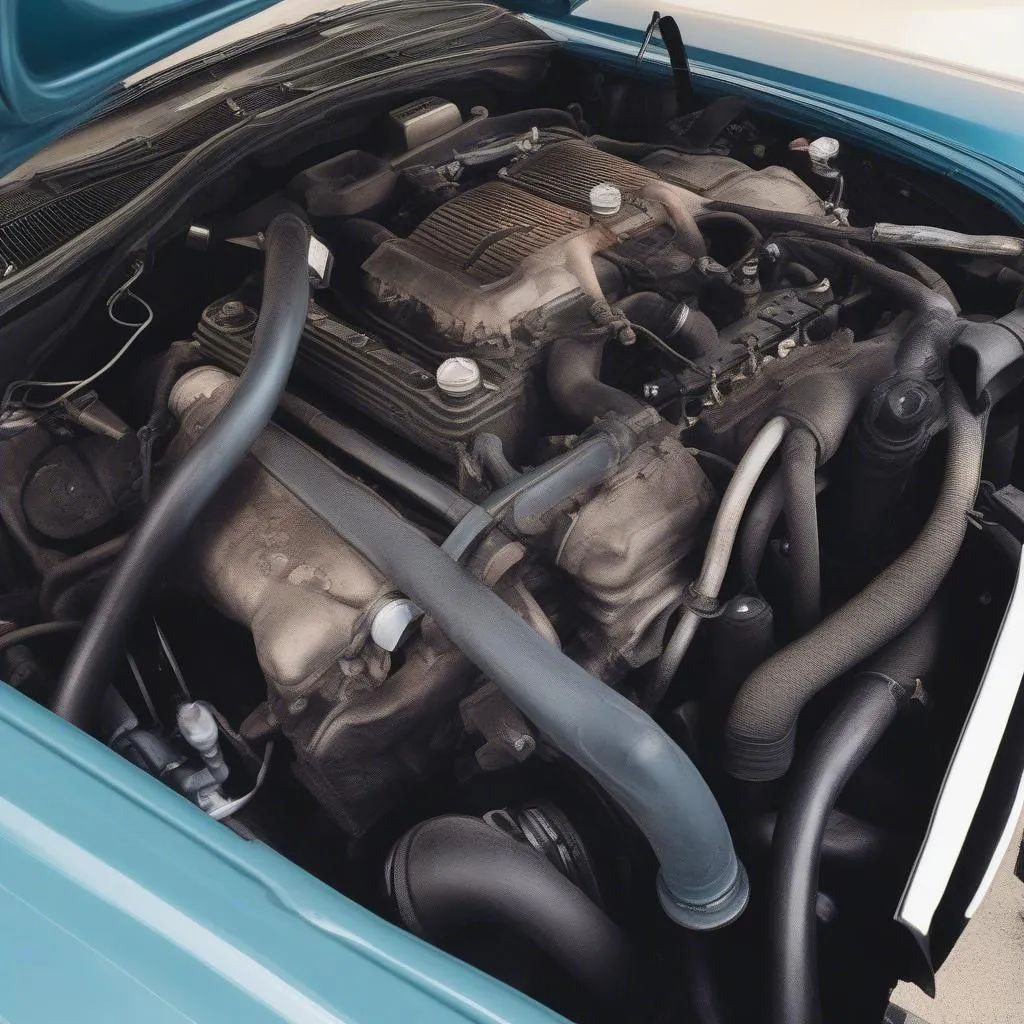 Mercedes 380SL Engine Bay
Diagnosing the Issue: Is it Really Broken?
Before you start replacing parts, it’s crucial to confirm the source of the problem. Here’s what you can do:
- Visual Inspection: Start by visually inspecting the wiring harness connected to the coolant temperature sensor for any signs of damage, looseness, or corrosion.
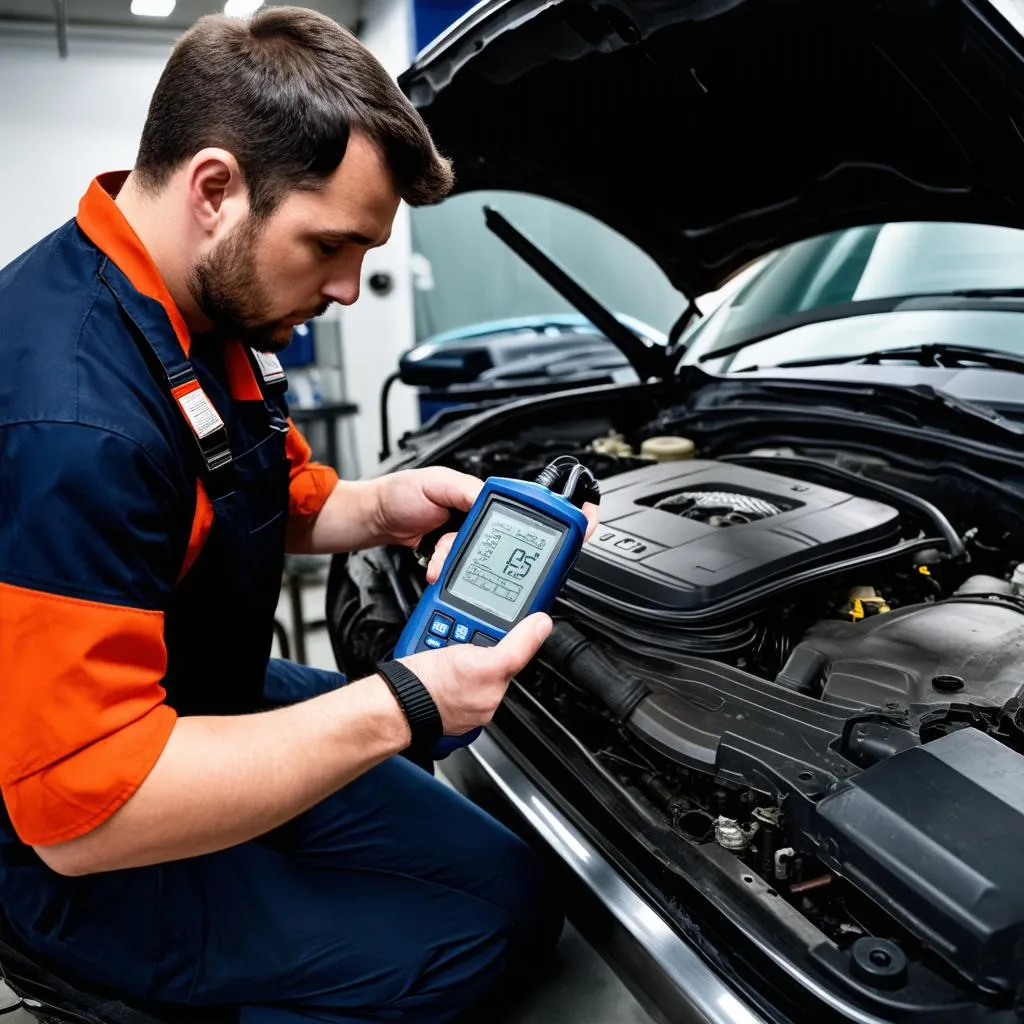
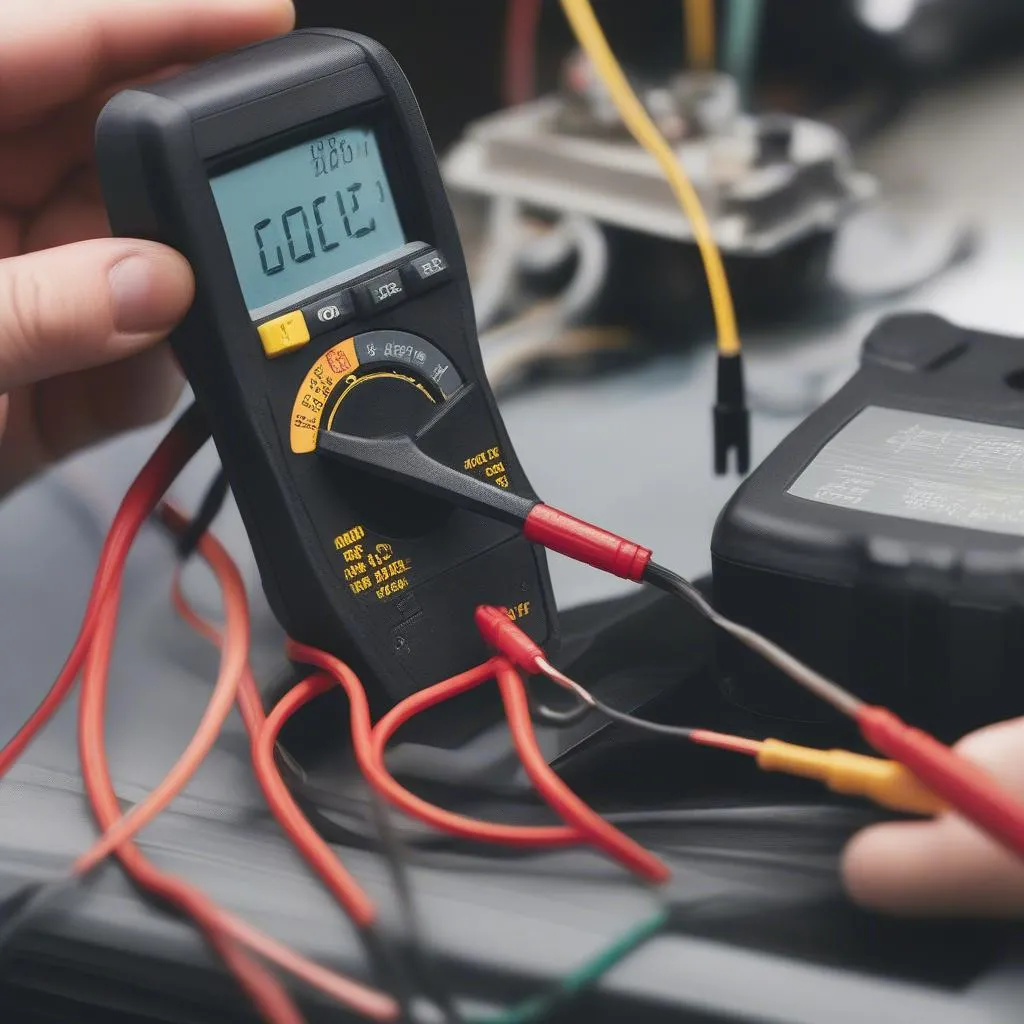
- Check the Sensor: With the engine cold, carefully disconnect the electrical connector from the coolant temperature sensor. Using a multimeter, test the sensor’s resistance at different temperatures (compare your readings to the specifications in your vehicle’s repair manual).
- Ground Test: Ensure the gauge cluster and sensor have a solid ground connection. Use a multimeter to check the continuity between the ground wire and a known good ground point on the chassis.
 Testing Sensor with Multimeter
Gathering Your Tools: What You’ll Need
Having the right tools on hand will make the repair process much smoother. Here’s a list of what you might need:
- Repair Manual: A must-have for specific instructions and diagrams related to your 1983 380SL.
- Multimeter: Essential for testing the coolant temperature sensor, wiring, and ground connections.
- Socket Set: For removing and installing the sensor (sizes may vary).
- Wire Strippers/Crimpers: If you need to repair or replace wiring.
- Electrical Tape: For insulating any repaired wiring.
- Coolant: You might lose a small amount of coolant when replacing the sensor.
 Car Repair Tools Laid Out
Fixing the Gauge: Step-by-Step Guide
Once you’ve identified the root cause, follow these steps to fix your coolant temperature gauge:
1. Replacing the Coolant Temperature Sensor:
- Locate the Sensor: Refer to your repair manual for its exact location (typically near the thermostat housing).
- Drain Coolant: Drain a small amount of coolant from the radiator to prevent spillage when removing the sensor.
- Disconnect and Remove: Disconnect the electrical connector and carefully unscrew the old sensor.
- Install the New Sensor: Apply a small amount of sealant to the threads of the new sensor and carefully screw it in.
- Reconnect: Connect the electrical connector, refill the coolant, and check for leaks.
2. Repairing or Replacing Wiring:
- Identify Damaged Wiring: If you find any damaged or corroded wiring, carefully repair or replace the affected sections.
- Use Proper Connectors: Use the correct gauge wiring and connectors for a secure and reliable connection.
- Insulate: Wrap any repaired sections with electrical tape to prevent future corrosion.
3. Addressing Gauge Cluster or Grounding Issues:
- Consult a Professional: For issues within the gauge cluster itself or complex grounding problems, it’s often best to consult a qualified mechanic.
FAQs: Common Questions and Concerns
Q: My temperature gauge fluctuates erratically. What could be the cause?
A: This could point towards a failing coolant temperature sensor sending inconsistent signals. It’s best to test the sensor using a multimeter and replace it if necessary.
Q: Can I use an aftermarket coolant temperature sensor?
A: While aftermarket options are available, using a sensor that matches the original equipment manufacturer’s (OEM) specifications for your 1983 380SL is generally recommended.
Q: Can diagnostic software help me pinpoint the problem?
A: While traditional diagnostic tools might not be as helpful for a 1983 model, some specialized scanners might offer limited functionality. However, basic troubleshooting with a multimeter is often sufficient for this issue. Consider checking out CARDIAGTECH’s range of products for modern diagnostic solutions.
Expert Insight: “A common oversight when diagnosing gauge problems is failing to check the ground connection. A poor ground can cause all sorts of electrical gremlins, including inaccurate gauge readings.” – David Miller, Automotive Electrician (fictional expert)
Conclusion: Keeping Your 380SL Running Cool
Addressing a faulty coolant temperature gauge is vital to prevent engine overheating and costly repairs. By following the steps outlined in this guide, you can diagnose and fix the issue, ensuring your 1983 Mercedes 380SL continues to provide you with miles of enjoyable driving.