Is your 1994 Mercedes E320’s outside temperature gauge giving you the cold shoulder? A malfunctioning gauge is a common issue in these models, but thankfully, it’s usually an easy and inexpensive fix. This comprehensive guide will walk you through the process, providing clear steps and helpful tips to get your gauge working accurately again.
Why is My Outside Temperature Gauge Not Working?
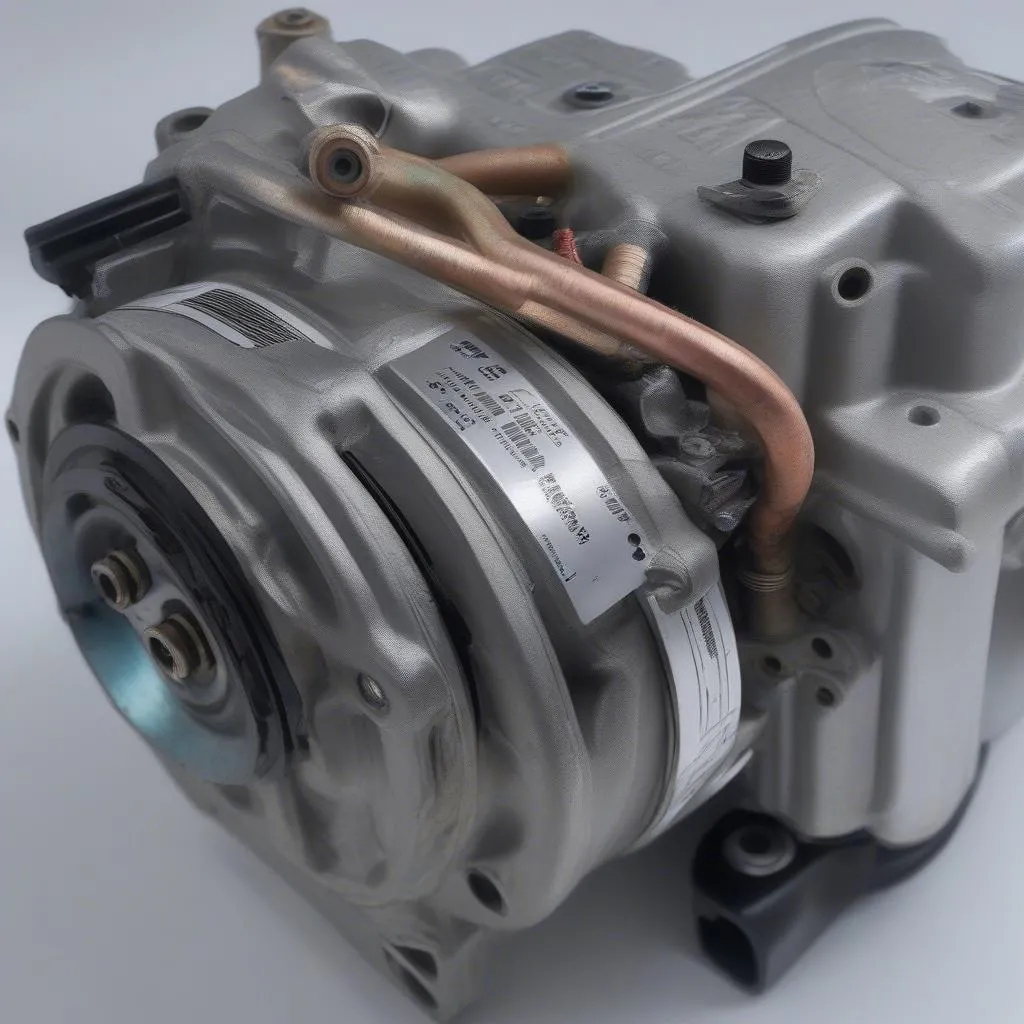
The most common culprit behind a faulty outside temperature gauge in a 1994 Mercedes E320 is a malfunctioning ambient temperature sensor. This sensor, often located behind the front bumper or near the radiator, is responsible for measuring the outside air temperature and sending that information to the gauge on your dashboard.
Other potential, though less common, causes include:
- Wiring Issues: Damaged or corroded wires connecting the sensor to the gauge can disrupt the signal, causing inaccurate readings.
- Faulty Gauge Cluster: While less likely, a problem within the gauge cluster itself could be the source of the issue.
Identifying the Problem
Before you start taking things apart, it’s a good idea to confirm that the ambient temperature sensor is the root cause. Here’s how:
- Visual Inspection: Check the sensor for any visible damage, corrosion, or loose connections.
- Temperature Readings: Start your car and observe the gauge. If it displays a wildly inaccurate temperature (e.g., -40°F or 150°F), it’s a strong indication of a faulty sensor.
Gathering Your Tools and Parts
For this repair, you’ll need a few basic tools:
- Replacement Ambient Temperature Sensor: Ensure you purchase the correct sensor for your 1994 E320 model.
- Socket Wrench Set: To remove and install the sensor.
- Flathead Screwdriver: For prying open any plastic clips securing the sensor wiring.
- Electrical Tape (optional): For securing connections if needed.
Fixing the Outside Temperature Gauge
Ready to tackle the repair? Here’s a step-by-step guide:
- Locate the Ambient Temperature Sensor: As mentioned earlier, you can usually find this sensor behind the front bumper or near the radiator. Consult your owner’s manual or an online forum specific to your model if you’re having trouble finding it.
- Disconnect the Sensor: Carefully unplug the electrical connector from the back of the sensor.
- Remove the Old Sensor: Use a socket wrench to loosen and remove the sensor from its mounting point.
- Install the New Sensor: Thread the new sensor into the mounting point and tighten it securely using the socket wrench.
- Reconnect the Electrical Connector: Plug the electrical connector back into the new sensor, ensuring a snug fit.
- Test Your Repair: Start your car and let it run for a few minutes. The outside temperature gauge should now display accurate readings.
Frequently Asked Questions
Q: Can I use any ambient temperature sensor for my 1994 Mercedes E320?
A: It’s important to use a sensor specifically designed for your car model to ensure compatibility and accurate readings. Check your owner’s manual or consult with a parts specialist.
Q: I replaced the sensor, but the gauge is still not working. What else could be wrong?
A: If replacing the sensor doesn’t solve the issue, it’s possible there’s a wiring problem or an issue with the gauge cluster itself. In such cases, it’s best to seek the help of a qualified mechanic experienced with Mercedes-Benz vehicles. Consider using a reliable car diagnostic tool like those offered by Cardiagtech to pinpoint the exact issue.
Q: What is Cardiagtech?
A: Cardiagtech is a leading provider of professional-grade car diagnostic tools designed to make diagnosing and troubleshooting car problems easier for both DIYers and mechanics.
Q: What kind of diagnostic tools does Cardiagtech offer?
A: CARDIAGTECH offers a wide range of diagnostic tools, including OBD2 scanners, engine analyzers, and electrical system testers, all designed to provide accurate readings and help identify the root cause of automotive problems.
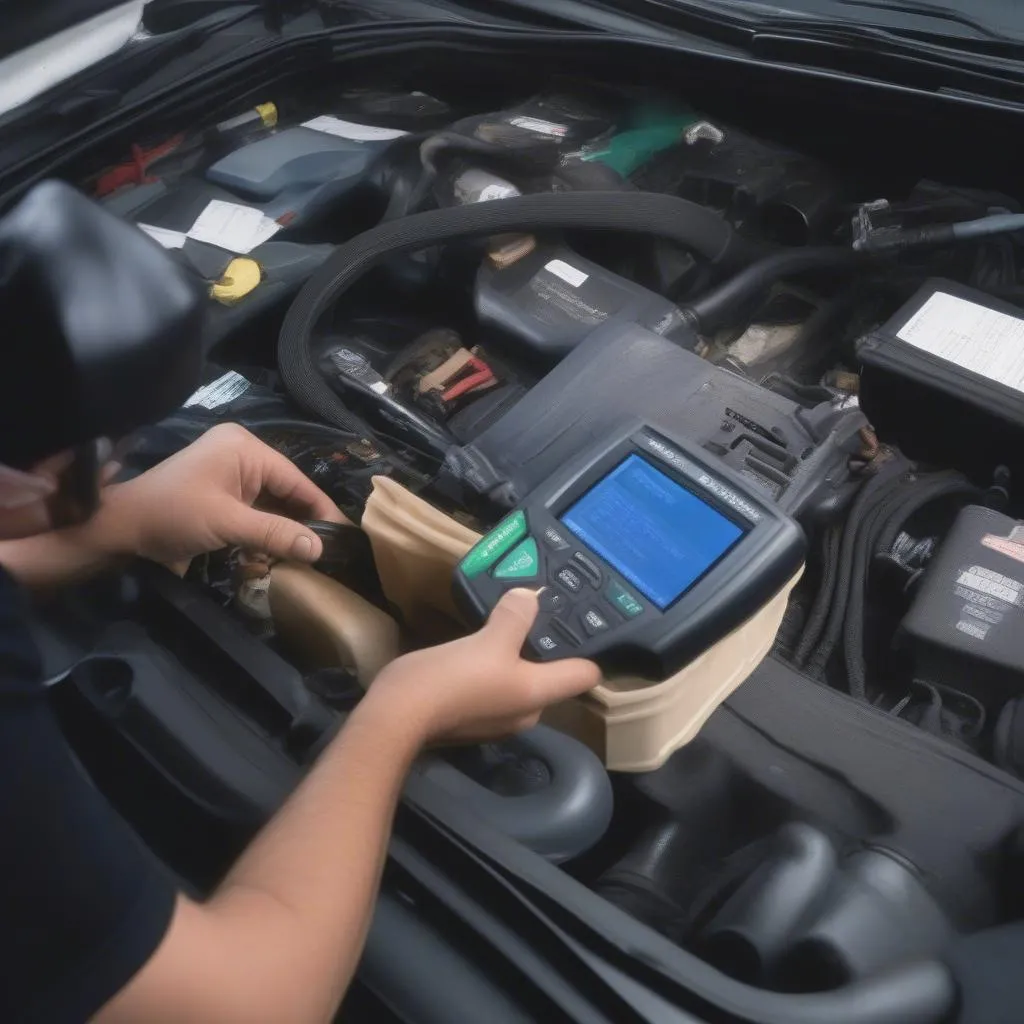
 Car Diagnostic Tool Connection
Conclusion
Fixing a malfunctioning outside temperature gauge in your 1994 Mercedes E320 is often a straightforward DIY repair. By following the steps outlined in this guide, you can save yourself a trip to the mechanic and get your gauge back to providing accurate readings. However, if you encounter any difficulties or suspect a more complex issue, don’t hesitate to consult with a qualified automotive professional.


