Is your Mercedes CLK 350’s interior looking a little worse for wear thanks to a loose or damaged cup holder trim? This is a common issue, but luckily, it’s usually a pretty easy fix. This guide will walk you through identifying the problem, the steps to fix it, and answer some frequently asked questions to get your CLK 350’s interior looking its best again.
Common Causes of a Damaged CLK 350 Cup Holder Trim
Before we dive into the fix, it’s helpful to understand what causes the problem in the first place. Here are the usual suspects:
- Regular wear and tear: The constant use of your cup holder can eventually cause the trim to become loose or even break.
- Spills: Sticky drinks or spills can get down into the trim, making it harder to open and close and potentially damaging it over time.
- Forceful handling: Trying to jam oversized cups or being rough with the mechanism can lead to broken clips or cracks.
Identifying the Issue
A quick inspection will usually reveal the problem:
- Loose Trim: The trim might wiggle or rattle, especially when driving.
- Visible Cracks: Check for any cracks or broken pieces in the trim itself.
- Difficulty Opening/Closing: The cup holder might be hard to open or close smoothly.
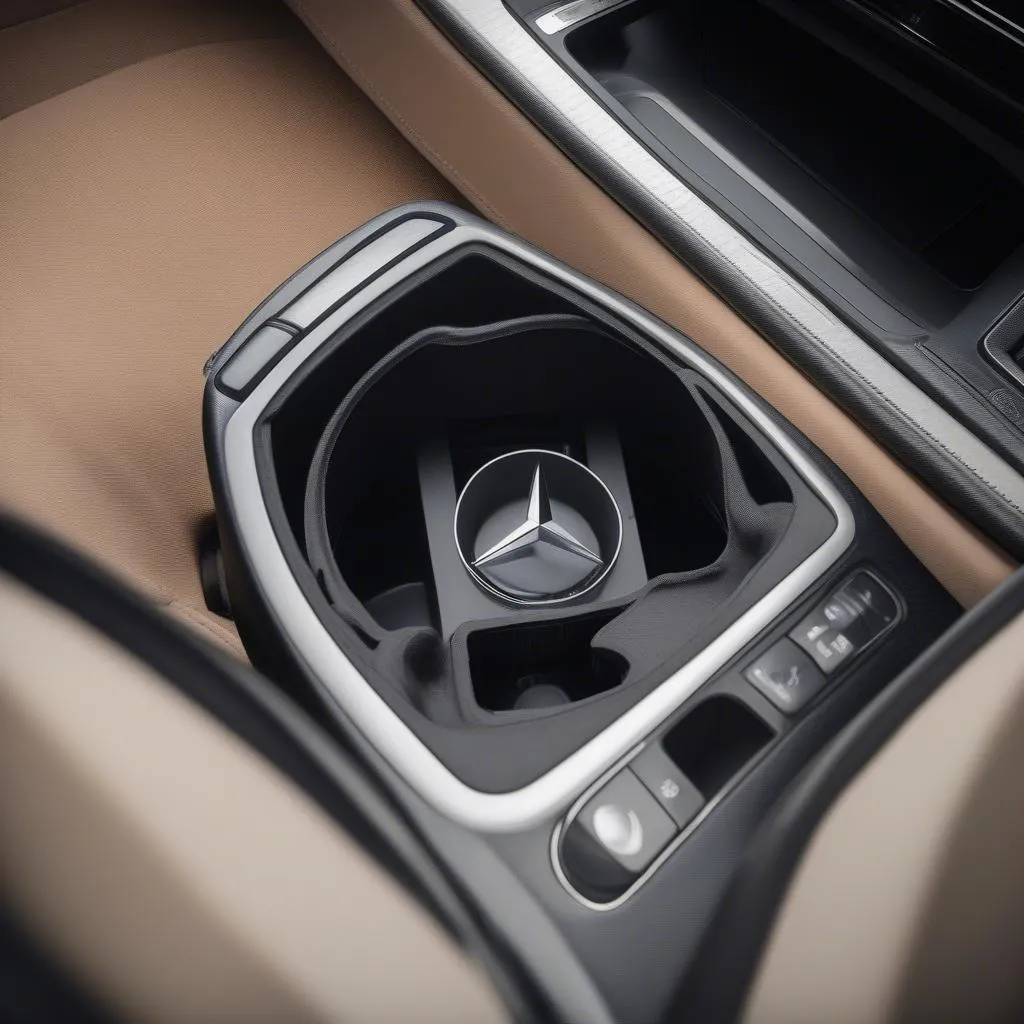 Mercedes CLK Cup Holder with Loose Trim
What You’ll Need for the Fix
- Trim Removal Tool (or Flathead Screwdriver): To gently pry off the trim without causing damage.
- Replacement Clips (if necessary): These are often available at auto parts stores or online.
- Cleaning Cloth: To clean out any debris or sticky residue.
- Super Glue (optional): To reattach small broken pieces if the damage isn’t severe.
How to Fix Mercedes CLK 350 Cup Holder Trim
Here’s a step-by-step guide to fix the trim:
-
Locate the Trim Removal Points: Carefully insert a trim removal tool or a flathead screwdriver wrapped in a soft cloth into the edges of the trim. There are usually small slots or indentations where you can get leverage.
-
Gently Pry Off the Trim: Apply even pressure to release the clips holding the trim in place. Be careful not to bend or break the trim.
-
Assess the Damage: Once removed, examine the trim for cracks, broken clips, or other damage.
-
Clean the Area: Use a cleaning cloth to remove any dirt, debris, or sticky residue from both the trim and the cup holder assembly.
-
Replace Broken Clips (if needed): If any clips are broken, carefully remove them from the trim (or cup holder assembly) and snap the new ones into place.
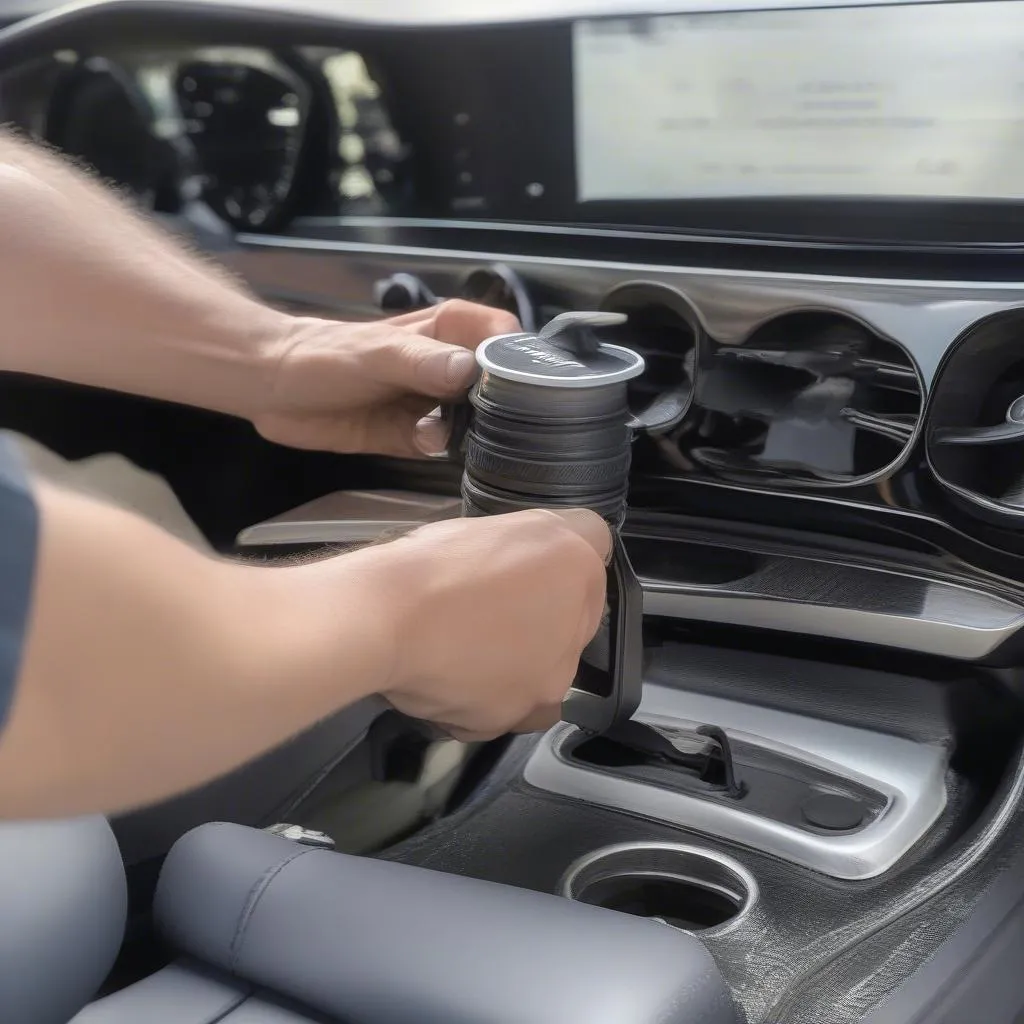 Replacing Mercedes Cup Holder Clips
- Reattach the Trim: Align the trim with the cup holder assembly and press it firmly until all the clips engage. You should hear a clicking sound as each clip locks in.
FAQs
Q: Can I use super glue to fix a cracked cup holder trim?
A: It depends on the severity of the crack. Super glue can work for small, hairline cracks, but for larger breaks, it’s usually best to replace the trim for a more durable fix.
Q: Where can I buy replacement clips?
A: You can find replacement clips at most auto parts stores, online retailers like Amazon, or even your local Mercedes dealership.
Q: My cup holder feels stuck. What should I do?
A: Avoid using excessive force! It’s best to try and lubricate the mechanism with a silicone-based lubricant. If that doesn’t work, you may need to consult a mechanic as there could be a more serious issue.
Q: Can a diagnostic tool help me troubleshoot cup holder problems?
A: While a diagnostic tool like those offered by CARDIAGTECH is excellent for diagnosing engine or electrical problems, it won’t be helpful for a mechanical issue like a broken cup holder. However, it’s a valuable tool to have for any car owner to help identify and potentially prevent more serious problems down the road.
Conclusion
Fixing your Mercedes CLK 350 cup holder trim is a relatively straightforward process. With a little patience and the right tools, you can have your car’s interior looking its best again.