Anti-theft screws are a great way to deter thieves, but they can be a real pain when you need to remove them, especially if you’re unfamiliar with how they work. Whether you’re changing a license plate, swapping out a car stereo, or performing other automotive repairs, this guide will walk you through the process of removing anti-theft screws safely and effectively. Let’s get started!
Why Are Anti-theft Screws So Tricky?
Unlike standard screws, anti-theft screws have unique head designs that prevent removal with ordinary screwdrivers. These designs can include:
- Pin heads: A small pin sits within a recessed head.
- Spline heads: Featuring multiple grooves instead of the typical slots.
- One-way heads: Designed to be tightened but resist loosening.
These unique designs often leave car owners wondering, “What tools do I need to remove these?” and “How can I do it without damaging my car?”.
Decoding the Screw: Identifying Your Anti-theft Screw Type
The first step is identifying what type of anti-theft screw you have. This is crucial for selecting the right removal tool. Here’s how:
- Examine the screw head: Look for any unusual patterns or features.
- Consult your owner’s manual: It might list the type of security screws used.
- Search online: Websites like Cardiagtech.com often have resources and images to help you match your screw.
Gearing Up: Essential Tools for Anti-theft Screw Removal
Once you’ve identified your screw type, you’ll need the correct tools. Some common options include:
- Security bit sets: These sets contain a variety of bits designed for different anti-theft screw heads.
- Dedicated removal tools: Tools specifically made for a particular type of anti-theft screw.
- Improvised solutions: In a pinch, methods using items like rubber bands or superglue can work, but they should be approached with caution to avoid damaging the screw or surrounding area.
Choosing the Right Tool Is Key!
“Using the wrong tool can strip the screw head, making removal nearly impossible without professional help,” warns automotive expert Michael Stevenson in his book, Modern Automotive Security Systems. “Invest in a quality toolset designed for the job.”
The Removal Process: Step-by-Step Guide
With the right tools in hand, follow these steps:
- Apply firm pressure: Ensure the bit is firmly seated in the screw head to prevent slipping.
- Turn slowly and steadily: Avoid using excessive force, which can damage the screw or the surrounding area.
- Use penetrating fluid (optional): If the screw is stuck, apply a penetrating fluid like WD-40 and let it sit for a few minutes before attempting removal.
- If all else fails, consult a professional: For stubborn screws, it’s best to consult a professional mechanic or a specialized service like those offered by Cardiagtech.
FAQs About Anti-theft Screws and Car Issues
Q: My car key is stuck in the ignition. Could anti-theft screws be the culprit?
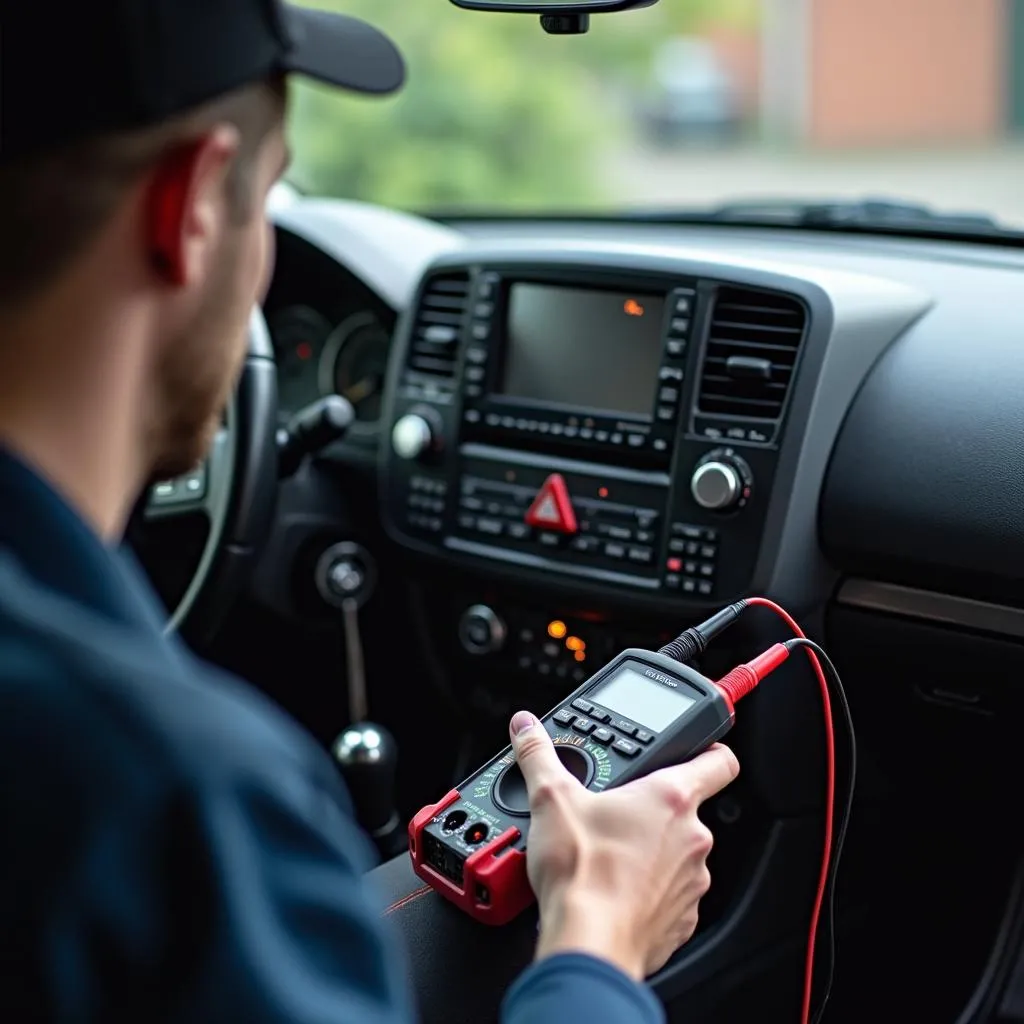
A: While unlikely to be directly caused by anti-theft screws, a faulty ignition cylinder or a problem with your car’s immobilizer system could be the issue. Diagnostic tools like those offered by Cardiagtech can help pinpoint the exact problem.
Q: I stripped my anti-theft screw. What now?
A: A stripped screw requires specialized tools or techniques for removal. It’s best to consult a professional to avoid further damage.
Need Expert Assistance?
Dealing with anti-theft screws can be challenging. Remember, if you’re unsure about any step of the process or encounter difficulties, don’t hesitate to reach out to the experts at CARDIAGTECH. We offer a range of services including remote diagnostics and software solutions that can help get you back on the road quickly and safely.