Car theft is a growing concern for many vehicle owners. Traditional security systems are often easily bypassed by tech-savvy thieves. That’s where the Ravelco Anti-Theft Device comes in, offering a robust, virtually impenetrable layer of protection for your vehicle. While professional installation is recommended, understanding the process can be beneficial. This guide will provide valuable insight into “how to install a Ravelco anti-theft device.”
Why Ravelco? Understanding Its Superior Protection
Before delving into the installation, let’s understand what makes Ravelco stand out. Unlike conventional systems that rely on electronics easily tampered with, Ravelco utilizes a unique mechanical design. This design features a removable plug connected to essential circuits in your vehicle. Without this plug, starting your car is impossible, even with hotwiring attempts.
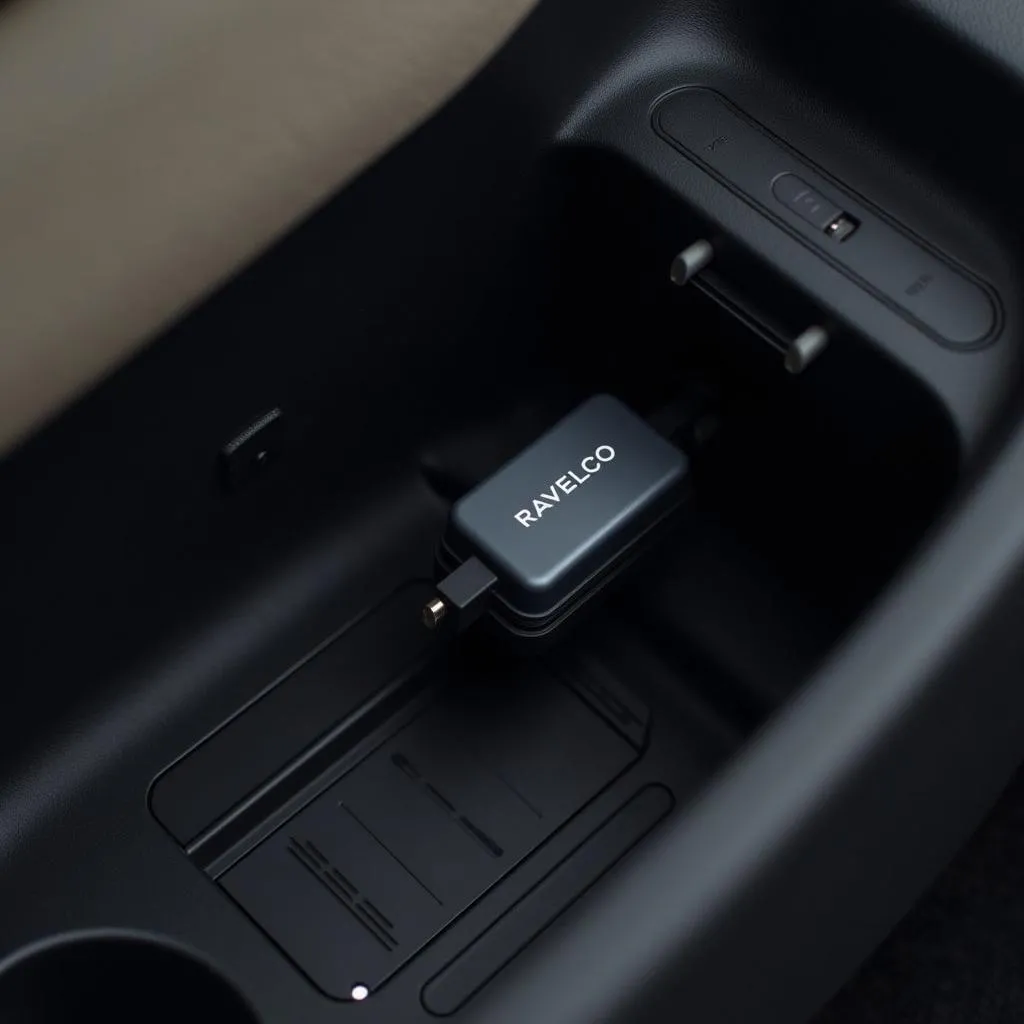 Ravelco Device Installed in a Car
How to Spot Potential Vehicle Security Issues
Recognizing the signs of a vulnerable security system is crucial. Do you find your car alarm easily disabled? Have there been attempted thefts in your area? These could indicate the need for enhanced security. “According to a study by the National Insurance Crime Bureau, vehicle thefts have been steadily increasing over the past few years,” says automotive security expert, Dr. James Walker, author of “Automotive Security: Protecting Your Vehicle in the Digital Age.” A Ravelco device offers a significant deterrent and peace of mind.
Preparing for the Installation: Essential Tools and Components
Installing a Ravelco system demands precision. Here’s what you’ll need:
- Ravelco Installation Kit: This kit contains the Ravelco base unit, wiring harness, connectors, and the all-important Ravelco plug.
- Basic Hand Tools: Socket set, screwdrivers, wire strippers, and crimpers are essential for the mechanical and electrical connections.
- Electrical Tape and Zip Ties: These help secure wiring and maintain a clean installation.
Step-by-Step Ravelco Installation Guide
While professional installation is always advised, understanding the steps involved can be helpful:
1. Disconnecting the Battery
Begin by disconnecting the negative terminal of your vehicle’s battery. This safety precaution prevents electrical mishaps during the installation.
2. Mounting the Ravelco Base Unit
The Ravelco base unit needs to be securely mounted within your vehicle’s cabin. This location should be discreet and inaccessible to potential thieves.
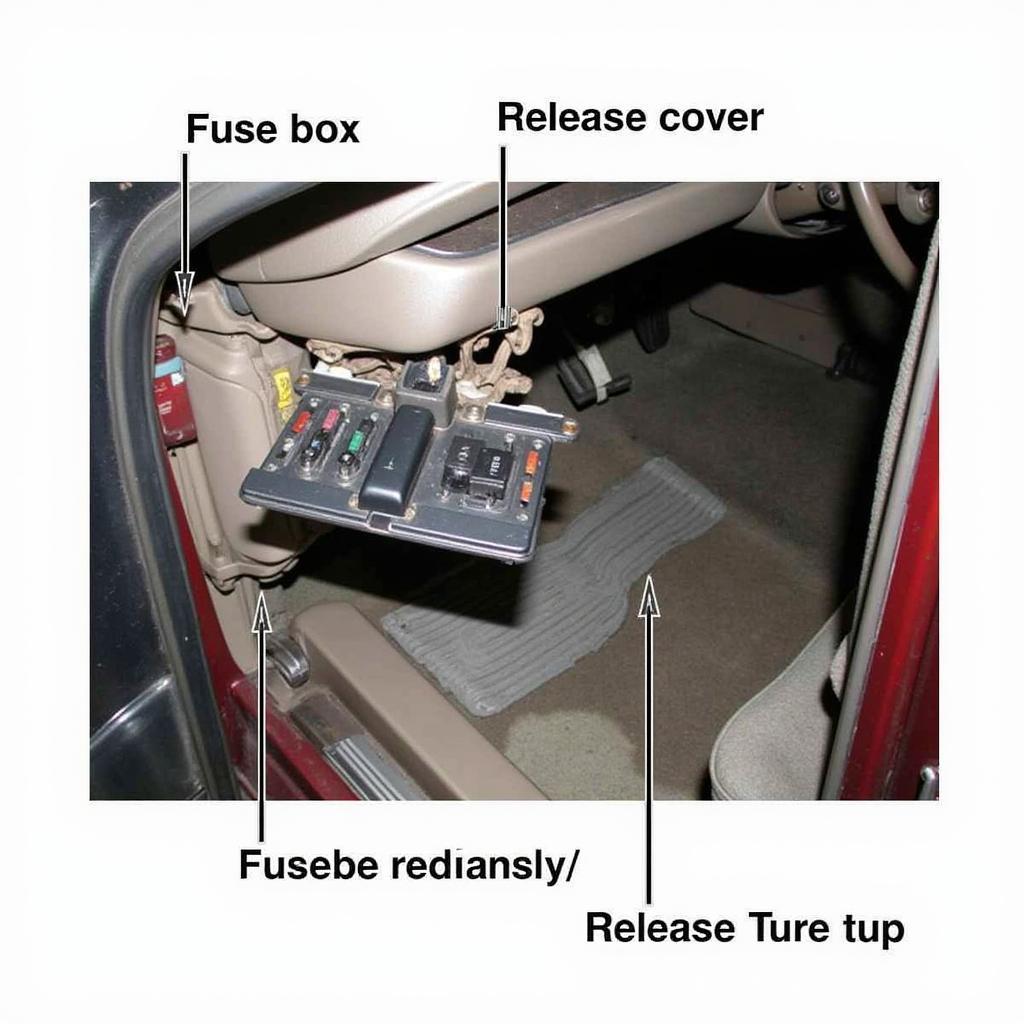
3. Identifying and Connecting Essential Circuits
The Ravelco system needs to be connected to crucial circuits that control your vehicle’s ignition, starter, and other vital functions. Consult the wiring diagram provided in your Ravelco kit and your vehicle’s service manual to identify the correct wires.
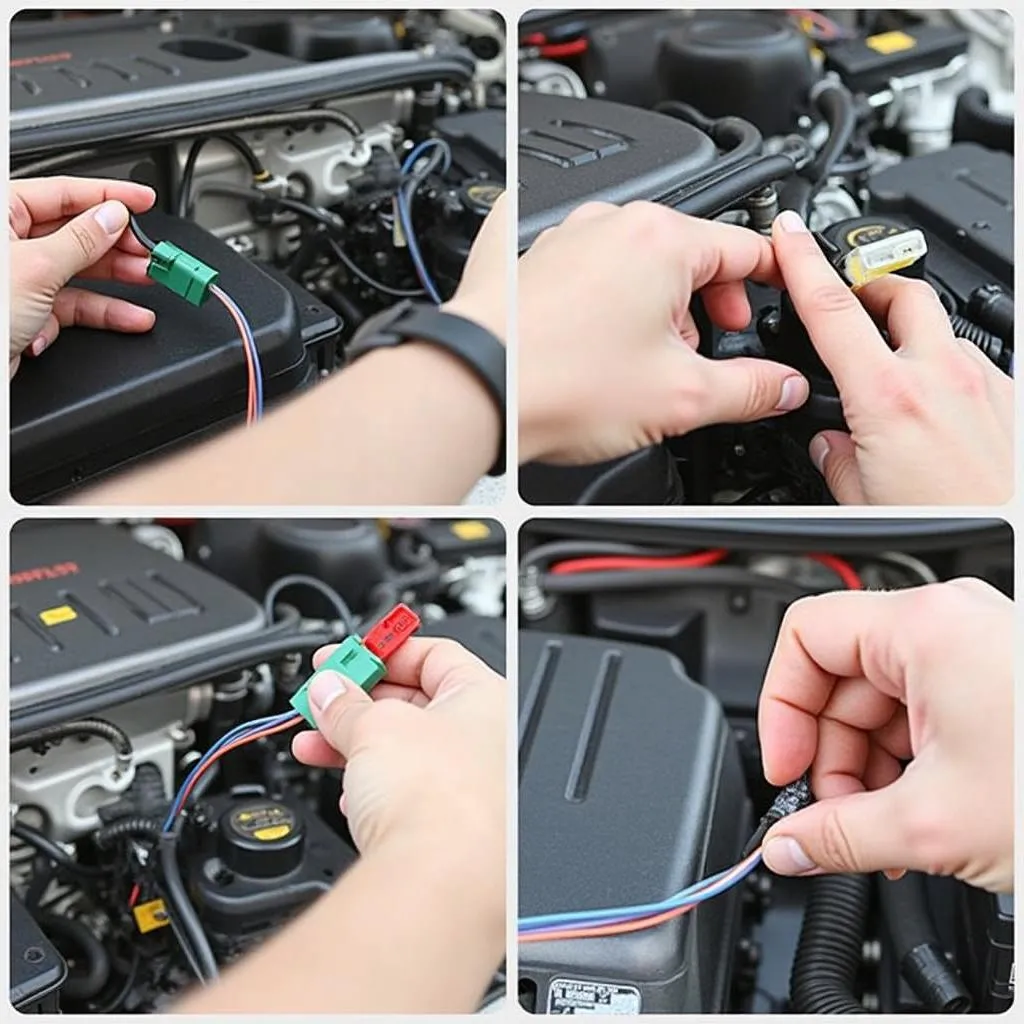 Connecting Ravelco Wiring Harness
4. Wiring the Ravelco Harness
Using the provided connectors, carefully splice the Ravelco wiring harness into the identified circuits. Ensure secure connections and properly insulate all exposed wires using electrical tape.
5. Connecting the Ravelco Plug
Once the wiring is complete, connect the Ravelco plug to the base unit. This plug acts as the key to activating your vehicle’s essential systems.
6. Testing and Securing
Before concealing any wiring, reconnect your vehicle’s battery and test the Ravelco system. Ensure the vehicle starts and runs smoothly with the Ravelco plug connected and refuses to start when it’s removed. Once confirmed, secure all wiring and components using zip ties to maintain a clean and organized installation.
Frequently Asked Questions About Ravelco and Car Diagnostics
Can I use Cardiagtech’s diagnostic tools alongside a Ravelco device?
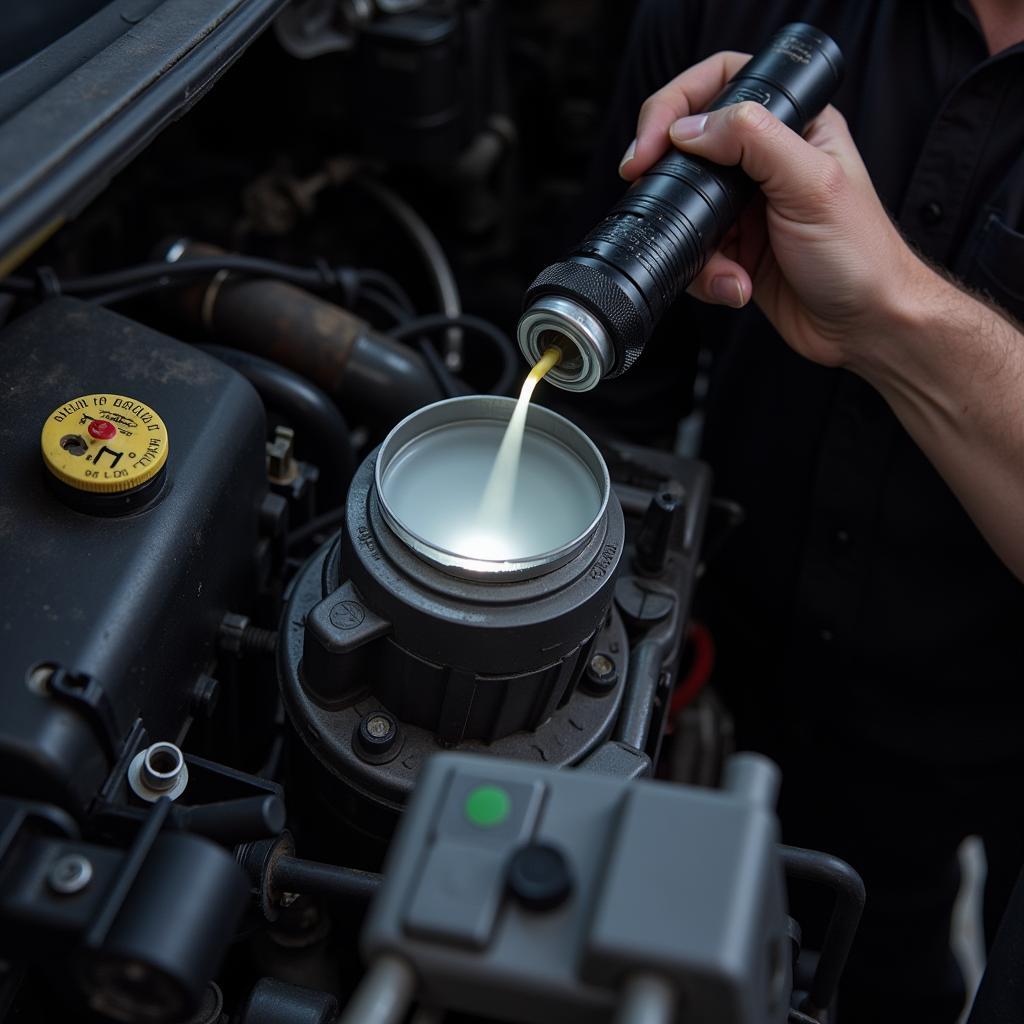
Yes, Cardiagtech’s range of advanced diagnostic tools is compatible with vehicles equipped with a Ravelco system. Whether you need to diagnose engine issues, analyze sensor data, or perform advanced programming, Cardiagtech’s tools, like their comprehensive diagnostic scanners, provide seamless integration and accurate readings, even with the added security of a Ravelco device.
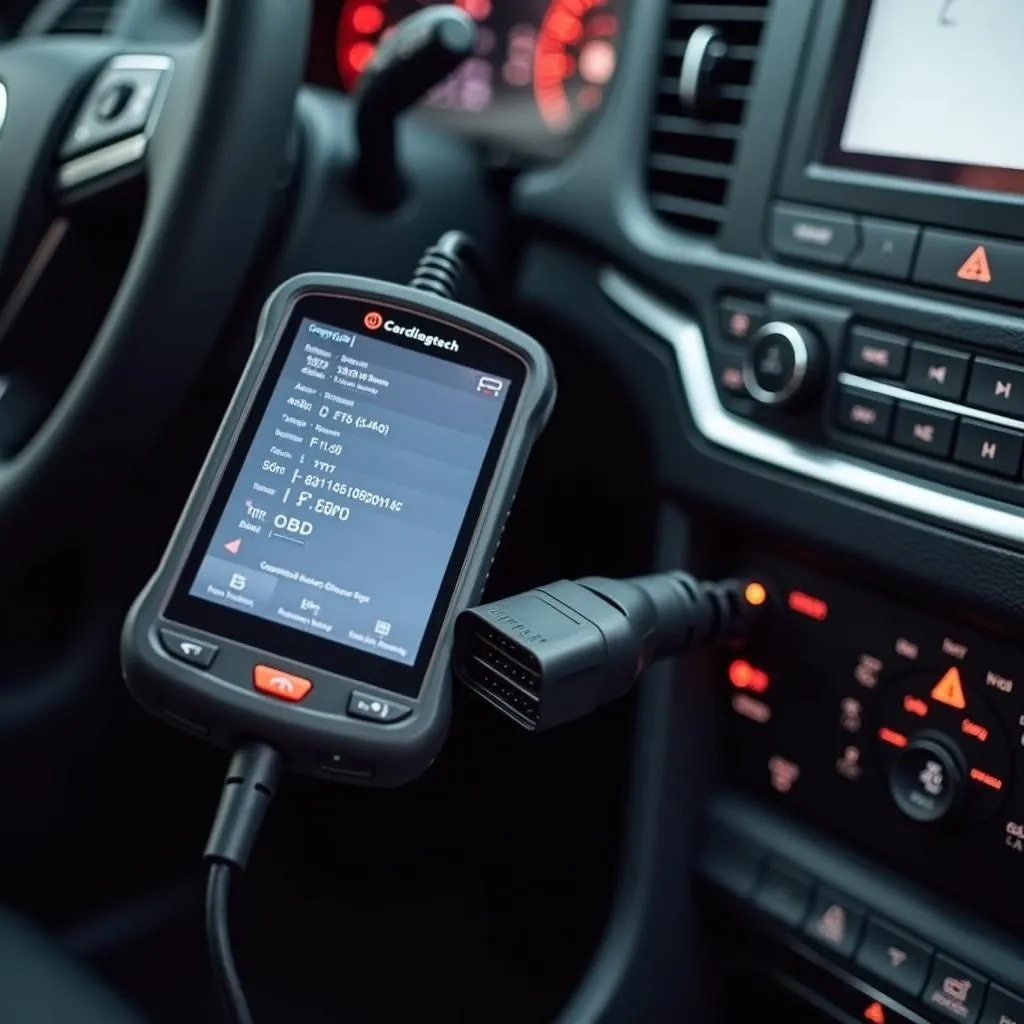 Car Diagnostic Tool Connected to a Vehicle
How do I choose the right diagnostic software for my needs?
Navigating the world of automotive diagnostic software can be daunting. Factors to consider include your vehicle’s make and model, your technical expertise, and the specific diagnostic tasks you need to perform. CARDIAGTECH offers a diverse selection of software options, from entry-level code readers to professional-grade suites, catering to all levels of users.
What if I encounter issues during the Ravelco installation?
While this guide offers a simplified overview, Ravelco installation requires specialized knowledge and experience. If you encounter any challenges, it’s strongly recommended to seek assistance from a certified Ravelco installer or a qualified automotive electrician.