Car theft is a pervasive issue, but with the rise of DIY electronics, protecting your vehicle with a custom-built anti-theft system is easier than ever. This article will guide you through building a simple yet effective anti-theft alarm using an Arduino, a microcontroller platform known for its versatility and ease of use.
Understanding the Need for an Alarm
Before diving into the build, let’s understand why car alarms are essential. According to a study by [Insert Reputable Automotive Source], vehicles with visible anti-theft devices are significantly less likely to be targeted by thieves. An alarm acts as a deterrent and can alert you and others nearby if someone tampers with your vehicle.
Identifying the Components
Here’s what you’ll need to create your Arduino-powered anti-theft alarm:
- Arduino Board: The brain of your alarm system.
- Ultrasonic Sensor: To detect movement around your vehicle.
- Buzzer: To sound the alarm when triggered.
- LED Light: A visual indicator when the alarm is active.
- Jumper Wires: To connect the components.
- Breadboard (optional): For prototyping the circuit.
- Project Box (optional): To house and protect the electronics.
Assembling the Alarm System
Now, let’s piece together your anti-theft device:
-
Connect the Sensor: Attach the ultrasonic sensor to your Arduino board. This sensor acts as the “eyes” of the alarm, sending out ultrasonic waves and measuring their reflection to detect nearby objects.
-
Wire the Buzzer and LED: Connect the buzzer and LED to the Arduino board. The buzzer will produce a loud sound when triggered, while the LED will provide a visual alarm signal.
-
Upload the Code: Upload the Arduino code to your board. This code will instruct the Arduino on how to interpret the sensor data and when to activate the alarm.
-
Test and Enclose: Before installing, thoroughly test the system to ensure it functions as expected. Once confirmed, carefully enclose the electronics in a project box for protection.
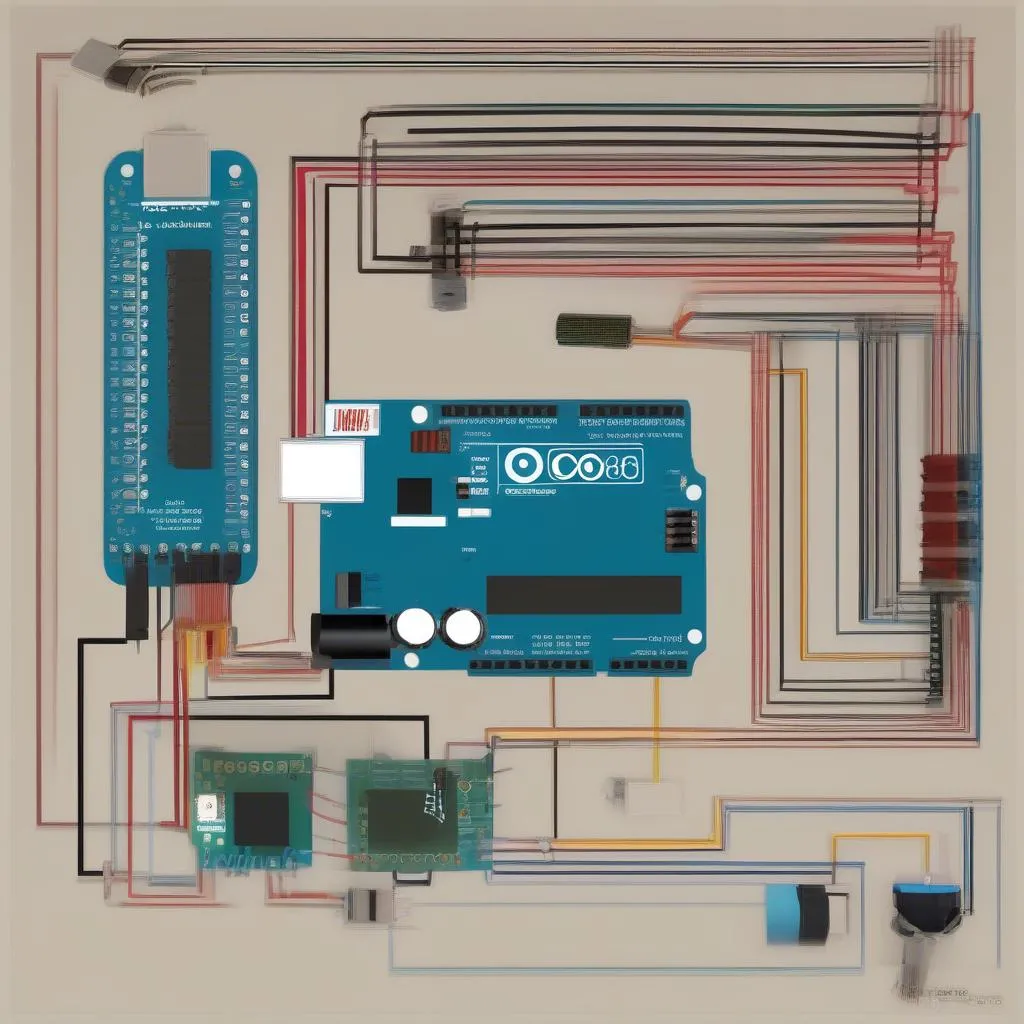 Arduino Alarm Circuit Diagram
FAQs About Automotive Security
Q: Can I use a different type of sensor for my alarm?
A: Absolutely! While the ultrasonic sensor is a popular choice, you can explore other sensors like vibration sensors or tilt sensors, depending on your specific needs and the desired sensitivity of the alarm.
Q: How effective is an Arduino-based alarm compared to professional systems?
A: While an Arduino alarm offers a great DIY solution, professional systems often integrate advanced features like GPS tracking, remote monitoring, and immobilizers. However, the deterrent effect of a well-built Arduino alarm should not be underestimated.
 Car Equipped with Anti-Theft Alarm
Cardiagtech offers a range of automotive diagnostic tools and resources to help you troubleshoot and enhance your vehicle’s security. Consider exploring their offerings for professional-grade solutions.
Conclusion
This guide provides a foundation for crafting a basic Arduino-powered anti-theft alarm. Remember that this project serves as a starting point, and you can customize and enhance it further based on your needs and technical expertise. For those seeking advanced diagnostics and automotive solutions, CARDIAGTECH stands ready to assist you.