Losing your bike to theft can be a heartbreaking experience. Not only is it a financial setback, but it also disrupts your daily routine and can leave you feeling vulnerable. While no security measure is foolproof, a loud, attention-grabbing alarm system can deter potential thieves and significantly decrease the chances of your bike becoming another statistic.
This guide will walk you through the steps of crafting a simple yet effective DIY anti-theft alarm for your bike. Let’s dive in and empower you to protect your ride!
Understanding the Basics of a Bike Alarm
Before we get our hands dirty, let’s understand the fundamental components of a basic bike alarm system:
- Sensor: This is the heart of your alarm, responsible for detecting any unwanted movement or tampering with your bike.
- Control Unit: This acts as the brain, processing signals from the sensor and triggering the alarm.
- Siren: The attention-grabbing component that emits a loud noise to deter thieves and alert you and others nearby.
How to Identify a Potential Bike Theft
Knowing the common signs of bike theft attempts can help you take preventative measures:
- Suspicious activity around bike racks: Be wary of individuals loitering near bike racks or seemingly tampering with bikes that aren’t theirs.
- Unusual noises: If you hear rattling, cutting, or forcing sounds near your bike, investigate immediately.
- Missing parts: Regularly check your bike for any missing parts, such as quick-release wheels or seats.
Gathering Your Tools and Materials
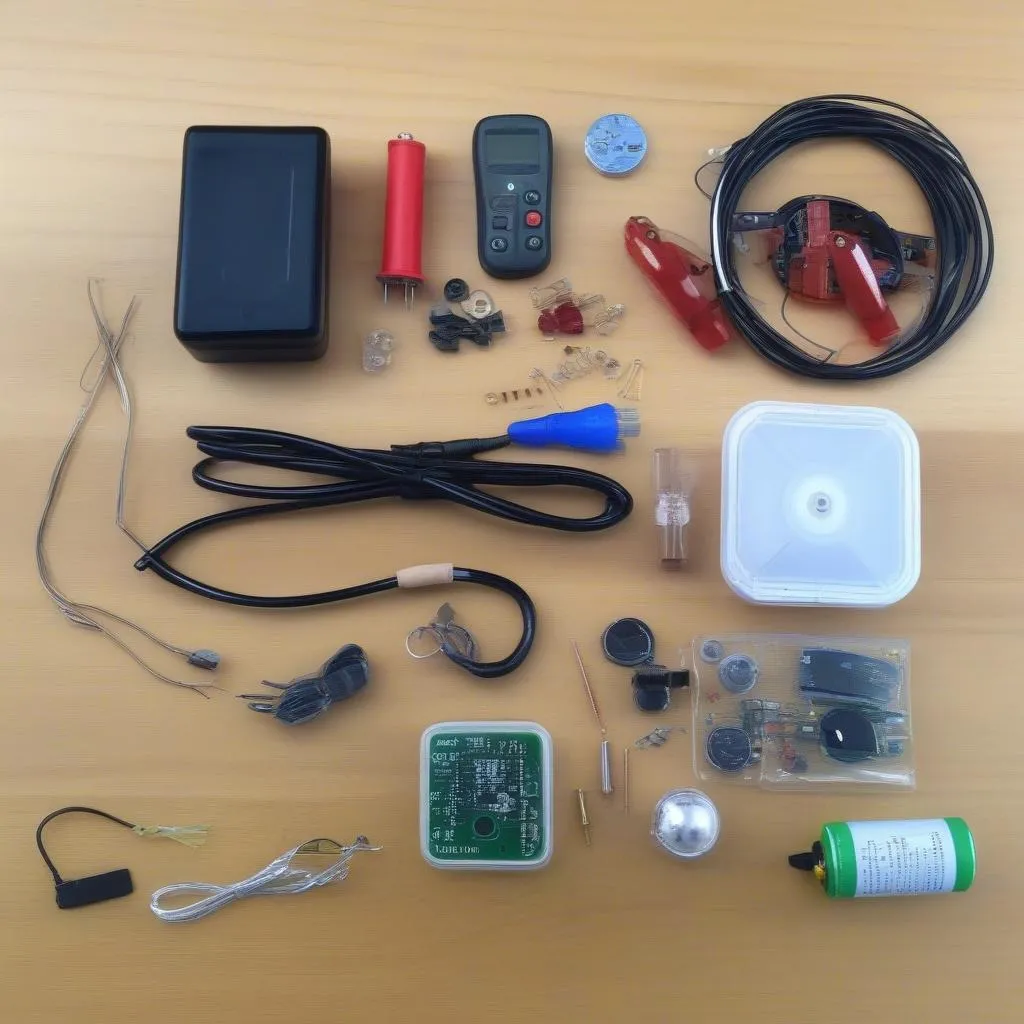
For this DIY project, you’ll need:
- A sensitive vibration sensor: You can find these online or at electronics stores.
- A loud piezo buzzer: This will serve as your siren.
- A battery holder with batteries: A 9V battery holder is ideal.
- A project box: This will house the electronics and protect them from the elements.
- Wire, a switch, soldering iron and solder, hot glue, and basic hand tools.
 DIY bike alarm components
Building Your Bike Anti Theft Alarm: A Step-by-Step Guide
Now, let’s put it all together:
-
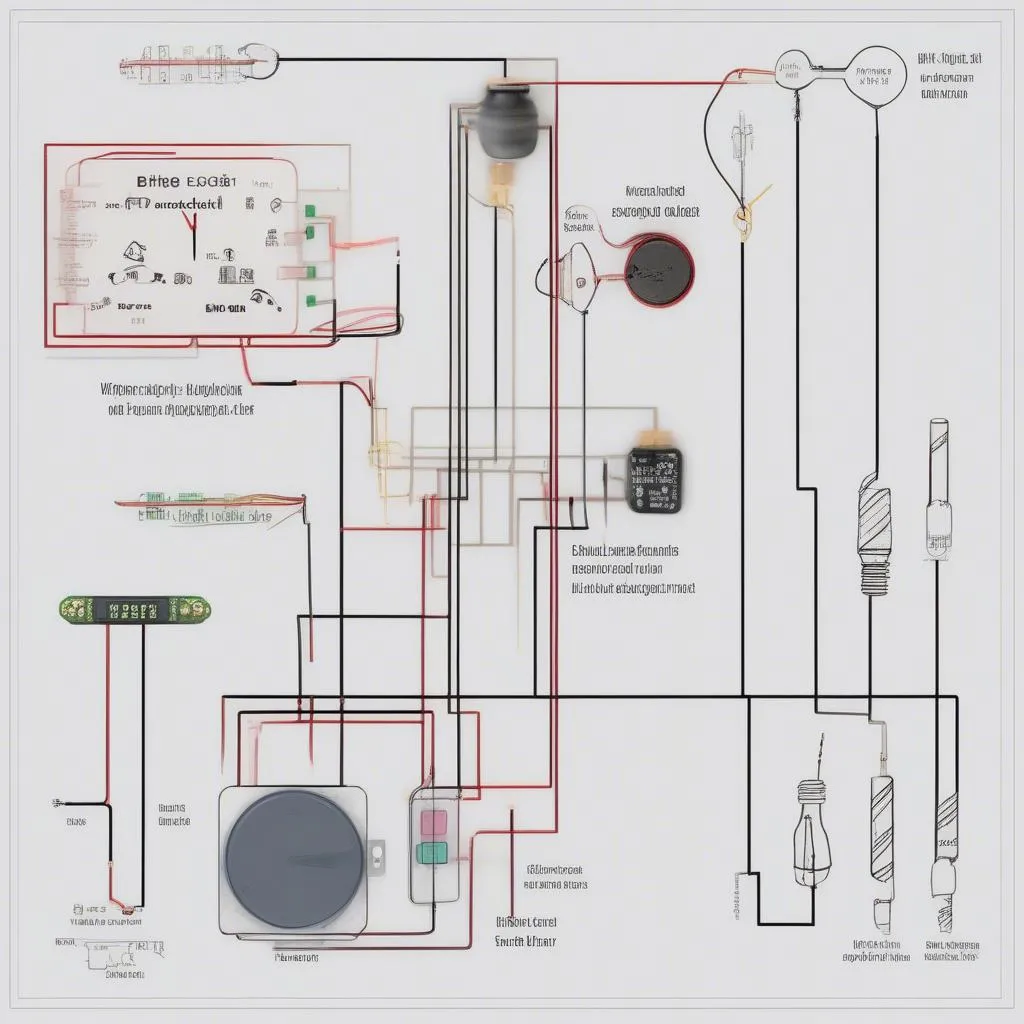
Wire the circuit: Connect the positive (+) lead of the vibration sensor to the positive (+) terminal of the battery holder. Connect the negative (-) lead of the sensor to the positive (+) leg of the piezo buzzer. Connect the negative (-) leg of the buzzer to the negative (-) terminal of the battery holder.
-
Add the switch: Cut the positive (+) wire between the battery holder and the sensor. Attach one end of the cut wire to one leg of the switch, and the other end to the remaining leg of the switch. This allows you to easily turn the alarm on and off.
-
Assemble the components: Securely mount the vibration sensor to the inside of the project box using hot glue or screws. Place the buzzer and battery holder inside the box, ensuring they don’t touch each other or the sensor.
-
Seal the project box: Once everything is in place and the glue has dried, seal the project box to protect the electronics from moisture and dust.
-
Mount the alarm: Find a discreet location on your bike frame to attach the alarm box using zip ties or strong adhesive tape. Ensure the vibration sensor is in a position where it can easily detect movement.
 Bike alarm circuit diagram
FAQs
Are Triumph Street Twins equipped with an anti-theft system?
To learn more about anti-theft systems on Triumph Street Twin motorcycles, including factory-installed options and aftermarket solutions, refer to our comprehensive guide: Are Triumph Street Twins equipped with an anti-theft system?
Do motorcycles have anti-theft devices?
Discover the range of anti-theft devices available for motorcycles, from basic disc locks to sophisticated GPS trackers, by exploring our informative article: Do motorcycles have anti-theft devices?
Conclusion
Congratulations! You’ve just built your own bike anti-theft alarm. While this DIY alarm can significantly enhance your bike’s security, remember that layering your security measures is always recommended. Consider using a U-lock in conjunction with your new alarm for optimal protection.
Need expert assistance with automotive diagnostics or programming? Connect with CARDIAGTECH for top-notch services and solutions.

