Upgrading your car audio system with a new car radio and speakers can dramatically enhance your driving experience. While it might seem daunting, installing a car radio and speakers is achievable with the right tools, information, and a little patience. This guide provides a step-by-step approach to help you confidently tackle this DIY project.
Understanding Car Audio Systems
Before diving into the installation, it’s helpful to understand the basic components of a car audio system:
- Head Unit (Car Radio): The control center of your audio system, handling radio reception, music playback, and often connecting to your phone for hands-free calling and audio streaming.
- Speakers: Responsible for converting electrical signals into audible sound. Car audio systems typically include front speakers, rear speakers, and sometimes tweeters for high-frequency sounds.
- Amplifier (Optional): Boosts the audio signal from the head unit to power the speakers, resulting in louder and clearer sound, especially important for larger speakers or high-powered systems.
Common Car Audio Problems and Their Causes
Several issues can arise with car audio systems, often stemming from loose wiring, faulty components, or improper installation. Here are some common problems:
- No Sound: This could be due to a blown fuse, disconnected speaker wires, a malfunctioning head unit, or a problem with the amplifier if you have one.
- Distorted Sound: Usually indicates a problem with the speakers themselves, such as a blown speaker cone or a damaged voice coil. It can also be caused by a failing amplifier or a poor-quality audio signal.
- Static or Whining Noises: Often caused by interference from the car’s electrical system, loose ground wires, or a poor-quality head unit.
- Intermittent Sound: This issue can be particularly frustrating and may signal loose wiring, a failing head unit, a faulty amplifier, or a problem with the car’s electrical system.
Identifying and Diagnosing Car Audio Issues
Before you start replacing parts, diagnosing the problem is crucial. Here’s how you can pinpoint the root cause:
- Check for Obvious Signs: Inspect the wiring harnesses at the back of the head unit and speakers for any loose or disconnected wires. Look for blown fuses in your car’s fuse box.
- Test the Speakers: If you have a multimeter, check the speakers for continuity. A lack of continuity suggests a blown speaker. You can also carefully disconnect a speaker and briefly connect it to another known-working speaker wire in your home audio system to test it.
- Isolate the Head Unit: If possible, connect your head unit to a different power source and speakers to see if it functions correctly. This can help determine if the problem lies with the head unit itself or the car’s wiring.
- Use Diagnostic Tools: For more complex issues, particularly those related to the car’s electrical system or the head unit’s software, professional-grade diagnostic tools like those offered by Cardiagtech can be invaluable. These tools can read error codes, monitor live data streams, and help pinpoint the source of the problem.
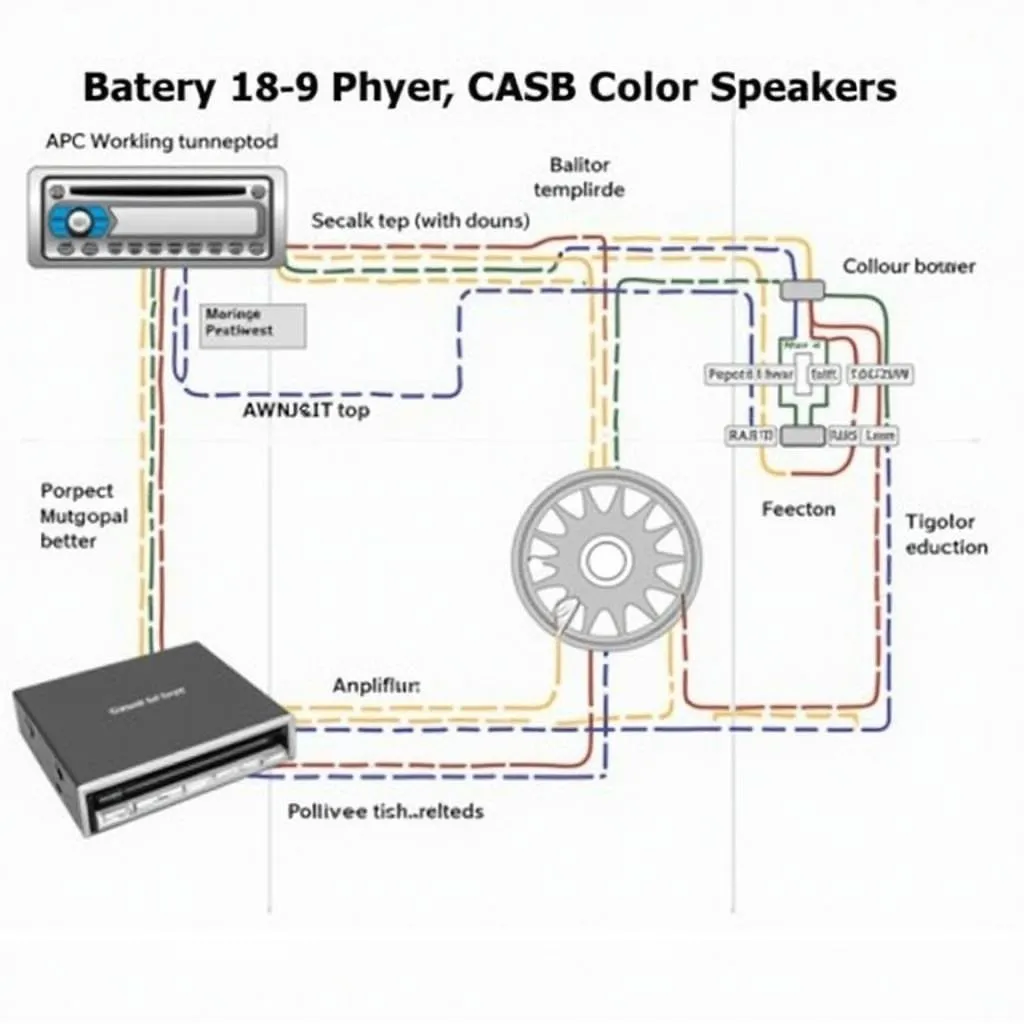 Car Audio Wiring Diagram
Gathering the Necessary Tools and Equipment
Having the right tools on hand is essential for a smooth installation:
- Screwdrivers: Phillips and flathead, in various sizes to fit the screws on your car’s dashboard, door panels, and audio components.
- Socket Wrench Set: May be needed to remove bolts holding the factory radio or speakers in place.
- Panel Removal Tools: Plastic pry tools help remove interior panels without causing damage.
- Wire Strippers and Crimpers: For preparing and connecting wires.
- Electrical Tape: For insulating wire connections and securing wires.
- Multimeter (Optional): For testing continuity and voltage.
- Installation Kit (Dash Kit, Wiring Harness): Vehicle-specific kits designed to help you install an aftermarket radio into your car’s dashboard seamlessly.
- Speaker Adapters (if necessary): Some vehicles require adapters to fit aftermarket speakers into the factory speaker locations.
Installing a Car Radio and Speakers: A Step-by-Step Guide
Once you’ve diagnosed any issues and gathered your tools, follow these steps to install your new car radio and speakers:
- Disconnect the Battery: Disconnect the negative terminal of your car battery to prevent electrical shorts.
- Remove the Factory Radio: Carefully pry off the trim panels around your existing radio using the panel removal tools. Unscrew the mounting brackets and carefully disconnect the wiring harnesses.
- Install the New Radio: If using an installation kit, assemble the dash kit and wire harness adapter according to the instructions. Connect the wiring harness adapter to your new radio’s wiring harness. Secure the radio to the mounting brackets and reinstall the trim panels.
- Remove the Factory Speakers: Locate the factory speakers, typically in the doors and rear deck. Carefully pry off the speaker grilles and unscrew the speakers. Disconnect the wiring.
- Install the New Speakers: Connect the speaker wires, observing polarity (positive to positive, negative to negative). Secure the new speakers to the mounting locations.
- Test the System: Reconnect the negative battery terminal. Turn on your car and test the radio and speakers to ensure everything functions correctly.
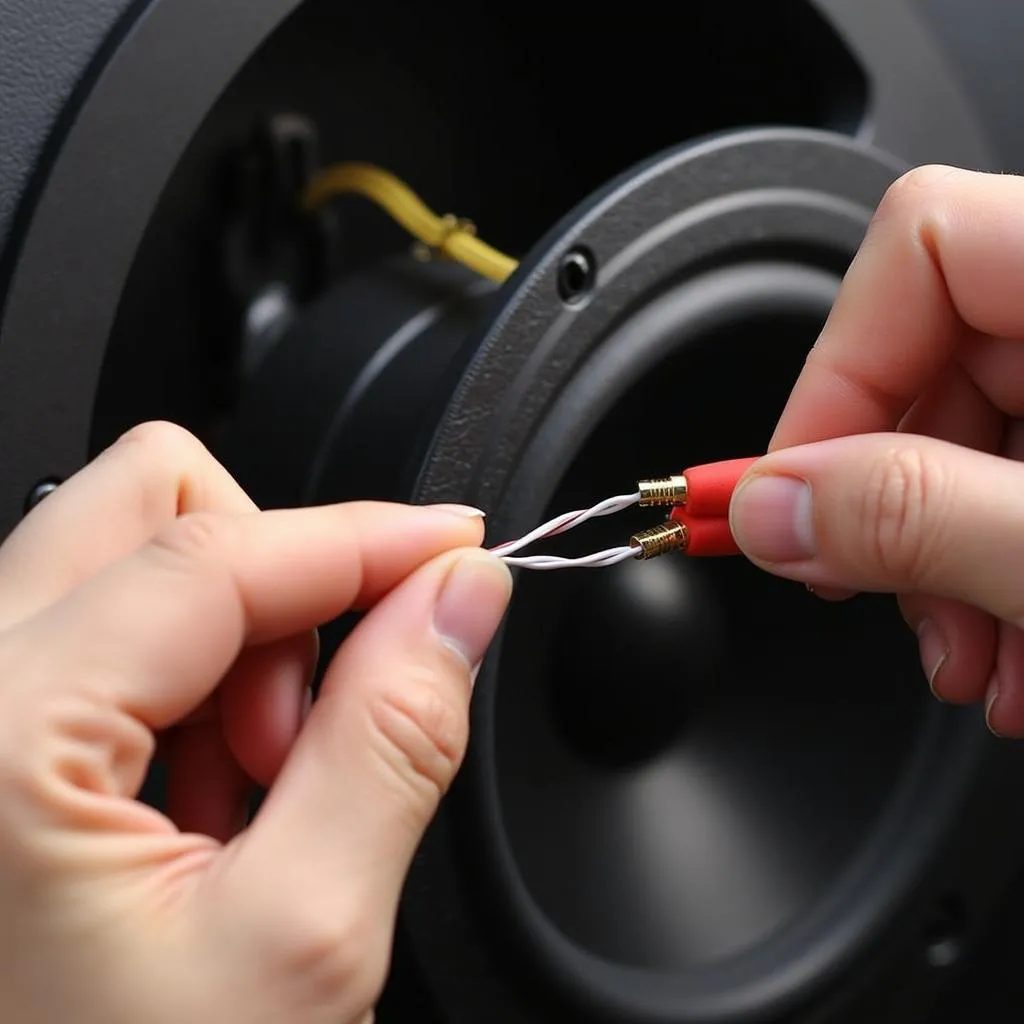 Connecting Car Speakers
FAQs About Car Radio and Speaker Installation
Here are some common questions people have about car audio installations:
-
Can I install a car radio myself? Yes, many car audio installations can be done with basic tools and a little patience. However, if you are not comfortable working with electrical components or dealing with your car’s interior, it is best to seek professional installation.
-
How much does it cost to install a car radio and speakers professionally? The cost of professional installation can vary widely depending on the complexity of the installation, the type of vehicle, and the geographic location. For an estimate of installation costs in your area, check out this guide: How Much Is It to Install a Car Radio?.
-
What is a wiring harness adapter, and why do I need one? A wiring harness adapter is designed to connect an aftermarket radio to your vehicle’s factory wiring harness without the need to cut or splice any wires. This simplifies the installation process and helps preserve the integrity of your car’s electrical system.
-
Do I need an amplifier for my new speakers? While not always necessary, an amplifier can significantly improve the sound quality and volume of your car audio system, especially if you have upgraded to more powerful speakers.
-
My new radio doesn’t fit my dashboard. What should I do? You’ll need a dash kit designed specifically for your car model. This kit helps adapt the aftermarket radio to fit seamlessly into your car’s dashboard opening.
Conclusion
Upgrading your car’s audio system can bring a new level of enjoyment to your daily commute or road trips. By following this comprehensive guide, you can confidently tackle the installation yourself. However, remember that professional installation is always an option if you prefer to leave it to the experts. If you encounter complex car audio problems that require advanced diagnostics or programming, consider reaching out to a trusted provider like CARDIAGTECH. They offer a wide range of tools and services to help you get your car audio system back on track.