Upgrading your car stereo system can significantly improve your driving experience. Whether you’re looking for better sound quality, Bluetooth connectivity, or advanced features, installing a new car radio is a great place to start. While it might seem daunting, with the right tools and a bit of patience, you can tackle this project yourself. This guide will walk you through the process step-by-step, ensuring a successful installation.
Understanding Your Car Stereo System
Before diving into the installation, it’s essential to understand the different components of your car stereo system.
Common Car Stereo Problems
Car stereos, like any electronic device, can encounter various issues. Some common problems include:
- No power: This could be due to a blown fuse, a wiring issue, or a faulty head unit.
- Poor sound quality: This might indicate blown speakers, improper wiring, or a low-quality head unit.
- Radio reception issues: A weak antenna signal, interference from other electronic devices, or a problem with the radio tuner can cause poor reception.
- Bluetooth connectivity problems: Pairing issues, intermittent connections, or poor audio quality during Bluetooth streaming are common problems.
- Erratic behavior: This could be a symptom of a failing head unit, wiring issues, or software problems.
Causes of Car Stereo Issues
These problems can stem from various factors, including:
- Wiring problems: Loose connections, damaged wires, or incorrect wiring are common culprits behind many car stereo issues.
- Faulty components: A failing head unit, blown speakers, or a malfunctioning amplifier can all lead to sound problems.
- Software glitches: Like any computer system, car stereos rely on software, which can sometimes experience glitches or require updates.
- Water damage: Exposure to moisture can damage the delicate electronics within your car stereo system.
- Physical damage: Impacts or vibrations can loosen connections or damage components.
Diagnosing the Problem
Before installing a new car radio, you must determine if a faulty head unit is the root cause of your problem.
Using Diagnostic Software
Modern vehicles often provide valuable information about potential issues through their onboard diagnostic systems. Using a compatible OBD-II scanner, like those offered by Cardiagtech, can help retrieve diagnostic trouble codes (DTCs) related to your car stereo system. These codes can point towards specific problems, such as communication errors with the head unit or speaker malfunctions.
Manual Inspection
In addition to diagnostic software, a visual inspection of the wiring harness and connections behind the dashboard is crucial. Look for any loose or damaged wires, blown fuses, or signs of corrosion.
Gathering the Necessary Tools and Equipment
Having the right tools is crucial for a smooth installation. Here’s a list of what you’ll likely need:
- Screwdrivers: Phillips and flathead, in various sizes.
- Socket wrench set: To remove bolts holding the old radio.
- Panel removal tools: These plastic tools help pry open dashboard panels without causing damage.
- Wire strippers/crimpers: For making clean wire connections.
- Electrical tape: To secure and insulate wire connections.
- Wiring harness adapter: This connects the new radio to your vehicle’s wiring system.
- Antenna adapter: Required if your new radio uses a different antenna connection.
- Dash kit: Provides a seamless fit for your new radio in the dashboard opening.
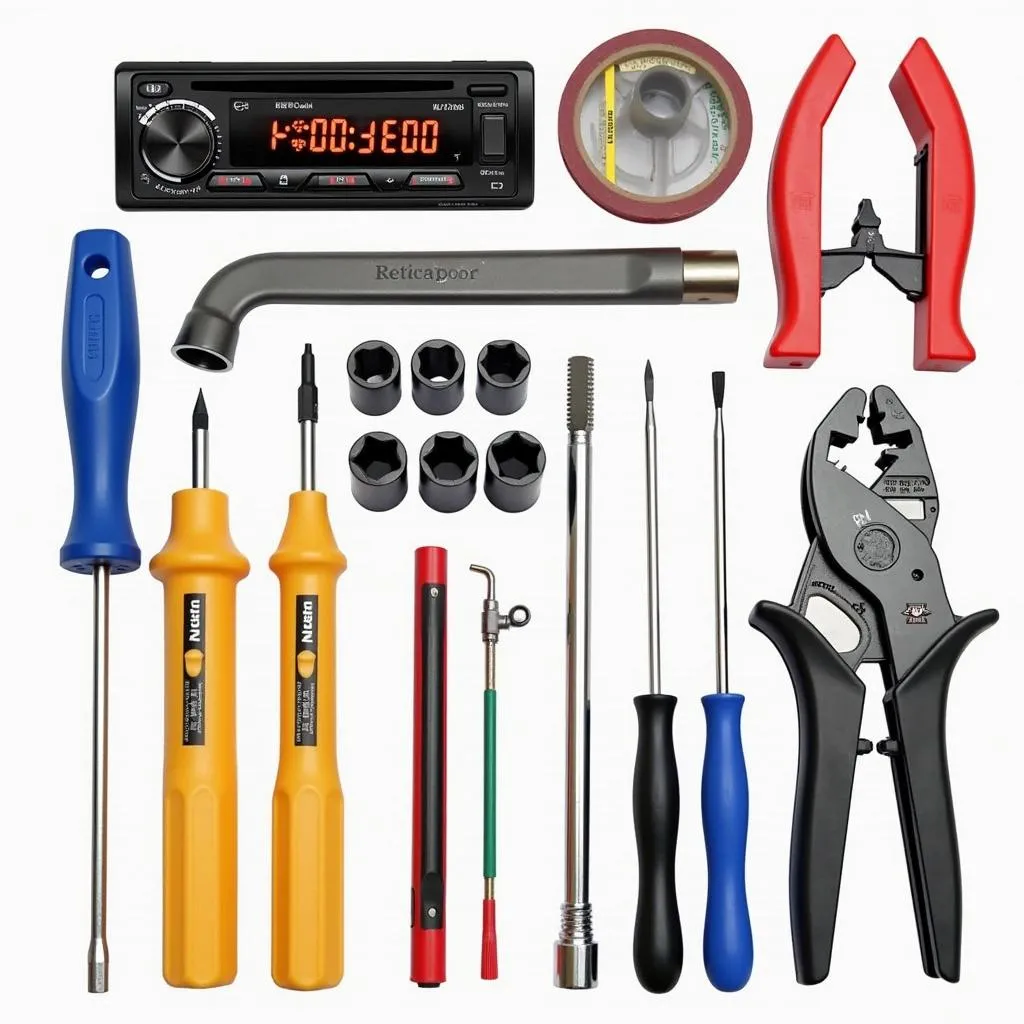 Car Stereo Installation Tools
Step-by-Step Installation Guide
Now, let’s get down to the installation process.
-
Disconnect the negative battery terminal. This prevents electrical shorts during the installation.
-
Remove the old radio. Use the panel removal tools to carefully pry open the dashboard panels surrounding the radio. Then, unscrew the bolts holding the radio in place and gently pull it out.
-
Disconnect the wiring harness and antenna from the old radio.
-
Connect the wiring harness adapter to the new radio’s wiring harness. Match the wires by color and make secure connections using the crimp connectors or soldering, ensuring proper insulation with electrical tape.
-
Connect the antenna adapter (if needed).
-
Test the new radio before final installation. Reconnect the negative battery terminal and turn on the ignition to verify that the radio powers on, the speakers work, and you have radio reception.
-
Install the new radio into the dash kit. Secure it using the provided screws or clips.
-
Reconnect the negative battery terminal. Test all the radio functions once more to confirm everything is working correctly.
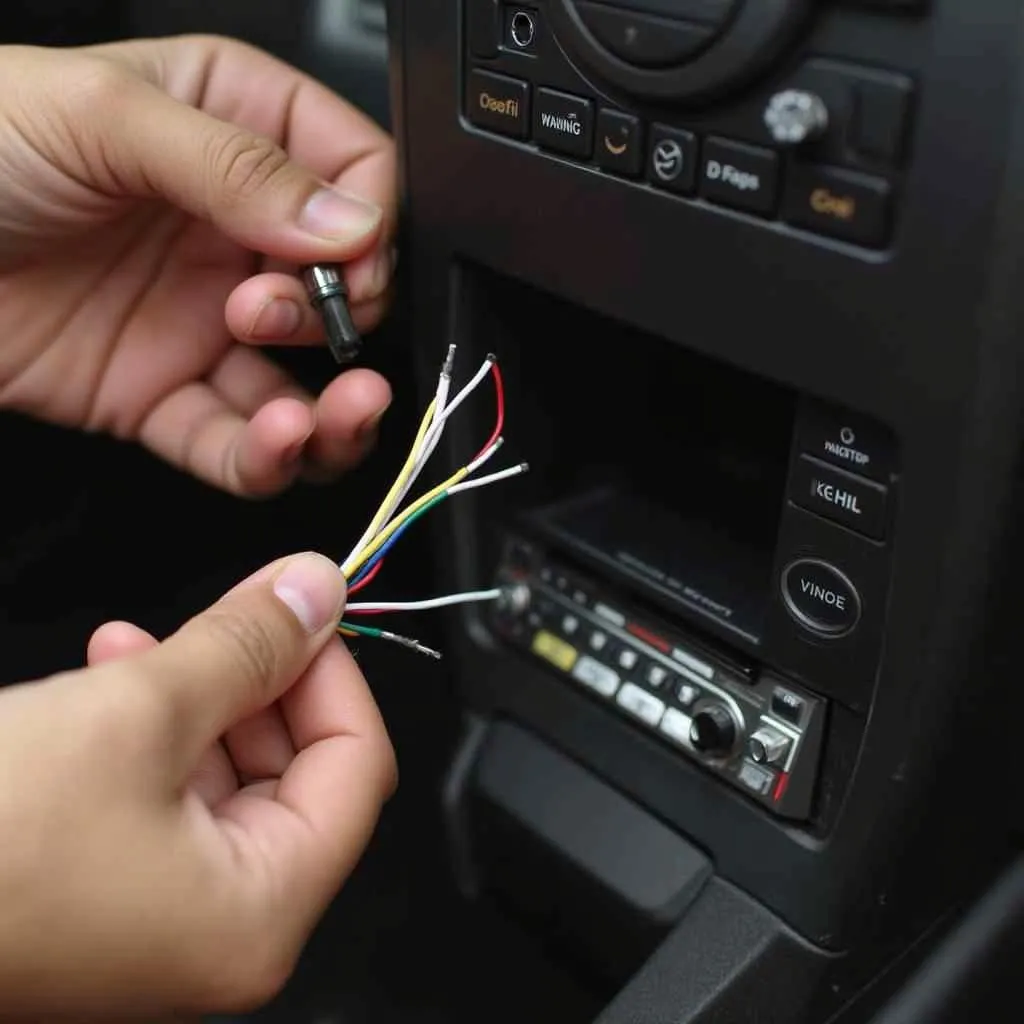 Connecting Car Stereo Wiring Harness
Common Questions About Car Radio Installation
Q: Can I install a car radio myself, or do I need a professional?
A: Many car owners successfully install their car radios. However, if you are not comfortable working with car electronics or dealing with wiring, it’s best to seek professional installation.
Q: What is a wiring harness adapter, and why do I need it?
A: A wiring harness adapter connects your new radio to your car’s existing wiring system without cutting or splicing the factory wires. It ensures a safe and reliable connection.
Q: How do I know which dash kit is compatible with my car?
A: Dash kits are designed for specific car models and radio sizes. You can find the correct one by checking the manufacturer’s website or consulting with a car audio specialist.
Q: My new radio has Bluetooth. How do I pair my phone?
A: Refer to the user manual of your new radio for specific instructions on pairing your phone via Bluetooth. The process generally involves putting the radio in pairing mode and searching for it on your phone’s Bluetooth settings.
Conclusion
Installing a new car radio can be a rewarding DIY project, enhancing your driving experience with improved sound and features. By following this guide, you’ll be well-equipped to tackle the installation process with confidence. However, remember that professional help is always available if you encounter any difficulties. For those interested in exploring advanced automotive diagnostic tools and software, CARDIAGTECH offers a range of products suitable for both professionals and DIY enthusiasts.