Upgrading your car audio system can dramatically improve your driving experience. If you’re tired of listening to static or limited radio stations, installing a DAB radio is the perfect solution. DAB (Digital Audio Broadcasting) radio provides crystal-clear digital audio, a wider selection of stations, and additional features like scrolling text and track information. While the idea of installing a car radio might seem daunting, this comprehensive guide will walk you through the process step-by-step, making it a manageable project even for beginners.
Understanding DAB Radio and Its Benefits
Before diving into the installation process, let’s understand why DAB radio is a worthwhile upgrade. Unlike traditional FM/AM radio, which transmits analog signals, DAB radio utilizes digital signals. This key difference results in superior sound quality, comparable to that of a CD. Moreover, DAB radio offers a broader range of stations, including local, national, and genre-specific options, effectively eliminating the frustration of searching for a clear signal.
Common Issues with Traditional Car Radios and How DAB Solves Them
Traditional car radios often fall short in delivering a seamless listening experience. Poor reception, limited station choices, and susceptibility to interference are common complaints. DAB radio effectively addresses these issues:
-
Poor Reception: DAB’s digital signal transmission ensures clear audio without the static and fading commonly experienced with FM/AM radios.
-
Limited Station Choices: DAB radio opens a world of listening options with a significantly wider selection of stations, catering to diverse tastes.
-
Susceptibility to Interference: DAB radio is less prone to interference from buildings, electrical devices, and other vehicles, resulting in consistent audio quality.
Installing a DAB Radio in Your Car
Now, let’s break down the installation process into manageable steps:
1. Gather Your Tools and Equipment
Before you begin, ensure you have the following:
- DAB Radio Unit
- DAB Antenna
- Antenna Adapter (if necessary)
- Wiring Harness Adapter (if necessary)
- Screwdrivers (Phillips and flathead)
- Panel Removal Tools
- Wire Cutters/Strippers
- Electrical Tape
- Zip Ties
2. Prepare Your Vehicle
-
Disconnect the Battery: For safety, disconnect the negative (black) terminal of your car battery before starting any electrical work.
-
Remove Existing Radio: Use the panel removal tools to carefully pry open the trim surrounding your existing car radio. Once the trim is removed, you’ll need to unscrew the radio unit from its mounting brackets. Gently pull the radio out, disconnecting the wiring harnesses and antenna cable.
3. Install the DAB Antenna
-
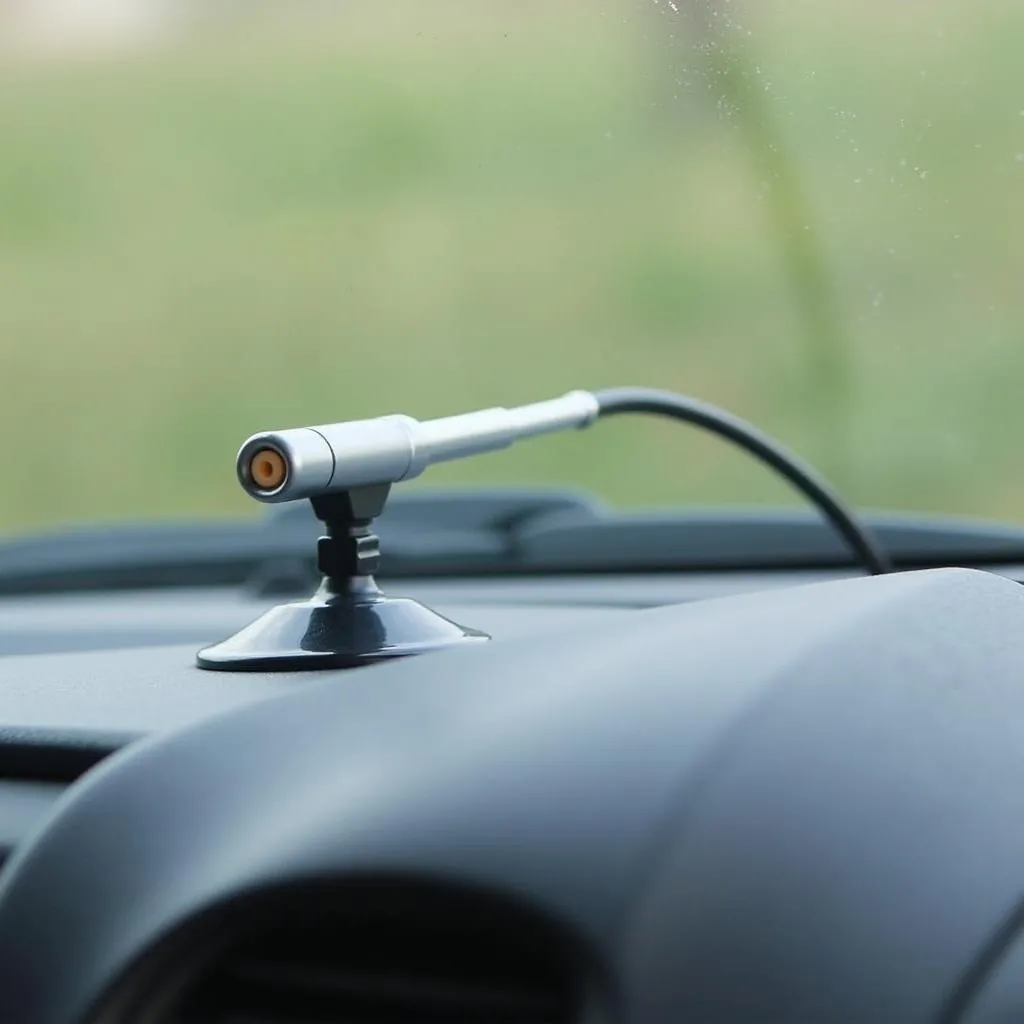
Choose an Appropriate Location: Select a suitable location for your DAB antenna, typically the windshield or the roof.
-
Mount the Antenna: Follow the manufacturer’s instructions to securely mount the DAB antenna. Route the antenna cable to the rear of the dashboard where your new DAB radio unit will be installed.
 Installing a DAB antenna
4. Connect the Wiring Harnesses
-
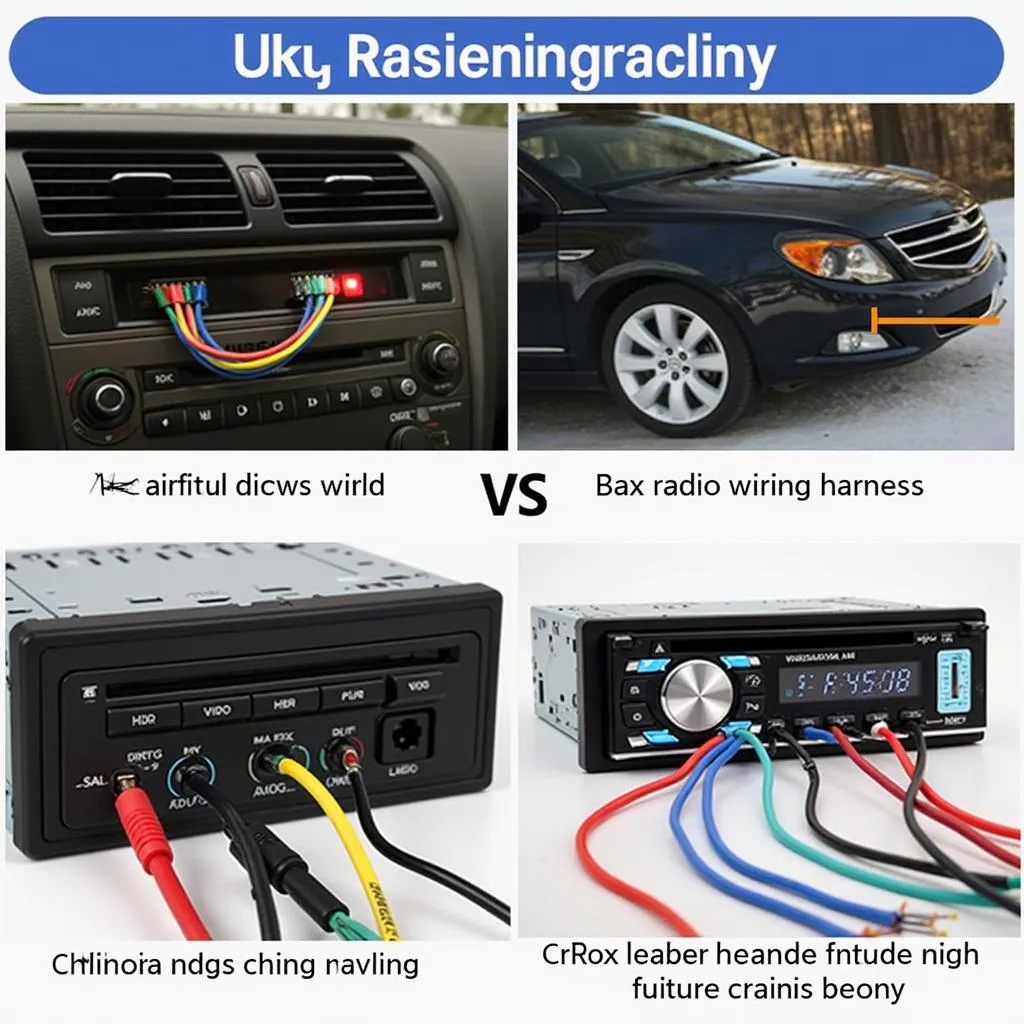
Identify the Correct Wiring Harness Adapter: If your new DAB radio unit doesn’t come with a compatible wiring harness, purchase a wiring harness adapter specific to your car model.
-
Connect the Harnesses: Match the corresponding color-coded wires on the DAB radio’s wiring harness with those on your car’s wiring harness (or the adapter). Secure the connections using electrical tape or crimp connectors.
 Connecting DAB radio wiring harnesses
5. Install the DAB Radio Unit
-
Connect the Antenna Cable: Connect the DAB antenna cable to the corresponding port on the back of your new DAB radio unit.
-
Secure the Radio Unit: Slide the DAB radio unit into the mounting bracket in your dashboard. Ensure it’s securely in place before reattaching any screws.
-
Reconnect Battery: Reconnect the negative terminal of your car battery.
6. Test Your DAB Radio
Before reassembling the dashboard trim, power on your car and test the DAB radio. Scan for available stations and ensure the audio is clear. If everything is working correctly, carefully reattach the dashboard trim.
Troubleshooting Common DAB Radio Installation Issues
While the installation process is generally straightforward, you might encounter a few common issues:
-
No Power: Double-check that the radio’s wiring harness is correctly connected to the car’s wiring harness. Ensure the fuse for the radio circuit is not blown.
-
Poor Reception: Make sure the DAB antenna is properly mounted and the cable is securely connected. Relocate the antenna if necessary to improve signal reception.
-
No Sound: Verify that the speaker wires are properly connected to the radio unit and that the speakers are functioning correctly.
Frequently Asked Questions about DAB Radio Installation
Q: Can I install a DAB radio myself, or do I need professional help?
A: Installing a DAB radio is a manageable DIY project for those with basic car audio knowledge. However, if you’re uncomfortable working with car electronics, it’s always advisable to consult a professional.
Q: What is a DAB antenna adapter, and do I need one?
A: A DAB antenna adapter is used to connect an aftermarket DAB antenna to your car’s existing antenna system. Whether you need an adapter depends on your car’s make and model and the type of antenna you’re installing.
Q: My car radio doesn’t have Bluetooth. Can I add it?
A: Absolutely! Check out our guide on how to install Bluetooth radio in a car for detailed instructions.
You can find more information about car audio upgrades and diagnostic tools on Cardiagtech.com.
Conclusion
Enhancing your car’s audio system with DAB radio is a surefire way to elevate your daily commute or road trips. By following this comprehensive guide, you can confidently install a DAB radio in your car and unlock a world of crystal-clear digital audio entertainment. If you encounter any challenges or prefer professional assistance, consider reaching out to CARDIAGTECH for expert advice and top-notch diagnostic services.
