“Ever left your car radio on just a tad too long and returned to a dead battery? We’ve all been there. But what if you could power your tunes independently of your car’s main battery? Enter the auxiliary battery, a reliable solution for uninterrupted audio enjoyment and even a few bonus perks.”
Understanding Car Audio Power and Auxiliary Batteries
Before we dive into the wiring, let’s break down why this setup is beneficial. Your car’s electrical system is designed for starting the engine and running essential components. While your radio is important, it can drain your primary battery, especially during prolonged listening sessions.
An auxiliary battery acts like a dedicated power source for your car stereo system. This means no more dead batteries from blasting your favorite playlists and potentially even improved sound quality due to a more stable power supply.
Common Car Audio Power Issues
Ever experience these audio annoyances?
- Intermittent or weak sound: This can point to an inadequate power supply, often stemming from a weak primary battery or poor wiring.
- Radio resetting: If your radio keeps resetting its clock or presets, it’s a telltale sign of inconsistent power, potentially due to a draining primary battery.
- Head unit malfunction: While not always power-related, some head unit malfunctions can occur due to unstable voltage from a struggling primary battery.
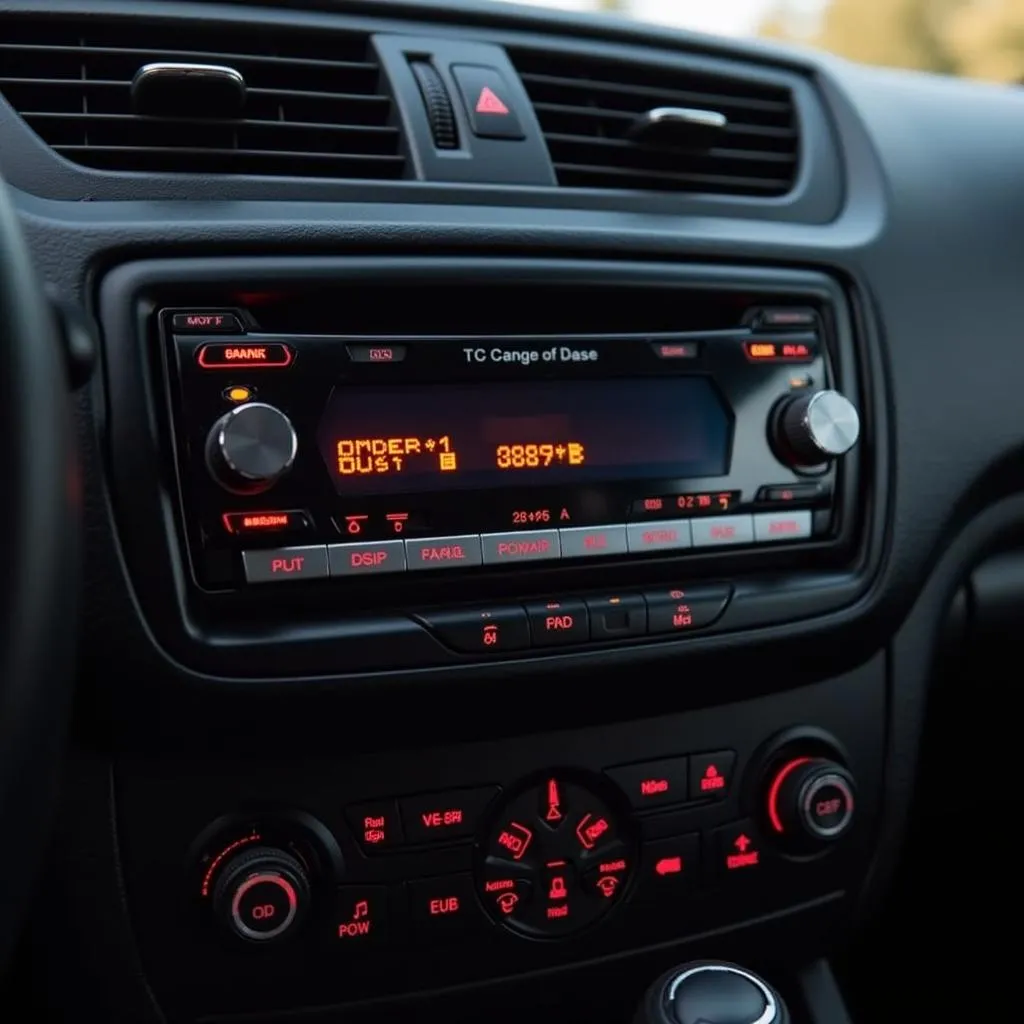 Car radio resetting
Why Wire Your Car Radio to an Auxiliary Battery?
Beyond preventing frustrating power issues, here are some compelling reasons:
- Enhanced Sound Quality: A dedicated power source minimizes electrical noise and interference, translating to cleaner, crisper audio output.
- Increased System Lifespan: By reducing the load on your primary battery, you extend its lifespan and the lifespan of your audio components.
- Added Convenience: Enjoy your audio system without worrying about draining your car’s main battery, especially useful for long trips or when parked.
Planning Your Installation
Before you start, gather these essential tools and components:
- Auxiliary Battery: Opt for a deep-cycle battery, like an AGM (Absorbent Glass Mat) battery, designed for deep discharges and recharges.
- Battery Isolator: This device automatically disconnects your auxiliary battery from the primary battery when the engine is off, preventing drainage.
- Wiring Kit: A dedicated car audio wiring kit ensures proper gauge and insulation for optimal power delivery and safety.
- Fuses and Holders: Always include fuses in your wiring to protect your equipment from potential electrical overloads.
- Tools: Basic hand tools like wire strippers, crimpers, a multimeter, and electrical tape are crucial for a successful installation.
Installation Steps:
- Disconnect the Negative Battery Terminal: Safety first! Disconnect the negative terminal of your primary battery before starting any electrical work.
- Mount the Auxiliary Battery: Securely mount the auxiliary battery in a well-ventilated area, away from heat sources, and using a suitable battery box.
- Connect the Isolator: Install the battery isolator according to the manufacturer’s instructions, usually between the primary battery and the auxiliary battery.
- Wire the Auxiliary Battery: Connect the positive terminal of the auxiliary battery to the positive terminal of your car radio using the appropriate gauge wire from your wiring kit. Remember to include an inline fuse near the battery connection.
- Ground Connections: Ground the negative terminal of the auxiliary battery to a suitable grounding point on the car’s chassis, ensuring a clean, metal-to-metal connection.
- Wire the Radio: Connect the ground wire of your car radio to the same grounding point as the auxiliary battery.
- Double-Check Connections: Before reconnecting the primary battery, meticulously inspect all connections for tightness and proper insulation.
- Reconnect Primary Battery: Reconnect the negative terminal of your primary battery.
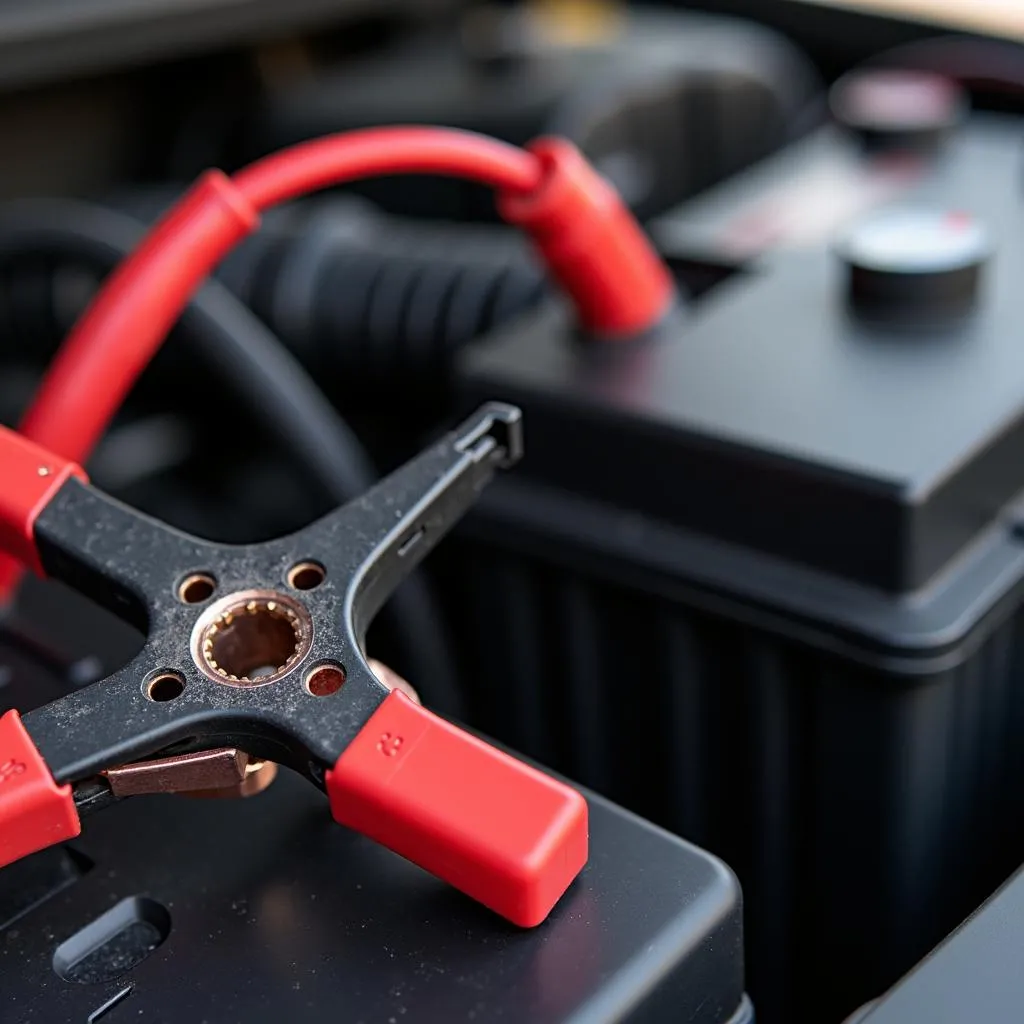 Connecting an auxiliary battery in a car
FAQs About Wiring a Car Radio to an Auxiliary Battery
Q: Can I install an auxiliary battery myself, or do I need a professional?
A: While the process is manageable with some electrical know-how, if you’re unsure about any step, it’s always best to consult a qualified car audio installer.
Q: What size auxiliary battery do I need for my car radio?
A: The size depends on your audio system’s power demands. Consulting an expert or using online calculators can help determine the appropriate battery capacity.
Q: Can I use any battery as an auxiliary battery for my car radio?
A: Deep-cycle batteries like AGM batteries are highly recommended due to their ability to handle repeated discharges and recharges.
Q: Will using an auxiliary battery void my car’s warranty?
A: As long as the installation is done correctly and doesn’t interfere with the car’s original wiring, it should not void your warranty. However, it’s always a good idea to check with your dealer or manufacturer.
Cardiagtech: Your Partner in Automotive Diagnostics
Did you know that potential electrical issues in your car’s system, even those seemingly unrelated to your audio system, can be diagnosed using professional-grade equipment? Cardiagtech offers a range of advanced diagnostic tools that can help identify and troubleshoot a variety of automotive problems, ensuring your vehicle runs smoothly.
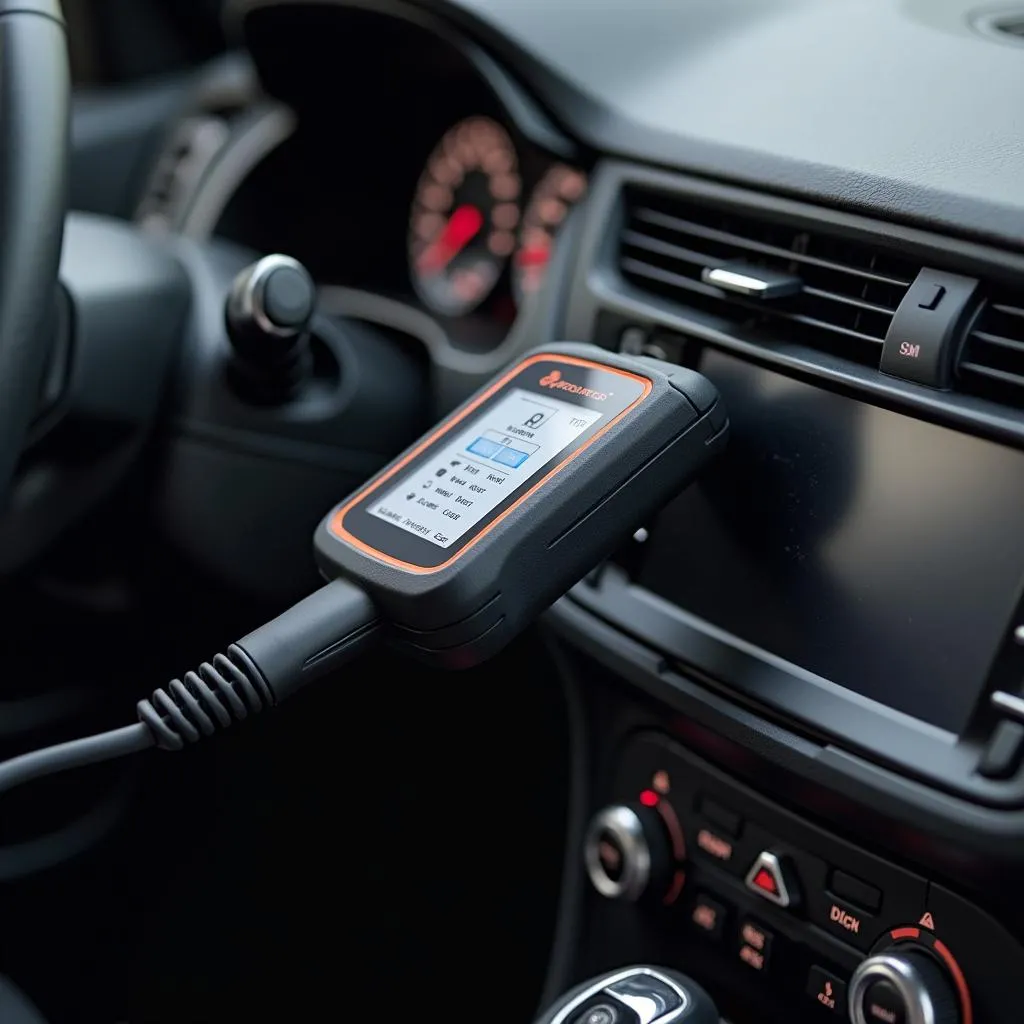 Car Diagnostic Tool
Enjoy Uninterrupted Audio with Your New Setup
Wiring your car radio to an auxiliary battery offers a significant upgrade for audiophiles and casual listeners alike. By following these steps and taking necessary precautions, you can enjoy enhanced sound quality, prolonged battery life, and the peace of mind that comes with a reliable power source for your car’s entertainment system. For more information or if you have questions about automotive diagnostics, feel free to connect with CARDIAGTECH.