“My car speakers sound like a dying cat!” If this sounds familiar, you might need to check your car amplifier and radio wiring. A properly wired 4 channel car amplifier can dramatically enhance your car audio experience, pumping out your favorite tunes with clarity and power. However, the world of car audio wiring can seem daunting, often leaving car owners scratching their heads in confusion. This comprehensive guide will demystify the process, leading you step-by-step through the intricacies of a 4 channel car amplifier and radio wiring diagram.
Understanding the Basics of a 4 Channel Car Amplifier
A 4 channel car amplifier is designed to power four speakers – typically two front and two rear speakers. It takes the low-level audio signal from your car radio and amplifies it, providing the speakers with enough power to produce high-quality sound.
Common Car Audio Problems and Their Causes
Before diving into wiring diagrams, let’s address some common car audio issues and their potential causes:
- Distorted Sound: This could be due to a blown speaker, improper wiring, or a faulty amplifier.
- No Sound from One or More Speakers: This often points towards a wiring issue, a blown speaker, or a problem with the amplifier’s output channels.
- Amplifier Won’t Turn On: Check for a blown fuse, improper grounding, or a problem with the remote turn-on wire.
- Engine Noise Interference: This typically stems from improper grounding or poor-quality wiring.
Identifying the Root of the Problem
Diagnosing car audio problems often involves a systematic approach.
- Visual Inspection: Begin by inspecting all the wiring connections for any loose or damaged wires. Ensure the fuse is not blown.
- Check the Grounding: A poor ground connection is a common culprit for many car audio problems.
- Test the Speakers: Use a multimeter to test the speakers for continuity. This will indicate whether the speakers are receiving power.
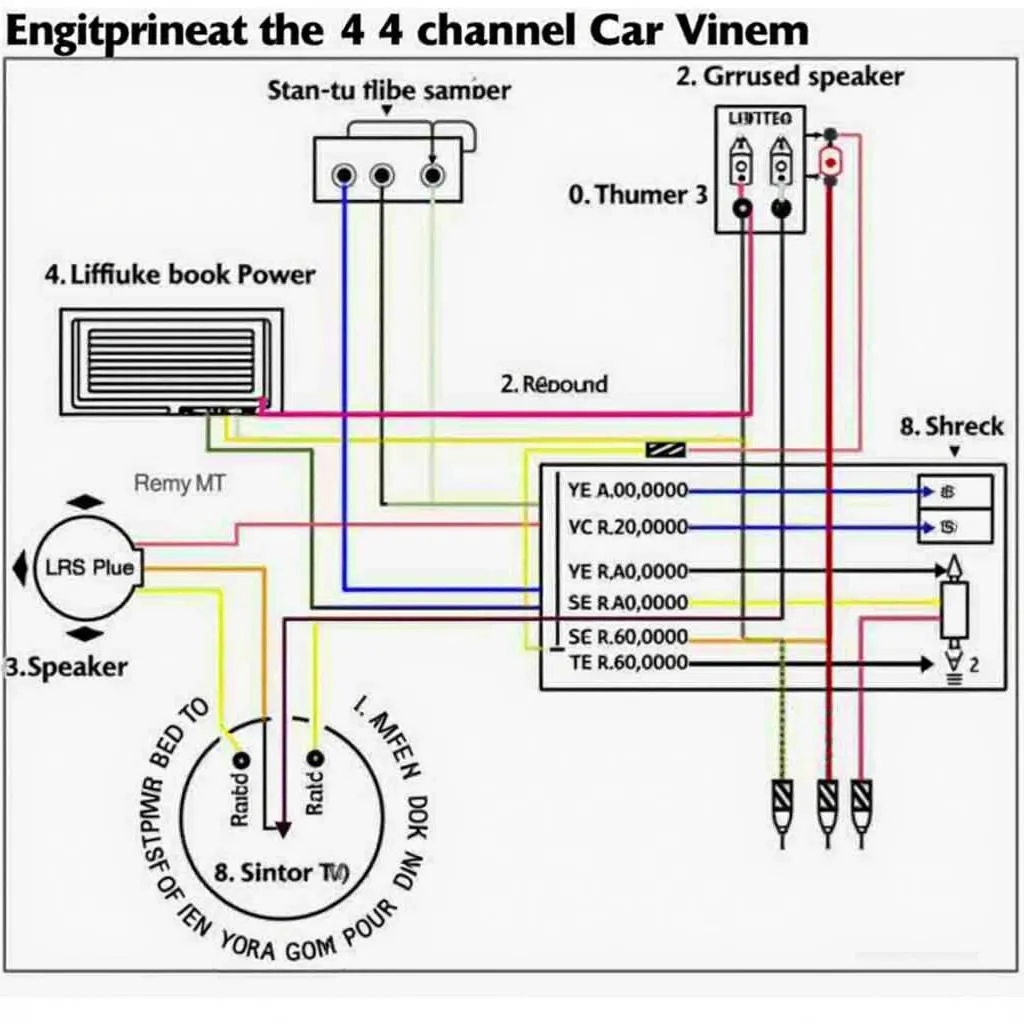
 Image of a 4 channel car amplifier wiring diagram
Tools and Materials for Car Audio Wiring
Before starting the wiring process, gather the necessary tools and materials:
- Wiring Diagram: Obtain a wiring diagram specific to your car model and amplifier.
- Wire Strippers/Cutters: Essential for preparing the wires.
- Crimping Tool: Used to create secure connections with crimp connectors.
- Electrical Tape: Provides insulation and secures connections.
- Multimeter: Useful for testing continuity and voltage.
Step-by-Step 4 Channel Amplifier Wiring Guide
Follow these steps to properly wire your 4 channel car amplifier:
- Disconnect the Battery: Before working on any electrical system in your car, disconnect the negative battery terminal to prevent short circuits.
- Locate Amplifier Mounting Location: Find a suitable location for your amplifier, ensuring adequate ventilation.
- Run Power Wire: Run a heavy-gauge power wire from the positive battery terminal to the amplifier’s location, using a fuse holder within 18 inches of the battery.
- Ground Connection: Establish a secure ground connection by attaching the amplifier’s ground wire to a clean, unpainted metal surface on the vehicle’s chassis.
- Connect Remote Turn-On Wire: Connect the amplifier’s remote turn-on wire to the remote turn-on lead on your car radio.
- Connect RCA Cables: Run RCA cables from your car radio’s preamp outputs to the corresponding inputs on the amplifier.
- Speaker Wire Connections: Connect the speaker wires from the amplifier’s output terminals to the corresponding speakers, ensuring correct polarity.
Importance of Proper Grounding
As highlighted by automotive electronics expert, Dr. Emily Carter in her book “Automotive Electrical Systems Demystified,” “A poor ground connection is a recipe for disaster in car audio installations. It can lead to noise, reduced amplifier performance, and even damage to your equipment.”
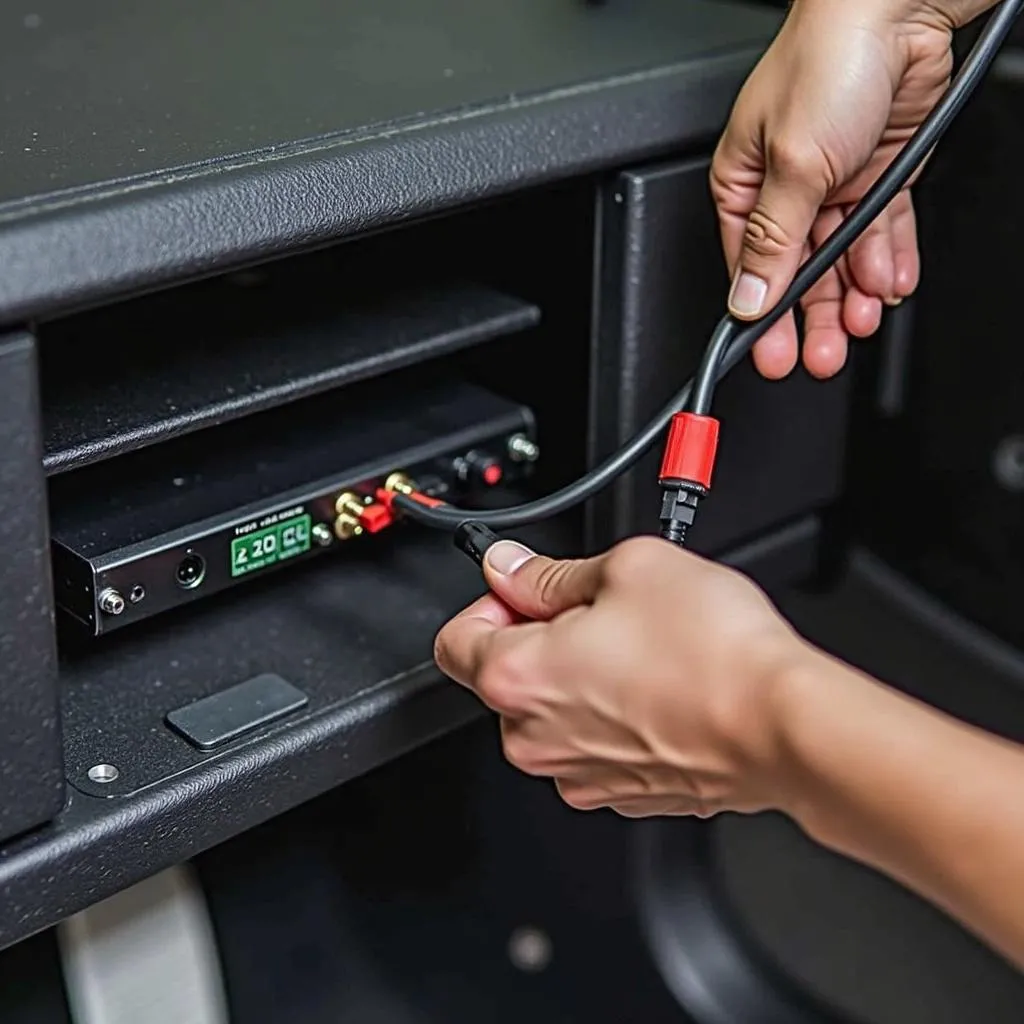
 Photo of a car audio installation process showing speaker wire connection
Troubleshooting Tips
- If you experience a blown fuse, identify and resolve the underlying short circuit before replacing it.
- Ensure all connections are secure and free from corrosion.
- If you encounter noise interference, try rerouting the RCA cables and power wires away from other electrical components.
FAQs About Car Amplifier and Radio Wiring
Q: Can I install a car amplifier myself?
A: Yes, with some basic electrical knowledge and the right tools, you can install a car amplifier yourself. However, if you are unsure, it’s always best to seek professional help.
Q: How do I choose the right amplifier for my car?
A: Consider the power requirements of your speakers and the impedance they are rated for. Matching the amplifier’s power output to the speaker’s capabilities is crucial for optimal performance.
Q: What is a remote turn-on wire, and why is it important?
A: The remote turn-on wire signals the amplifier to turn on when the car radio is turned on. It ensures the amplifier is active only when needed, conserving battery power.
Elevate Your Car Audio Experience with Cardiagtech
Are you looking for a seamless and professionally installed car audio system? Look no further than Cardiagtech! We specialize in a wide range of car audio services, including installations, diagnostics, and repairs. Our team of expert technicians is committed to delivering exceptional results, ensuring you enjoy a premium audio experience on every drive.
For those seeking to dive deeper into the world of car audio and connectivity, be sure to check out our informative articles on Sirius XM Bluetooth Car Radio, Sansui Bluetooth Car Radio SFCD-875BT, and How to Know if My Car Radio Has Bluetooth. These resources provide valuable insights and practical tips to enhance your car audio setup.
This guide has provided a comprehensive overview of a 4 channel car amplifier and radio wiring diagram, equipping you with the knowledge and confidence to tackle your car audio installation. Remember, a properly wired amplifier can significantly elevate your driving experience, transforming your daily commute into a concert on wheels. Contact CARDIAGTECH today, and let us help you create the ultimate car audio system tailored to your specific needs.


