“Having a senior moment? Can’t remember which wire goes where on your Sony car radio? Don’t sweat it, we’ve all been there. This guide will walk you through everything you need to know about those colourful little wires and get your music pumping again.”
Understanding Your Sony Car Radio Wiring
Before we jump into the nitty-gritty, let’s break down the basics of your Sony car radio wiring. Essentially, these wires are the lifeline of your car audio system, transmitting power, signals, and sound between your car battery, ignition, speakers, and the head unit itself. Each wire is colour-coded to represent a specific function, and connecting them correctly is crucial for a safe and functional audio setup.
Common Sony Car Radio Wiring Issues
While installing a car radio might seem straightforward, even a small wiring mishap can lead to frustrating problems. Here are some common issues you might encounter:
- No Power: This is often caused by a blown fuse or a faulty connection with the battery’s positive (+) wire, typically yellow.
- Radio Won’t Turn Off: This usually points to an issue with the ignition wire, often red, which signals the radio to turn on and off with your car.
- Weak or No Sound: This could be due to poorly connected speaker wires, which vary in colour pairs (e.g., front left/right, rear left/right), or a problem with the amplifier if your system has one.
- Constant Static or Noise: This can be a symptom of improper grounding, meaning the black ground wire isn’t securely connected to a metal part of the car’s chassis.
- Antenna Not Working: This might indicate a loose or disconnected antenna wire, generally blue, or a problem with the antenna itself.
Identifying the Root Cause of Wiring Problems
To fix your Sony car radio wiring woes, you need to play detective! Start by visually inspecting all the connections. Look for loose wires, exposed wiring, or any signs of damage like cuts or burns.
“I always tell my clients, a visual inspection is your first line of defense. It’s often the simplest problems that cause the biggest headaches.” – Mark Stevenson, Certified Automotive Electrician.
If your visual inspection doesn’t reveal the culprit, you might need to delve deeper with a multimeter. This handy tool measures voltage and resistance, helping you pinpoint faulty connections or components.
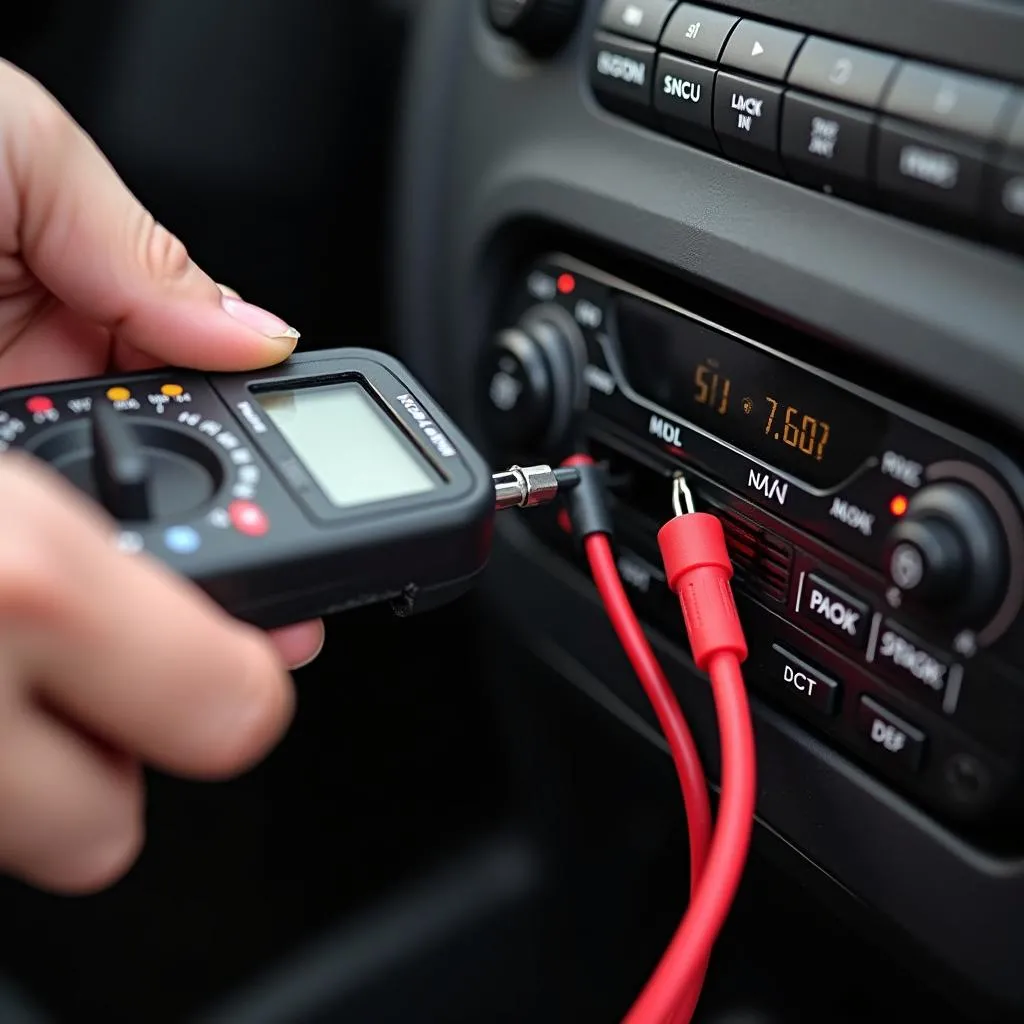 Multimeter testing car radio wiring
Tools for the Job
Before you start tinkering, gather these essential tools:
- Wiring Diagram: Your car’s specific wiring diagram is your treasure map! You can usually find this online or in your car’s service manual.
- Multimeter: This versatile tool is your best friend when troubleshooting electrical issues.
- Wire Strippers/Cutters: Essential for making clean cuts and stripping wire insulation.
- Electrical Tape: Use this to secure and insulate your connections.
- Zip Ties: Keep those wires organized and prevent them from becoming a tangled mess.
Reconnecting Your Sony Car Radio: A Step-by-Step Guide
Once you’ve identified the problem, follow these steps to reconnect your Sony car radio wiring:
- Disconnect the negative battery terminal: Safety first! This prevents any accidental shorts.
- Consult your wiring diagram: Carefully identify the correct wires for each function.
- Strip the wire ends: Strip about ½ inch of insulation from the ends of the wires you’ll be connecting.
- Connect the wires: Use wire connectors or solder the wires together for a more secure connection.
- Secure the connections: Wrap electrical tape around each connection to prevent shorts and ensure a long-lasting hold.
- Reconnect the battery: Once everything is connected, reconnect the negative battery terminal.
- Test your work: Power on your car radio and make sure everything is functioning correctly.
FAQs: Sony Car Radio Wiring
Q: My Sony car radio has more wires than my car harness. What do I do?
A: Don’t panic! You’ll need a wiring harness adapter designed for your specific car model. This adapter bridges the gap between your car’s wiring and your radio’s wiring.
Q: Can I install my car radio myself?
A: Absolutely! With the right tools and a little patience, it’s a manageable DIY project. However, if you’re unsure about anything, don’t hesitate to seek professional help.
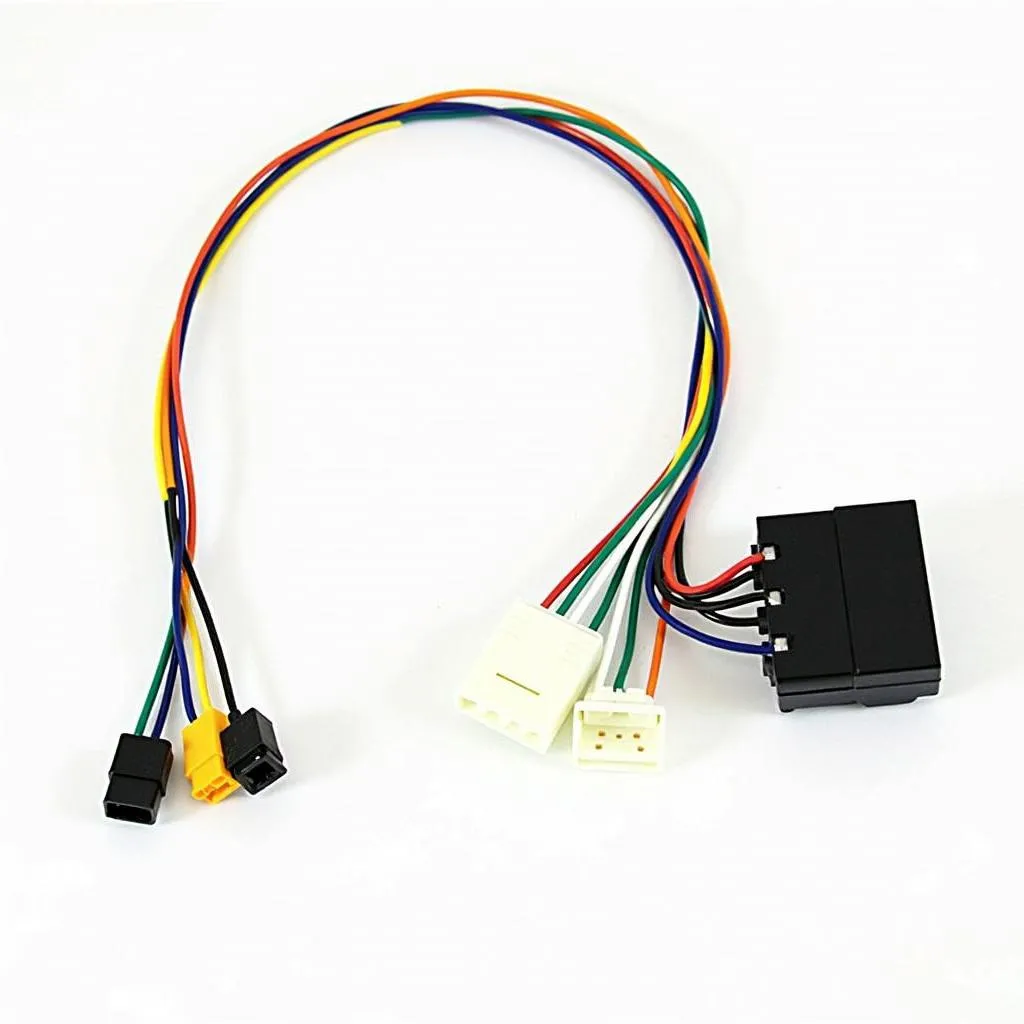 Car radio wiring harness adapter
Need Expert Help? Cardiagtech Can Help
Troubleshooting car electronics can be tricky, but Cardiagtech is here to make it easier. We offer a wide range of advanced diagnostic and programming solutions to help you get your car back on track. Whether you’re dealing with a faulty radio, complex electrical problems, or need help with software installations, our team of experts is just a click away.
Contact CARDIAGTECH today for all your automotive diagnostic and programming needs!