“Music to your ears? More like static and silence…” Sound familiar? A malfunctioning car stereo can be a major headache, especially if you rely on it for your daily commute or long road trips. One of the most common culprits behind a silent car radio is faulty speaker wiring. Don’t worry, though! This comprehensive guide will walk you through everything you need to know about identifying, troubleshooting, and fixing Pioneer Car Radio Speaker Wiring problems.
Understanding Your Pioneer Car Stereo System
Before we dive into the troubleshooting process, it’s helpful to have a basic understanding of your car’s audio system. Your Pioneer car radio is the heart of your audio setup, responsible for receiving radio signals and playing audio from other sources like CDs or your phone. It sends audio signals to the amplifier, which boosts them. Finally, the amplified signals are transmitted to the speakers through speaker wires, resulting in the sound you enjoy.
Common Pioneer Car Radio Speaker Wiring Issues
Even the most reliable car audio systems can experience glitches. Here are some prevalent speaker wiring issues that plague Pioneer car radios:
- No Sound from One or More Speakers: This is often the first sign of a wiring problem. It could indicate a loose connection, a damaged wire, or a blown speaker.
- Distorted Audio: Crackling, popping, or buzzing sounds often signal a poor connection, a damaged speaker cone, or an issue with the amplifier.
- Intermittent Sound: If your music cuts out sporadically, it usually points to a loose connection or a wire with a broken internal strand.
- Speakers Working Intermittently: Similar to intermittent sound, this issue may stem from a loose connection affecting the signal flow to the speakers.
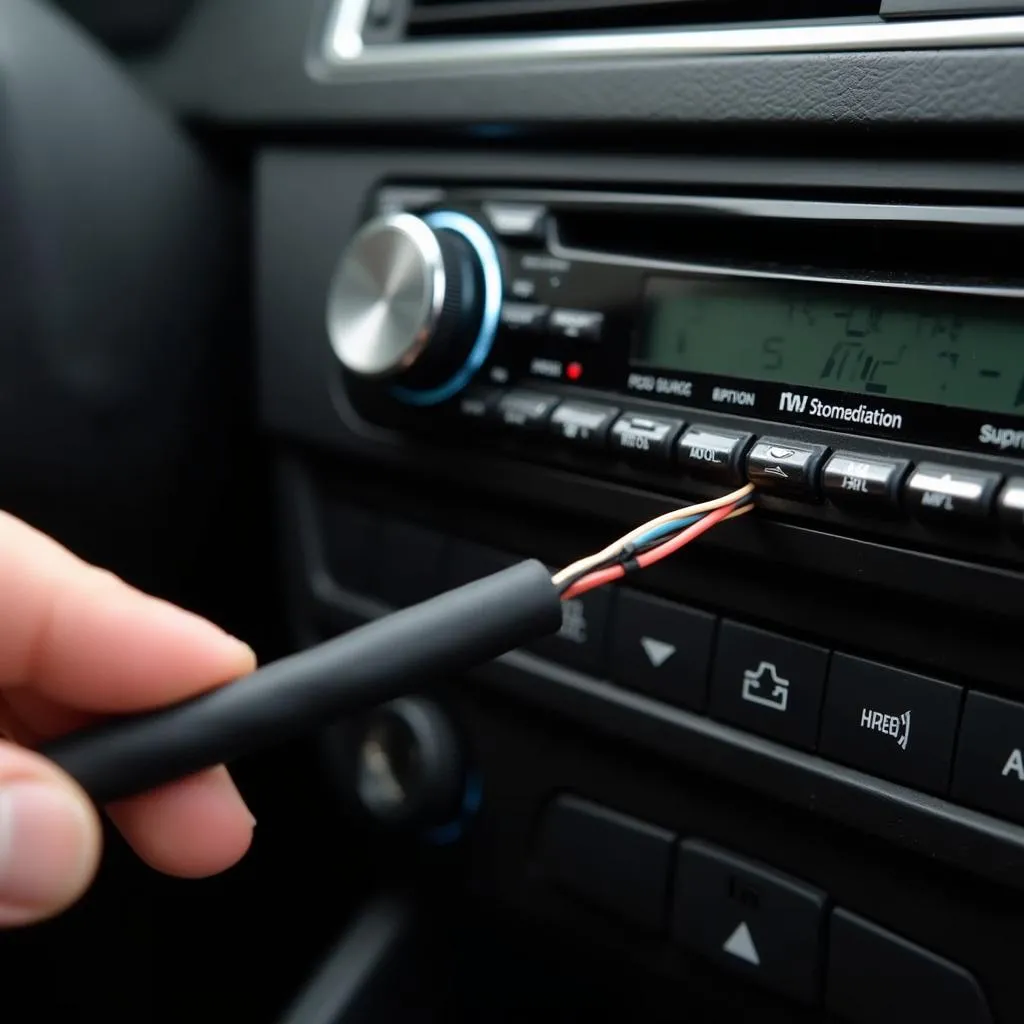 Car speaker wire disconnected from the terminal
Causes of Pioneer Car Radio Speaker Wiring Problems
Understanding the root causes of speaker wiring issues is key to effective troubleshooting:
1. Loose or Damaged Wiring: Vibrations, accidental damage during installation, or wear and tear over time can lead to loose connections or damaged wires.
2. Incorrect Wiring: If the speakers are wired out of phase (positive to negative and negative to positive), it can lead to sound cancellation and poor audio quality. Always double-check your connections!
3. Blown Fuses: A blown fuse in the car audio system can interrupt the power supply to the speakers, resulting in no sound.
4. Faulty Amplifier or Head Unit: While less common, a malfunctioning amplifier or head unit can also cause speaker wiring issues.
Diagnosing Pioneer Car Radio Speaker Wiring Problems
Now, let’s put on our detective hats and pinpoint the source of the problem:
1. Check the Easy Stuff First:
- Ensure your radio and amplifier (if you have one) are turned on and the volume is turned up.
- Verify that the correct audio source is selected on your head unit.
- Check the fuse box for any blown fuses related to your car audio system.
2. Inspect the Speaker Connections:
- Carefully examine the wiring harness at the back of your Pioneer car radio and at each speaker.
- Look for any loose wires, disconnected plugs, or signs of corrosion.
3. Test for Continuity and Resistance:
- For this step, you’ll need a multimeter. This handy tool measures voltage, resistance, and continuity in electrical circuits.
- Set your multimeter to continuity mode and touch the probes to the positive and negative terminals of each speaker wire.
- A continuous beep indicates good continuity. If there’s no beep, the wire is likely broken and needs replacement.
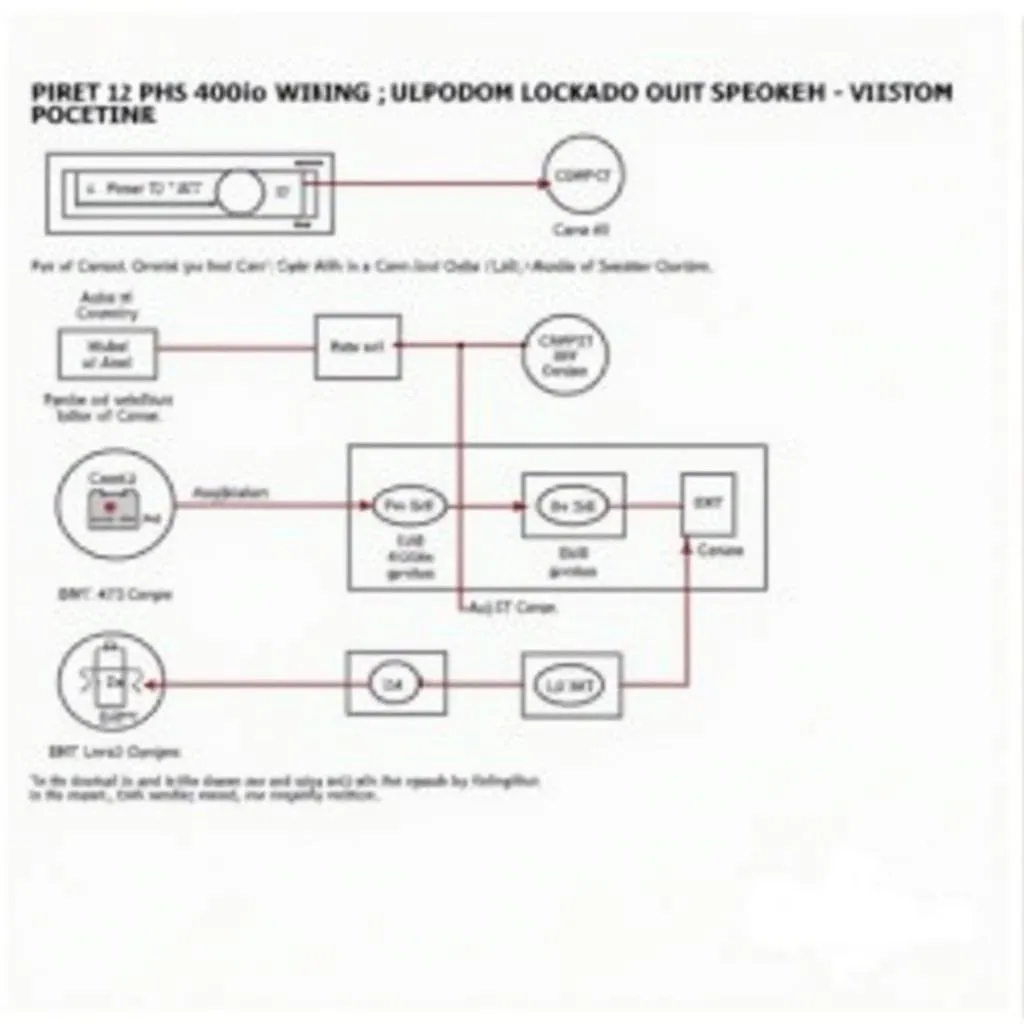 Pioneer car radio speaker wiring diagram
4. Check for Power at the Speakers:
- Set your multimeter to DC voltage mode.
- With the radio on, touch the positive probe to the positive terminal of a speaker and the negative probe to a ground point on the car’s chassis.
- A reading of around 12 volts indicates power is reaching the speaker. No voltage suggests an issue with the wiring, amplifier, or head unit.
Equipment for Fixing Pioneer Car Radio Speaker Wiring
Before you start tinkering with wires, gather the necessary tools:
- Wire strippers/cutters: For stripping insulation and cutting wires to the appropriate length.
- Electrical tape: To insulate and secure wire connections.
- Soldering iron and solder (optional): For creating more permanent and reliable connections.
- Heat shrink tubing (optional): To provide extra insulation and protection for soldered connections.
- Multimeter: For testing continuity, voltage, and resistance in the wiring.
- Panel removal tools: To safely remove car interior panels to access speakers and wiring.
Step-by-Step Guide to Fixing Pioneer Car Radio Speaker Wiring
Once you’ve identified the problem, follow these steps to get your music back on track:
- Disconnect the Battery: Disconnect the negative terminal of your car battery as a safety precaution before working on any electrical components.
- Access the Speaker Wiring: Depending on the location of the problematic speaker(s), you may need to remove door panels, dashboard trim, or other interior components to access the wiring. Refer to your car’s service manual for specific instructions.
- Repair or Replace Damaged Wiring: If you find any broken, frayed, or damaged wires, carefully cut away the damaged section using wire cutters. Strip the insulation from the ends of the remaining wire using wire strippers. If necessary, use new speaker wire to bridge any gaps.
- Make Secure Connections: Ensure all wire connections are clean and tight. If using crimp connectors, crimp them firmly using crimpers. For soldered connections, apply solder evenly to the joint and allow it to cool completely. Cover the connections with electrical tape or heat shrink tubing.
- Reinstall and Test: Reinstall any interior panels you removed. Reconnect the negative terminal of your car battery. Turn on your Pioneer radio and test the speakers to ensure the issue is resolved.
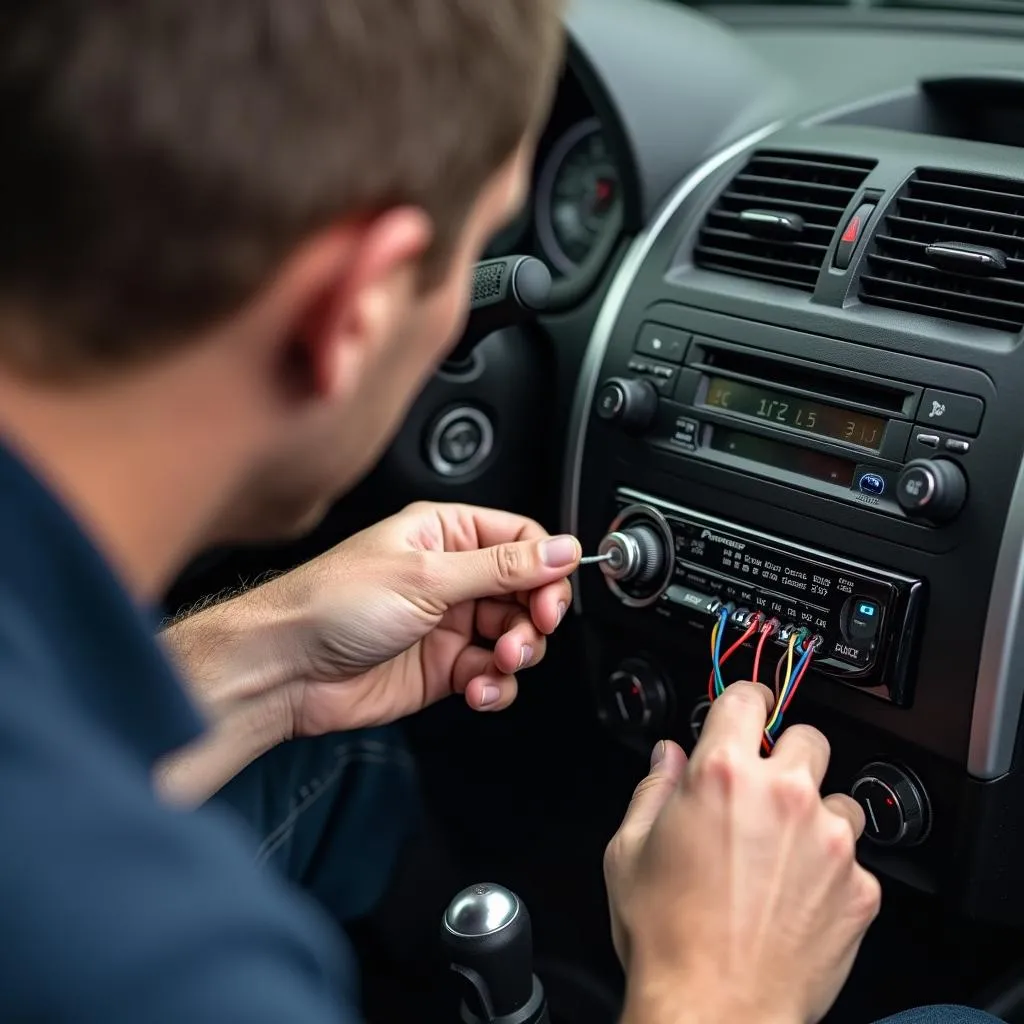 Technician connecting car speaker wires to the back of a Pioneer head unit
FAQs about Car Radio Speaker Wiring Problems
Q: All of my speakers are working except one. What could be the problem?
A: If only one speaker is silent, the problem likely lies with the individual speaker itself or its wiring. Inspect the speaker cone for damage and check the wiring for loose connections or breaks. Consider testing the speaker with a multimeter to rule out a complete speaker failure.
Q: My speakers sound distorted at high volumes. What’s going on?
A: Distortion at high volumes often indicates that your speakers are receiving too much power or a poor-quality signal. This could be due to a failing amplifier, incorrect gain settings, or even a problem with the audio source. Try adjusting the gain settings on your amplifier (if you have one) and check your audio source for any issues. If the problem persists, consult with a car audio professional.
Q: Can I use any type of speaker wire for my Pioneer car radio?
A: While you can technically use any copper wire to connect your speakers, it’s highly recommended to use speaker wire specifically designed for car audio applications. This type of wire is typically stranded copper with thicker gauges to handle the higher currents required for car speakers. Using substandard wire can result in poor sound quality, power loss, and even damage to your car audio system.
Q: I’m not comfortable working with car electronics. Can I take my car to a professional?
A: Absolutely! If you’re unsure about any step of the troubleshooting or repair process, it’s always best to err on the side of caution and consult a qualified car audio technician. They have the experience, tools, and expertise to diagnose and fix the issue safely and correctly.
Cardiagtech: Your Partner in Automotive Diagnostics and Repair
Facing persistent car audio issues or simply lack the time for DIY fixes? CARDIAGTECH is here to streamline your automotive diagnostics and repair experience. We offer a comprehensive range of cutting-edge diagnostic tools, software, and remote installation services to help you get back on the road with your favorite tunes playing flawlessly.
Conclusion
Troubleshooting Pioneer car radio speaker wiring problems can seem daunting at first, but by following this guide, you’ll be well-equipped to diagnose and resolve the issue. Remember to always prioritize safety and don’t hesitate to seek professional assistance when needed. With a little patience and the right knowledge, you’ll have your car stereo pumping out tunes in no time!