Ever hopped into your car, ready to crank up your favorite tunes, only to be met with deafening silence? Don’t worry, a silent radio is a common issue and often easily fixed. While the inside of your car may seem like a mysterious web of wires, understanding the basics of your car radio wiring can empower you to diagnose and even fix some common issues.
Understanding Your Car Radio’s Wiring System
Your car radio is more than just a music player, it’s a complex system integrated with your vehicle’s electrical system. Before diving into troubleshooting, it’s helpful to have a basic understanding of the key components:
Key Components
- Head Unit: This is the brain of your car audio system, and the part you interact with.
- Wiring Harness: This bundle of wires connects your head unit to the car’s electrical system and speakers. Each wire has a specific function, indicated by its color.
- Antenna: This receives radio signals and is crucial for clear reception.
- Speakers: These convert electrical signals into sound waves.
- Amplifier (Optional): Some systems include an amplifier to boost the signal for a more powerful sound.
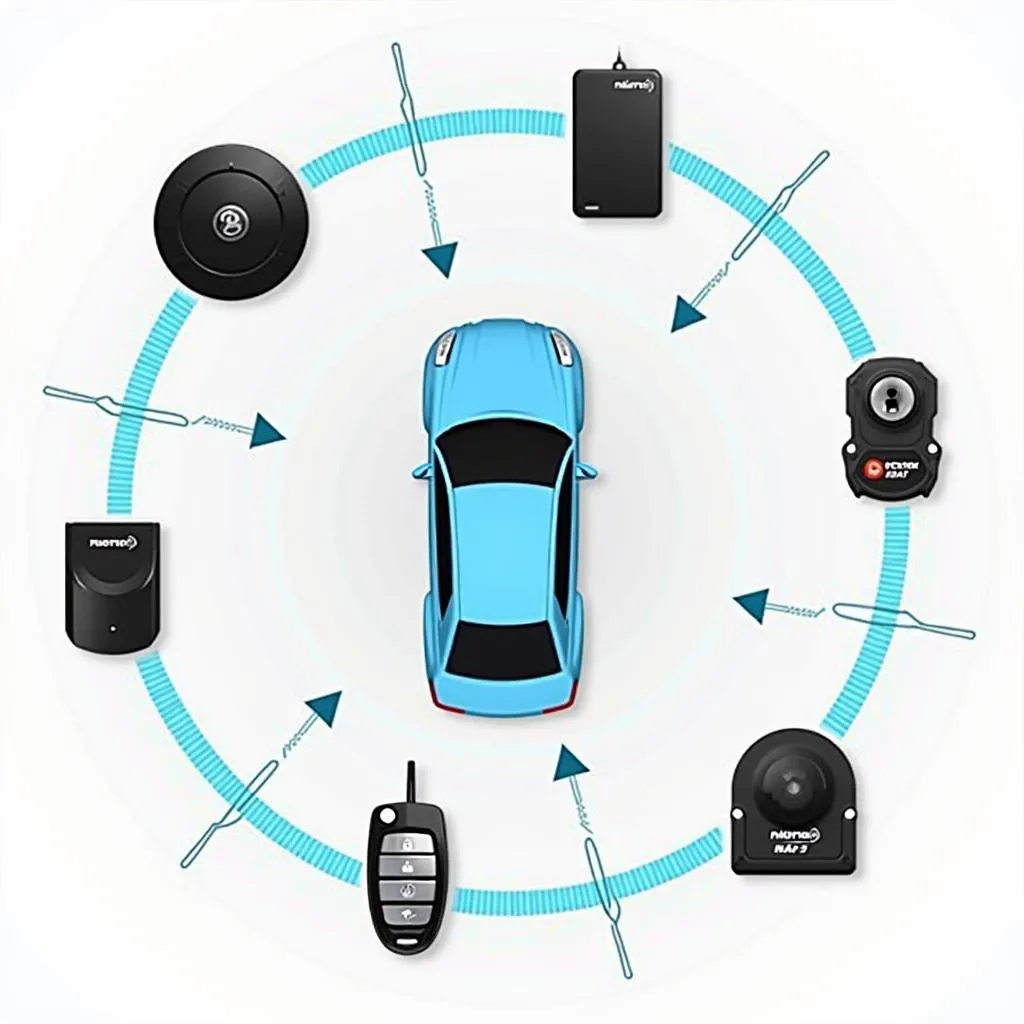
 Car radio wiring diagram
Common Car Radio Wiring Issues
A silent or malfunctioning radio can often be traced back to issues with the wiring. Let’s look at some common culprits:
1. Loose or Disconnected Wires
Vibrations from driving can cause wires to become loose or disconnected over time. A loose connection can disrupt the flow of electricity and lead to a range of issues, from a completely dead radio to static, intermittent sound, or only certain speakers working.
2. Blown Fuses
Fuses protect your car’s electrical system from overloads. If there’s a surge in the circuit that powers your radio, the fuse may blow, cutting off power to your head unit.
3. Damaged Wires
Wires can be damaged by wear and tear, rodents chewing through them, or improper installation. A damaged wire can disrupt the flow of electricity and prevent your radio from functioning correctly.
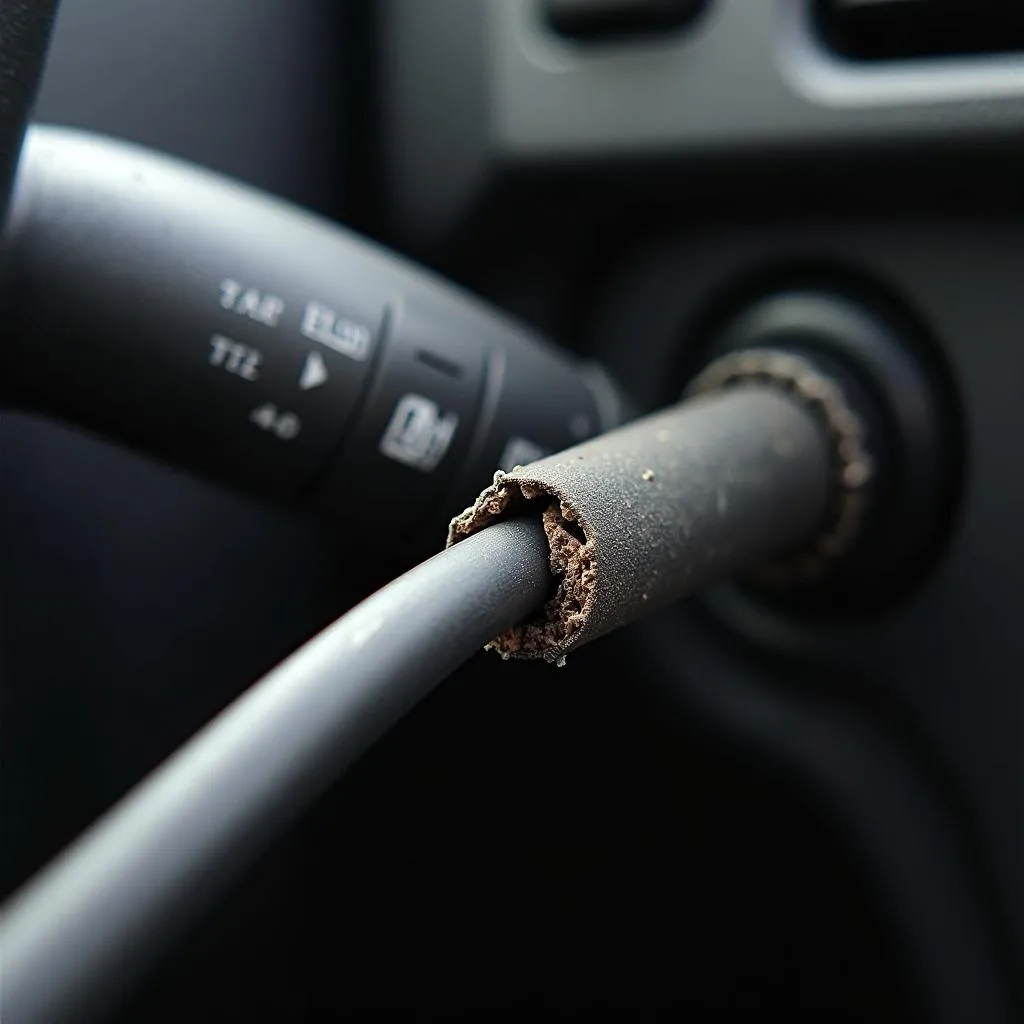 Damaged car radio wire
Diagnosing the Problem
Before you start pulling wires, it’s essential to properly diagnose the issue. Here are some steps to take:
1. Check the Fuses
Locate your car’s fuse box (usually under the dashboard or hood) and consult your owner’s manual to identify the fuse associated with the radio. Inspect the fuse for any signs of damage, such as a broken wire or a discolored fuse window. If the fuse is blown, replace it with a new one of the same amperage.
2. Inspect the Wiring Harness
Carefully examine the wiring harness behind your head unit. Look for any loose or disconnected wires, signs of corrosion, or damaged insulation.
3. Use a Multimeter
A multimeter is a handy tool that can test for continuity and voltage in electrical circuits. You can use it to check for power at the radio’s power wire, ground wire, and speaker wires.
Tools for Repairing Car Radio Wiring
If you’ve identified a problem with your car radio wiring, you’ll need a few basic tools to make repairs:
- Wire strippers/cutters: For stripping insulation and cutting wires.
- Electrical tape: For insulating wire connections.
- Crimping tool and connectors: For making secure connections.
- Soldering iron and solder (optional): For more permanent and reliable connections.
- Multimeter: For testing electrical circuits.
Seeking Professional Help
While some car radio wiring issues can be tackled with basic DIY skills, more complex problems may require the expertise of a professional car audio technician. “Attempting to fix complex electrical issues without the proper knowledge and experience can potentially cause further damage to your vehicle’s electrical system,” warns John Smith, a veteran car audio technician and author of “The Complete Guide to Car Audio Installation.” If you’re unsure about any aspect of the repair process, it’s best to err on the side of caution and consult with a professional.
Cardiagtech: Your Partner in Automotive Diagnostics
When it comes to diagnosing and resolving car electronic issues, Cardiagtech offers a range of advanced diagnostic tools and software solutions designed to streamline the process and empower technicians with the information they need. From code readers to comprehensive diagnostic platforms, Cardiagtech provides the resources to identify and address a wide array of automotive problems.
FAQs: Inside Car Wiring to the Radio
How do I identify the wires in my car radio harness?
Consult your car’s wiring diagram, usually found in the owner’s manual or online. The diagram will indicate the function of each wire based on its color.
Can I install a new car radio myself?
Yes, with the right tools, resources, and a little patience, many car owners successfully install their own car radios. However, if you’re uncomfortable working with electrical systems, it’s best to seek professional installation.
My car radio has power, but there’s no sound. What could be wrong?
This could indicate a problem with the speaker wiring, blown speaker fuses, or even a faulty head unit.
What is the yellow wire in my car radio harness for?
The yellow wire is typically the constant 12V power wire, providing continuous power to the radio’s memory and settings.
 Car audio technician working on wiring
Conclusion
Understanding the ins and outs of your car radio’s wiring can go a long way in troubleshooting and resolving common issues. By following the steps outlined above, you’ll be well on your way to restoring your car audio system to its former glory. Remember, when in doubt, don’t hesitate to reach out to the experts at CARDIAGTECH for assistance.