“Lost in a sea of wires behind your 1993 Lincoln Town Car’s dashboard? Don’t worry, you’re not alone!” Deciphering car radio wiring diagrams can feel like cracking an ancient code, but it doesn’t have to be a frustrating experience. Whether you’re installing a new sound system, troubleshooting electrical gremlins, or simply curious about the intricate network of wires powering your Lincoln’s entertainment, this guide is your roadmap to success.
Understanding Your 1993 Lincoln Town Car’s Audio System
The 1993 Lincoln Town Car, a symbol of luxury and comfort, often boasted a premium sound system designed to enhance your driving experience. However, time, wear and tear, or even a previous owner’s tinkering can lead to audio issues. Before delving into the wiring diagram, let’s understand some common problems and their potential causes.
Common Radio Problems in a 1993 Lincoln Town Car
-
No Power to the Radio: This could indicate a blown fuse, a faulty ignition switch, or a wiring issue within the dashboard.
-
Intermittent Sound: Loose connections, damaged wiring harnesses, or even a failing amplifier can cause the sound to cut out intermittently.
-
Poor Reception: A weak antenna signal, a faulty antenna mast, or problems with the radio’s tuner unit can result in static or poor reception.
-
Speaker Malfunctions: Blown speakers, damaged wiring to the speakers, or issues with the fader/balance controls can lead to muffled or distorted sound from one or more speakers.
Identifying the Root Cause: Hardware or Software?
Modern car audio systems often involve a blend of hardware and software. Determining the source of the problem is crucial for an effective fix.
“Diagnosing automotive electrical issues often requires a systematic approach,” says John Miller, a veteran automotive electrician and author of “Automotive Electrical Systems Demystified.” “Start by visually inspecting fuses and wiring harnesses for obvious signs of damage or loose connections.”
Tools and Equipment for the Job
Before you begin, gather the following:
- 1993 Lincoln Town Car Radio Wiring Diagram: This is your treasure map! Obtain a clear, accurate diagram specific to your car’s model year.
- Multimeter: This essential tool helps you test for continuity, voltage, and resistance in electrical circuits.
- Wire Strippers/Cutters: For splicing, joining, or replacing wires as needed.
- Electrical Tape: Use high-quality electrical tape to insulate and secure any wiring connections.
- Small Tool Kit: Screwdrivers, pliers, and socket wrenches will come in handy for accessing various components.
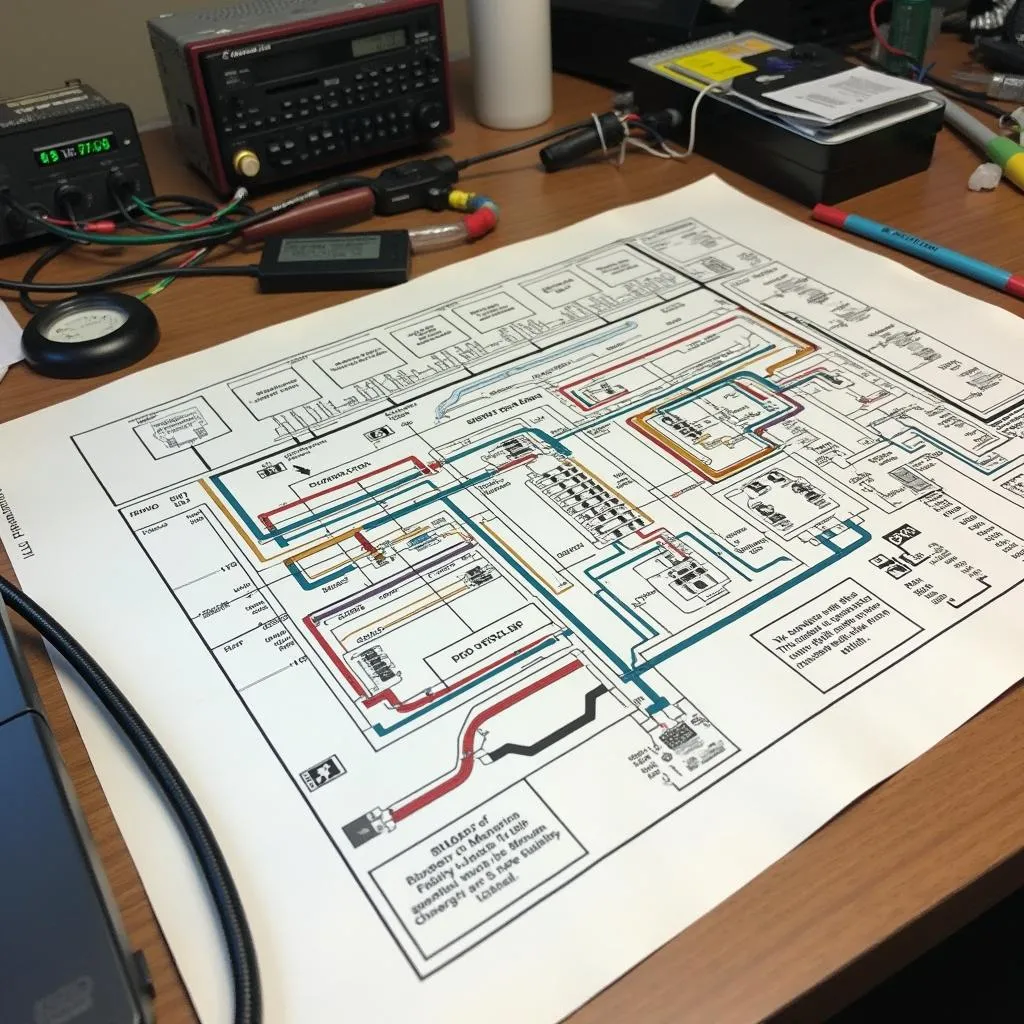 1993 Lincoln Town Car radio wiring diagram
Step-by-Step Troubleshooting and Repair
-
Safety First: Disconnect the negative battery cable before working on any electrical components to prevent shorts or shocks.
-
Locate the Fuse Box: Consult your owner’s manual for the fuse box location (usually under the dashboard or in the engine bay) and identify the fuse associated with the radio. Check for a blown fuse and replace it if necessary.
-
Inspect the Wiring Harness: Carefully examine the wiring harness behind the radio for any loose, damaged, or corroded wires. Repair or replace as needed.
-
Test for Power and Ground: Using your multimeter, verify that the radio is receiving power and has a good ground connection.
-
Check the Antenna: If experiencing reception issues, inspect the antenna mast for damage and ensure it’s securely connected. You can also use your multimeter to test for continuity in the antenna cable.
-
Test Individual Components: If the problem persists, you may need to test individual components, such as the speakers, amplifier, or radio unit itself, using your multimeter.
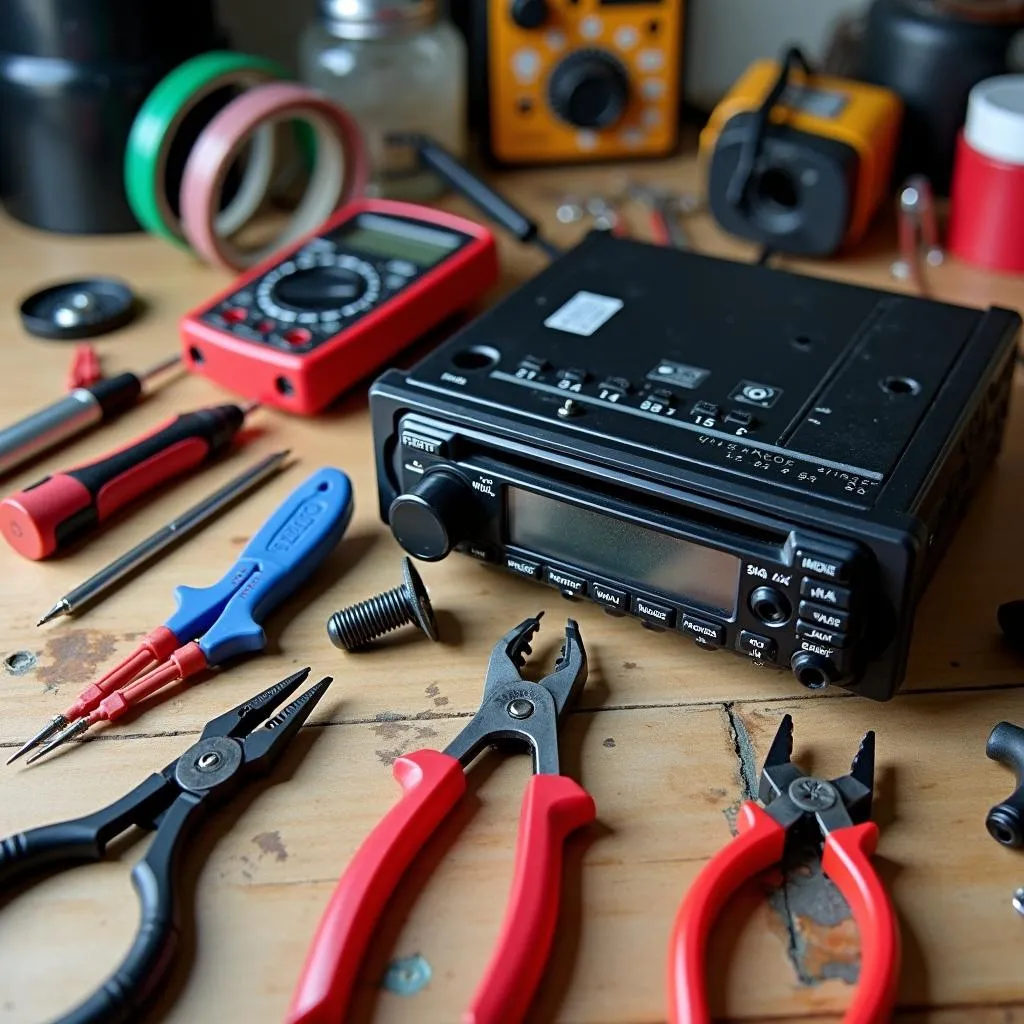 Car radio installation tools arranged neatly on a workbench
FAQs: Common Questions About Car Radio Wiring
Q: Can I install an aftermarket radio in my 1993 Lincoln Town Car?
A: Yes, you can! However, you’ll likely need a wiring harness adapter and a dash kit designed specifically for your car model to ensure compatibility and a seamless fit.
Q: What is the yellow wire on a car radio wiring harness for?
A: The yellow wire is typically the constant 12V power wire, which provides continuous power to the radio’s memory and settings, even when the ignition is off.
Q: How can I identify the speaker wires?
A: Speaker wires usually come in pairs and are often color-coded. You can use a multimeter set to the ohmmeter setting to test for continuity and identify the positive and negative wires for each speaker.
Q: My radio is displaying an error code. What does this mean?
A: Error codes on car radios can indicate various issues, such as a problem with the CD mechanism, a short circuit, or an internal fault. Consult your radio’s user manual or contact the manufacturer for specific information on error codes.
Cardiagtech: Your Partner in Automotive Diagnostics and Repair
Troubleshooting car electrical systems can be complex. If you’re uncomfortable working with wiring or encounter persistent issues, seeking professional help is always a wise decision. CARDIAGTECH specializes in automotive diagnostics, programming, and remote software installation to address a wide range of automotive problems. Contact us today at +1 (641) 206-8880 or CARDIAGTECH[email protected] to schedule a consultation or explore our range of services. Our office is located at 276 Reock St, City of Orange, NJ 07050, United States.
Remember, a properly functioning car radio not only enhances your driving enjoyment but also ensures you don’t miss important traffic announcements or emergency broadcasts.