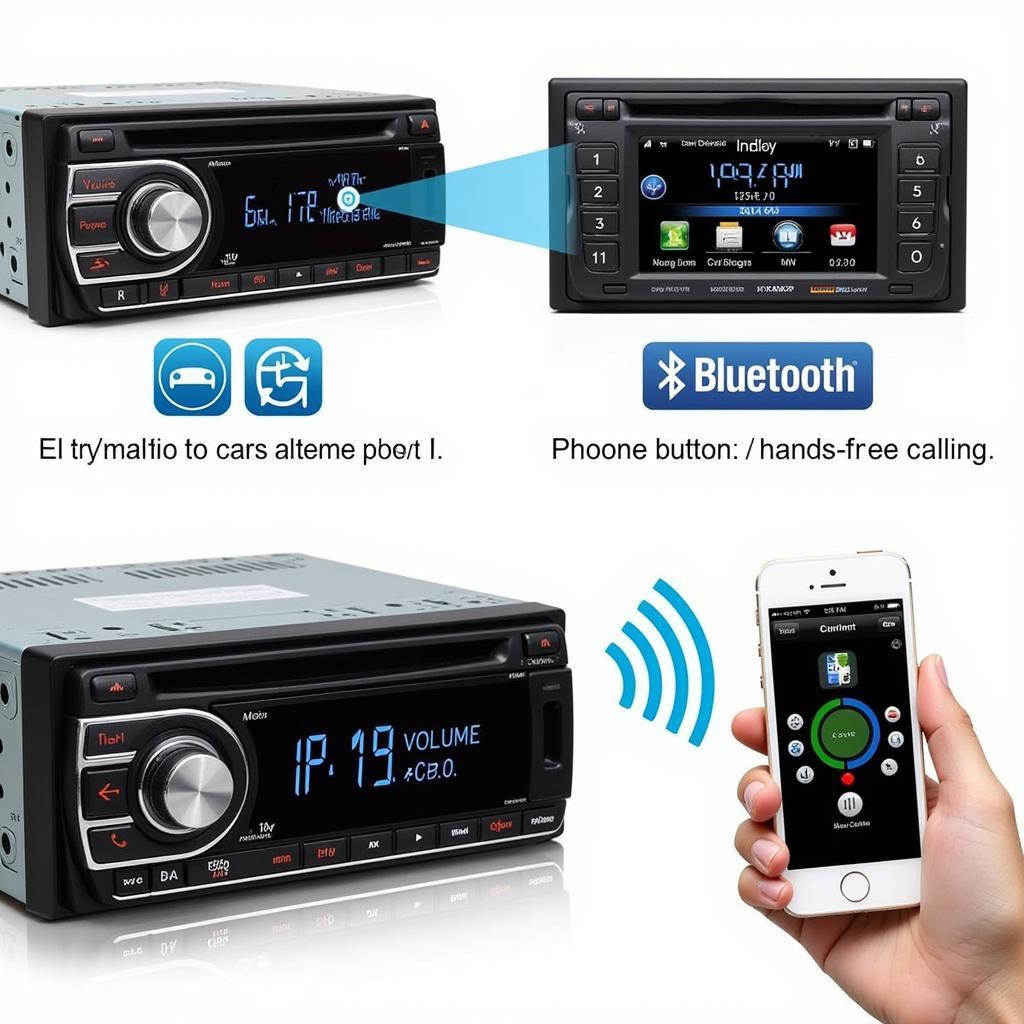
Upgrading your car stereo system with a new Kenwood car radio can dramatically improve your driving experience. Whether you’re looking for advanced features like Bluetooth connectivity, Apple CarPlay, or simply want better sound quality, installing a Kenwood car radio is a great way to enhance your ride. This comprehensive guide will walk you through everything you need to know about Kenwood car radio installation.
Understanding the Basics of Car Radio Installation
Before we delve into the specifics of Kenwood car radios, let’s cover the fundamentals of car radio installation. While the process might seem daunting at first, it’s entirely manageable with the right knowledge and tools.
Essential Tools and Materials
Having the right tools and materials is crucial for a successful installation. Here’s a list of what you’ll likely need:
- Screwdrivers (Phillips and flathead): For removing screws holding your old radio and potentially other parts of your dash.
- Panel removal tools: These plastic tools help prevent damage to your dashboard while prying off panels.
- Wire strippers/crimpers: Essential for working with the wiring harness.
- Electrical tape: Used for insulating wire connections.
- Zip ties or wire loom: To keep your wiring neat and organized.
- Multimeter (optional): Helpful for testing circuits and connections.
Understanding Your Car’s Wiring Harness
The wiring harness is the nerve center of your car’s electrical system, including the radio. Familiarize yourself with the color-coded wires and their functions to ensure proper connection with your new Kenwood unit.
- Power (Yellow): Constant 12V power supply, even when the ignition is off.
- Accessory (Red): 12V power supply that activates when the ignition is turned on.
- Ground (Black): Completes the electrical circuit by providing a path to ground.
- Speakers (Various Colors): Each speaker (front left, front right, rear left, rear right) will have a dedicated pair of wires.
- Antenna (Blue or Blue/White): Powers the antenna or provides power to an amplifier.
Expert Insight: “Understanding your car’s wiring harness is paramount for a successful Kenwood car radio installation. A mismatched wire can lead to malfunctioning equipment or even damage to your car’s electrical system.” – David Miller, Automotive Electrician
Choosing the Right Kenwood Car Radio
Kenwood offers a wide range of car radios with varying features and price points. To select the best one for your needs, consider the following factors:
- Size: Car radios come in different sizes, known as DIN sizes (1 DIN or 2 DIN). Make sure to choose a radio that fits your car’s dashboard opening.
- Features: Determine what features are important to you, such as Bluetooth, Apple CarPlay, Android Auto, CD/DVD playback, satellite radio, and USB connectivity.
- Power Output: The radio’s power output should match the capabilities of your car speakers for optimal sound quality.
- Budget: Kenwood car radios cater to various budgets, so set a price range before you start shopping.
Kenwood Car Radio Installation Steps
Once you have your tools, materials, and new Kenwood car radio, you can proceed with the installation. Here’s a step-by-step guide:
- Disconnect the Negative Battery Terminal: Locate your car battery and disconnect the negative (-) terminal using a wrench. This step is crucial for safety and prevents any electrical shorts during the installation process.
- Remove the Old Car Radio: Use the appropriate tools to carefully pry off the trim panels surrounding your old car radio. Unscrew the mounting brackets holding the radio in place and gently pull it out.
- Disconnect the Wiring Harness and Antenna: Take note of how the wires are connected to your old radio. Carefully disconnect the wiring harness and antenna cable.
- Connect the Kenwood Car Radio to the Wiring Harness: If you purchased a wiring harness adapter for your specific car model, connect it to the Kenwood radio’s wiring harness. This adapter ensures a plug-and-play installation and eliminates the need to cut or splice wires. Otherwise, carefully match the color-coded wires from the Kenwood harness to the corresponding wires on your car’s wiring harness, using the diagram provided with your Kenwood radio. Secure the connections using crimp connectors or electrical tape.
- Connect the Antenna and Other Accessories: Attach the antenna cable to the antenna jack on the back of the Kenwood radio. If you have additional accessories, such as an amplifier or satellite radio tuner, connect them according to their respective instructions.
- Test the Kenwood Car Radio: Before securing everything back in place, reconnect the negative battery terminal and turn on your car’s ignition. Power on the Kenwood radio and test all its functions, including radio reception, Bluetooth connectivity, and sound output from all speakers.
- Secure the Kenwood Car Radio and Reassemble the Dash: Once you’ve confirmed that everything is working correctly, carefully slide the Kenwood radio into the dashboard opening. Secure it using the mounting brackets. Reattach any trim panels you removed earlier.
Common Kenwood Car Radio Installation Issues and Troubleshooting Tips
While the installation process is generally straightforward, you may encounter a few hiccups along the way. Here are some common issues and how to troubleshoot them:
- Radio Has No Power: Double-check that the radio is properly wired, particularly the power and ground connections. Ensure the fuse for the radio circuit is not blown.
- No Sound from Speakers: Verify that the speaker wires are correctly connected and that the speakers themselves are functioning. Check the radio’s fade and balance settings.
- Poor Radio Reception: Make sure the antenna is properly connected and that there is no damage to the antenna cable. Adjust the antenna’s position for better reception.
- Bluetooth Connection Issues: If you’re having trouble pairing your phone, refer to the Kenwood radio and your phone’s Bluetooth settings to ensure they are discoverable. Delete any previous pairings and try again.
Conclusion
Installing a Kenwood car radio can significantly enhance your in-car entertainment experience. By following this comprehensive guide and paying attention to detail, you can successfully install your new Kenwood car radio and enjoy its full range of features on the road. Remember to refer to the instructions manual for your specific Kenwood model for detailed guidance and troubleshooting.
Frequently Asked Questions (FAQs)
- Can I install a Kenwood car radio myself, or do I need a professional?
- While professional installation is always an option, many car owners successfully install their Kenwood car radios themselves by following the instructions and using the right tools.
- What is a wiring harness adapter, and do I need one?
- A wiring harness adapter is a device that connects your new radio to your car’s existing wiring harness without cutting or splicing wires. It simplifies the installation process and is highly recommended.
- My Kenwood radio has a steering wheel control input. Can I use my car’s steering wheel controls with it?
- Yes, but you may need an additional adapter to interface the steering wheel controls with the Kenwood radio. Check the radio’s specifications and available accessories.
- What should I do with my old car radio?
- You can often sell or trade in your old car radio at electronics stores or online marketplaces. Check for local recycling options for proper disposal.
- My Kenwood car radio has Apple CarPlay. Do I need a special cable?
- In most cases, you’ll need a Lightning-to-USB cable to connect your iPhone for Apple CarPlay functionality. Some newer models may support wireless CarPlay. Check your radio’s specifications.


