Upgrading your car stereo with a Maestro Car Radio Installation Kit can drastically improve your driving experience. But successfully integrating a new system with your vehicle’s electronics requires the right tools and knowledge. This guide covers everything you need to know about Maestro car radio installation kits, from understanding their benefits to a step-by-step installation walkthrough.
What is a Maestro Car Radio Installation Kit?
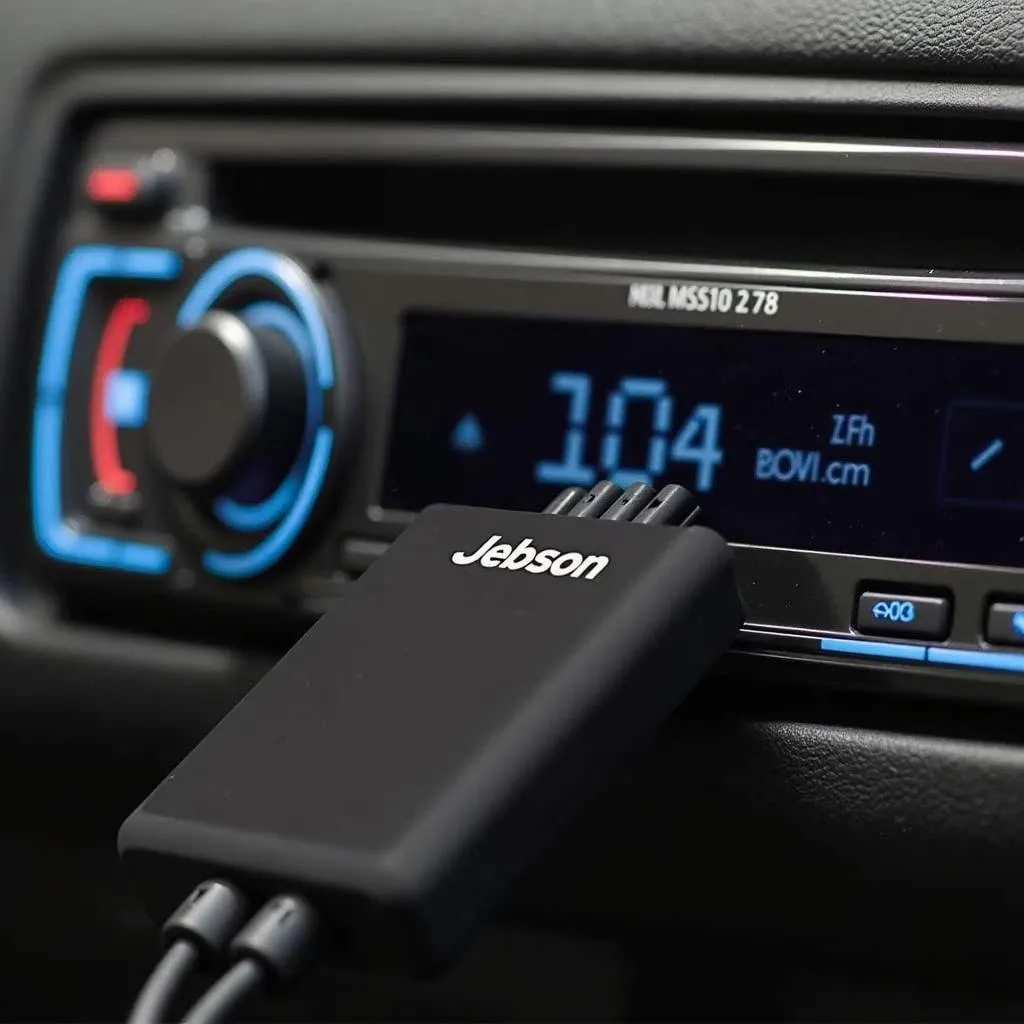
A Maestro car radio installation kit is essentially a bridge between your new aftermarket car radio and your vehicle’s electrical system. Unlike generic kits, Maestro kits are designed to retain important vehicle features after installing a new stereo. These features often include steering wheel controls, factory amplifiers, backup camera displays, and even vehicle-specific settings.
Why Choose a Maestro Car Radio Installation Kit?
You might be wondering if a Maestro kit is really necessary for your car stereo upgrade. Here are some compelling reasons why it might be a worthwhile investment:
- Retain Steering Wheel Controls: Keep using your steering wheel buttons for audio volume, changing tracks, and even hands-free calling.
- Integrate with Factory Systems: Enjoy a seamless connection with factory amplifiers, backup cameras, parking sensors, and other vehicle-specific features.
- Simplified Installation: Maestro kits come with detailed instructions and color-coded wiring, simplifying the installation process.
- Vehicle-Specific Compatibility: Each kit is tailored for specific car models and years, ensuring optimal performance and feature retention.
Maestro Car Radio Installation: A Step-by-Step Guide
While the exact steps might vary slightly depending on your vehicle and the specific Maestro kit, here’s a general guide to get you started:
Before You Begin:
- Gather Your Tools: You’ll need basic tools like a screwdriver, wire strippers, electrical tape, and a trim removal tool.
- Disconnect the Battery: For safety, disconnect your car’s negative battery terminal before you start working on any electrical components.
Installation:
- Remove the Factory Radio: Consult your vehicle’s manual or online resources for instructions specific to your car model.
- Connect the Maestro Harness: Connect the wiring harness from the Maestro kit to the wiring harness of your new aftermarket radio. The color-coded wires and clear labeling make this process relatively straightforward.
- Connect to the Vehicle: Connect the other end of the Maestro harness to the vehicle’s wiring harness. Again, refer to the instructions for the correct connections.
- Install the Maestro Module: Securely mount the Maestro module in your dash, usually behind the radio using the provided brackets or Velcro.
- Program the Maestro Module: Depending on your kit and vehicle, you may need to program the Maestro module using a computer or a smartphone app. This step configures the kit to work seamlessly with your car’s specific features.
- Test and Reassemble: Once programmed, reconnect the negative battery terminal and power on your new radio. Test all the functions, including steering wheel controls, backup camera, and audio, to ensure everything is working correctly. If everything checks out, reassemble your dash.
Troubleshooting Common Maestro Car Radio Installation Issues
Even with meticulous installation, you might encounter some issues. Here are some common problems and their solutions:
- Steering wheel controls not working: Check the wiring connections and ensure the Maestro module is programmed correctly for your vehicle.
- Factory amplifier not functioning: Verify the amplifier turn-on wire is connected correctly. You may need to consult the wiring diagram for your specific vehicle and Maestro kit.
- Backup camera not displaying: Ensure the correct video input is selected on your new radio and that the camera’s power and ground connections are secure.
Choosing the Right Maestro Car Radio Installation Kit
With a variety of Maestro kits available, selecting the correct one for your vehicle and new stereo is essential. Consider these factors:
- Vehicle Compatibility: Check the Maestro website or contact their customer support to identify the specific kit designed for your car’s make, model, and year.
- Radio Compatibility: Ensure the kit supports your chosen aftermarket radio brand and model. Some kits are designed for specific radio manufacturers like Pioneer, Kenwood, or Alpine.
- Desired Features: Determine which vehicle features are essential to retain and choose a kit that supports those functions.
Expert Insight
“Many car owners underestimate the importance of choosing the right installation kit for their new stereo,” says automotive electronics specialist John Miller. “A Maestro kit not only simplifies the process but also ensures that you don’t lose access to those convenient factory features that you’ve come to rely on.”
Conclusion
Installing a new car stereo with a Maestro installation kit can significantly enhance your driving experience. By following the step-by-step guide and paying attention to compatibility, you can enjoy your favorite music and retain essential vehicle functions. Remember to consult the provided instructions and seek help from professionals if needed.