Adding a two-way radio to your vehicle offers a reliable communication solution, especially useful for businesses, off-road enthusiasts, and emergency situations. While the prospect of tackling car electronics might seem daunting, this guide provides a clear roadmap to installing your two-way radio system, ensuring optimal performance and a clean, professional finish.
Understanding Your Two-Way Radio System
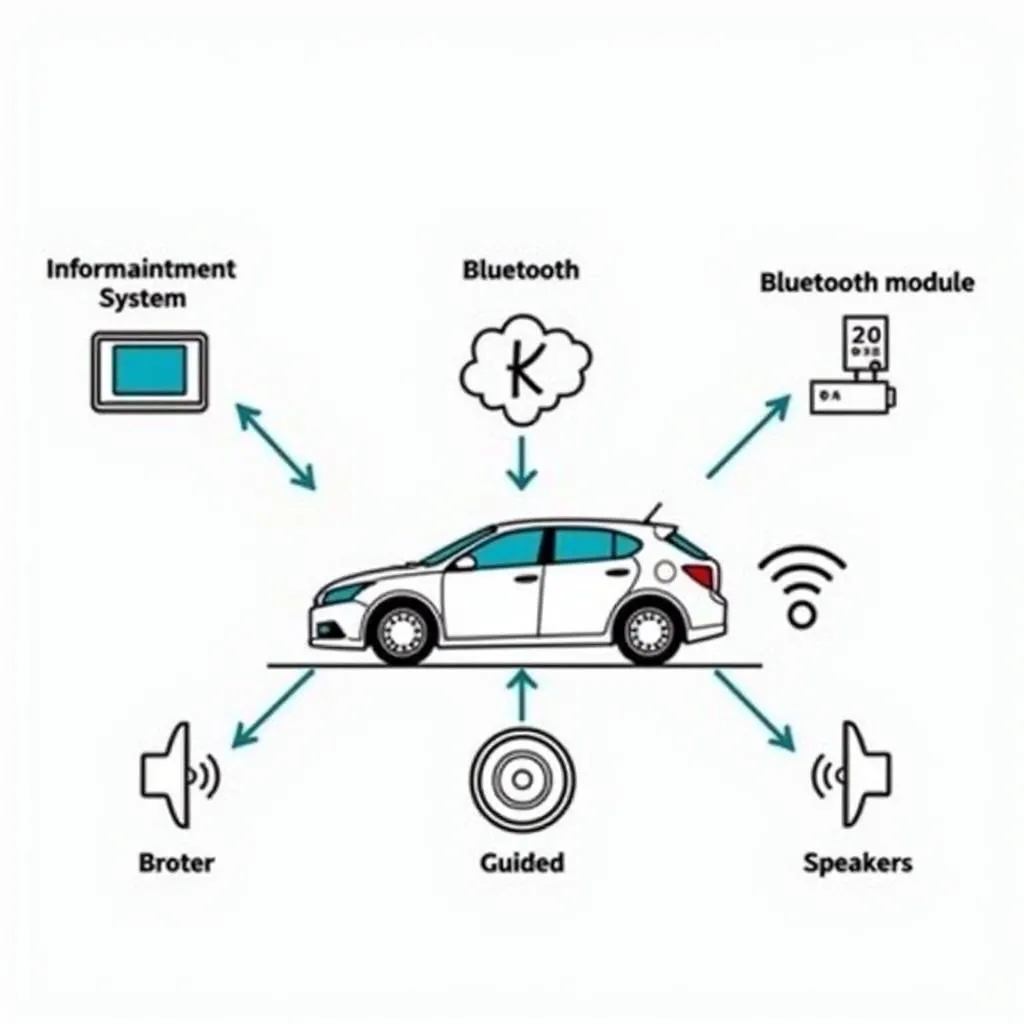
Before diving into the installation process, it’s crucial to familiarize yourself with the components of your two-way radio system. This typically includes:
- Transceiver: The heart of the system, responsible for transmitting and receiving radio signals.
- Antenna: Crucial for capturing and transmitting signals effectively. The type and placement of your antenna significantly impact performance.
- Microphone: Allows you to communicate with other radio users.
- Speaker: Enables you to hear incoming transmissions.
- Power Supply: Connects the radio to your vehicle’s electrical system.
Choosing the Right Location for Your Two-Way Radio
Selecting the appropriate location for your radio components is vital for both functionality and aesthetics.
Transceiver Placement:
- Under the Dash: A popular choice offering a discreet installation. Ensure sufficient space for ventilation to prevent overheating.
- Center Console: Convenient access but might require modifications depending on your vehicle’s layout.
- Glove Compartment: Ideal for smaller transceivers, offering easy concealment.
Microphone Installation:
- Visor Mount: Provides easy access and clear voice pickup.
- Dashboard Mount: Offers a fixed and discreet solution.
- Hanging Microphone: Ideal for vehicles with limited mounting options.
Speaker Considerations:
- External Speaker: Delivers loud and clear audio, particularly beneficial in noisy environments.
- Integrated Speaker: Suitable for quieter environments or when using an external speaker for louder transmissions.
Wiring Your Two-Way Radio: A Step-by-Step Guide
Wiring your two-way radio correctly is paramount for both safety and performance. While specific wiring diagrams vary depending on your chosen components and vehicle model, the general steps remain consistent.
-
Disconnect the Battery: Before handling any electrical components, disconnect the negative terminal of your vehicle’s battery to prevent electrical shorts.
-
Connect the Power Supply: The power supply connects to your vehicle’s battery. Typically, a red wire connects to the positive (+) terminal, and a black wire connects to the negative (-) terminal.
-
Grounding the Radio: Connect the ground wire (often black or green) from the transceiver to a metal part of your vehicle’s chassis. This provides a safe path for electrical current.
-
Antenna Connection: Connect the antenna cable to the designated port on your transceiver, usually labeled “ANT” or similar.
-
Microphone and Speaker Wiring: Depending on your system, you’ll need to connect the microphone and speaker wires to the corresponding ports on the transceiver.
-
Route the Cables: Securely route all cables away from moving parts, heat sources, and sharp edges. Use cable ties or clips to keep the installation tidy.
-
Reconnect the Battery: After double-checking all connections, reconnect the negative terminal of your vehicle’s battery.
Fine-tuning Your Two-Way Radio Installation
Once you’ve successfully installed the hardware, it’s essential to fine-tune your system for optimal performance:
- Antenna Tuning: Ensure your antenna is properly tuned to the frequencies used by your two-way radio system. This involves adjusting the antenna’s length or using an SWR (Standing Wave Ratio) meter for precise tuning.
- Microphone Gain Adjustment: Experiment with the microphone gain to achieve clear audio transmission without distortion. Speak at a normal volume and adjust the gain until your voice comes through clearly.
- Squelch Control: The squelch function helps minimize background noise when no signal is present. Adjust the squelch control to a level that filters out unwanted noise while allowing you to hear weaker transmissions.
If you’re uncomfortable with any aspect of the installation process, consult a professional installer to ensure a safe and effective setup. Installing SiriusXM radio in car can be a similar process, and seeking professional help might be beneficial in such cases as well.
Conclusion
Installing a two-way radio in your car is an achievable DIY project that can greatly enhance communication capabilities. By following this guide, you can confidently tackle the installation, ensuring a clean and functional setup. Remember to familiarize yourself with the specifics of your chosen components and consult your vehicle’s manual for any relevant wiring diagrams. With careful planning and attention to detail, you’ll be enjoying the benefits of crystal-clear communication on the road in no time.