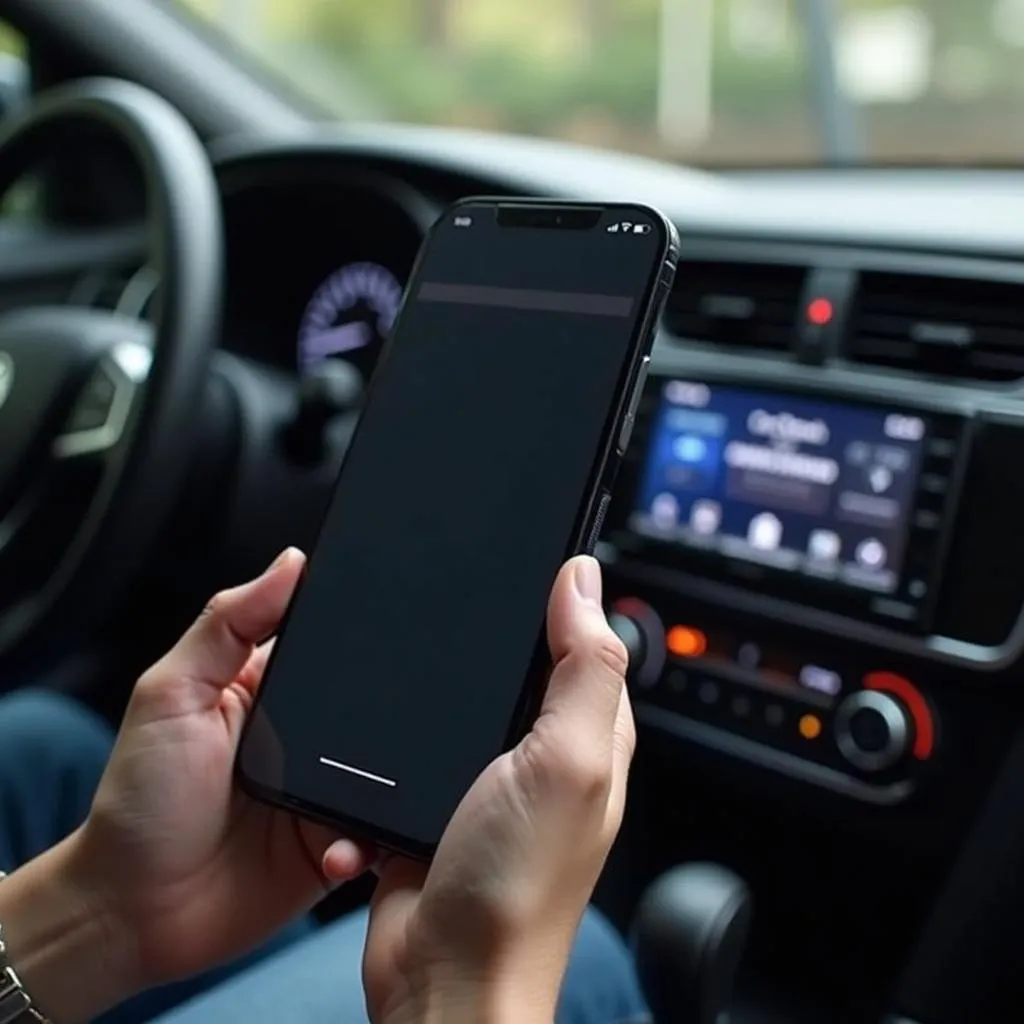
Upgrading to a new smart car radio can completely transform your driving experience. However, a successful Smart Car Radio Install requires careful planning and execution. This guide will walk you through everything you need to know, from choosing the right device to troubleshooting common issues.
Choosing the Right Smart Car Radio
Before diving into the installation process, it’s crucial to select a smart car radio that meets your needs and is compatible with your vehicle. Consider the following factors:
1. Functionality:
- Navigation: Do you need a built-in GPS navigation system?
- Smartphone Integration: Look for features like Apple CarPlay and Android Auto for seamless smartphone connectivity.
- Audio Quality: Consider your audio preferences and choose a radio with the desired sound output and equalizer settings.
- Bluetooth Capabilities: Ensure hands-free calling and audio streaming with Bluetooth compatibility.
- Backup Camera Support: Enhance safety with a radio that supports a backup camera display.
2. Vehicle Compatibility:
- Dash Size: Determine the right DIN size (single-DIN or double-DIN) that fits your vehicle’s dashboard opening.
- Wiring Harness: Research compatible wiring harnesses that connect the new radio to your car’s electrical system.
Gathering the Necessary Tools and Equipment
Once you’ve chosen your smart car radio, gather these essential tools:
- Screwdrivers: Various sizes and types (Phillips, flathead) to remove screws and panels.
- Panel Removal Tools: Plastic pry tools prevent damage to your dashboard while removing trim pieces.
- Wire Strippers/Crimpers: For making clean wire connections and attaching connectors.
- Electrical Tape: Secure and insulate wire connections.
- Multimeter (Optional): Useful for troubleshooting wiring issues.
Smart Car Radio Installation Steps:
Follow these general installation steps. Always refer to your car radio and vehicle’s manuals for specific instructions:
-
Disconnect the Battery: Before working on any electrical system, disconnect the negative battery terminal to prevent short circuits.
-
Remove the Old Radio: Carefully pry open the dashboard panels around the existing radio using the panel removal tools. Unscrew the mounting brackets and disconnect the wiring harness and antenna.
-
Prepare the New Radio: Connect the wiring harness adapter to the new radio’s wiring harness. Refer to the wiring diagrams provided to match the corresponding wires.
-
Install the New Radio: Carefully feed the new radio’s wiring harness and antenna through the dashboard opening. Secure the radio using the mounting brackets.
-
Reconnect the Battery: Reconnect the negative battery terminal to restore power.
-
Test the New Radio: Power on the radio and verify all functions, including sound, Bluetooth connectivity, navigation, and steering wheel controls (if applicable).
Troubleshooting Common Issues
- No Power: Double-check the wiring harness connections, particularly the power and ground wires.
- Sound Issues: Ensure speakers are properly connected and the fade/balance settings are correct.
- Bluetooth Pairing Problems: Delete old pairings on both the phone and radio and try pairing again.
- Steering Wheel Control Malfunctions: Consult your radio’s manual for programming instructions or seek professional assistance if needed.
“A proper smart car radio installation involves paying close attention to the wiring diagrams and ensuring secure connections to avoid electrical issues,” advises John Miller, a certified automotive electrician.
Seeking Professional Installation
If you’re uncomfortable with the installation process, consider seeking professional installation from a reputable car audio shop. They have the expertise and tools to ensure a safe and correct installation. You can find local installers by searching “who installs radios in cars near me” or “car radio installation prices near me.”
Some popular options for finding professional installers include:
- Radio Shack car stereo installation: While Radio Shack stores themselves might not be as prevalent, their legacy continues through authorized installers.
- Mobile car radio installers near me: For added convenience, consider mobile installers who come to your location.
Remember, a professional installation can save you time, potential headaches, and ensure your new smart car radio functions optimally.
Conclusion
Installing a smart car radio can be a rewarding DIY project or a hassle-free experience when done by professionals. By following the steps outlined in this guide and paying attention to detail, you can enjoy a seamless upgrade and enhance your driving experience. From navigation and smartphone integration to crystal-clear audio, a smart car radio install can transform your daily commute.


