Upgrading your car stereo with a new head unit can drastically improve your driving experience. A modern head unit offers features like Bluetooth connectivity, Apple CarPlay, Android Auto, and advanced audio options. While the idea of tackling car audio installation might seem daunting, this guide will provide a step-by-step approach to Installing A Car Radio Head Unit, empowering you to enhance your car’s audio system with confidence.
Planning Your Installation
Before diving into the installation process, careful planning is crucial.
1. Gathering the Right Tools
Having the right tools on hand ensures a smooth installation process. Here’s what you’ll need:
- Screwdrivers: A set of both Phillips and flathead screwdrivers in various sizes is essential for removing screws and panels.
- Panel Removal Tools: These plastic tools help pry open interior panels without causing damage.
- Wire Crimpers/Cutters/Strippers: Necessary for working with the wiring harness.
- Electrical Tape: For securing and insulating wire connections.
- Torx Wrenches: Some vehicles utilize Torx screws, so having a set handy is recommended.
- Shop Light or Headlamp: Provides essential illumination in tight spaces.
- Digital Multimeter (Optional): Helpful for testing connections and troubleshooting.
2. Choosing the Right Head Unit
Selecting a head unit compatible with your car’s make, model, and year is vital. Research online or consult your vehicle’s owner’s manual to determine the correct DIN size and compatibility. Consider the features you desire, such as Bluetooth, smartphone integration, or navigation, and choose a unit that aligns with your needs and budget.
Understanding Car Audio Wiring
Before disconnecting any wires, it’s essential to understand the basics of car audio wiring.
- Power (Yellow): This wire provides constant power to the head unit, even when the ignition is off.
- Ground (Black): The ground wire completes the electrical circuit and should be securely connected to the vehicle’s chassis.
- Ignition (Red): This wire supplies power to the head unit when the ignition is turned on.
- Speakers (Various Colors): Each speaker has a designated positive and negative wire, typically color-coded for easy identification.
Installing Your Car Radio Head Unit
With your tools and head unit ready, you can begin the installation process.
1. Disconnecting the Battery
To prevent electrical shorts or damage, disconnect the negative (black) terminal of your car battery before starting any wiring work.
2. Removing the Old Head Unit
Using a screwdriver or panel removal tool, carefully pry open the trim panels surrounding your existing head unit. Once the panels are removed, unscrew and disconnect the wiring harness and antenna cable from the back of the old unit.
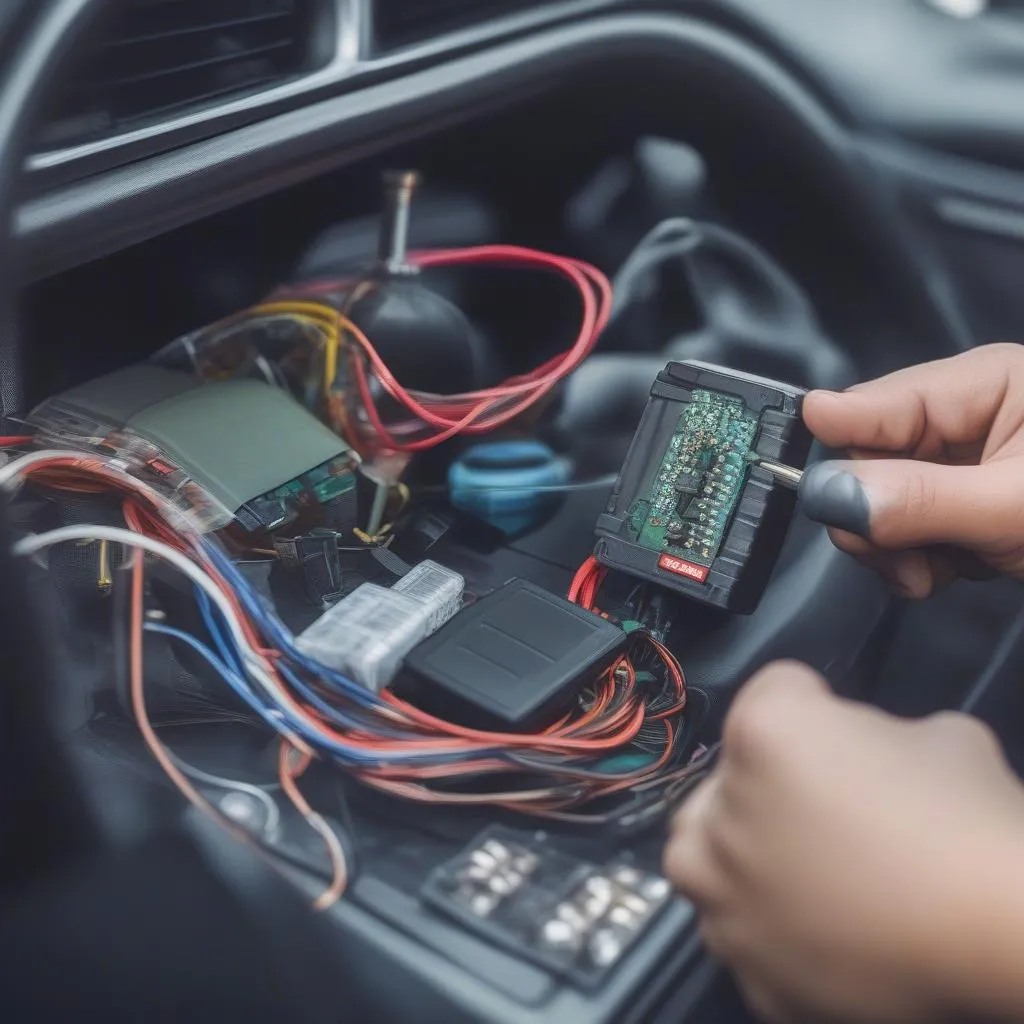
3. Wiring the New Head Unit
Connect the wiring harness adapter to the wiring harness of your new head unit, matching the corresponding colors. If your vehicle requires additional accessories or amplifiers, connect those wires according to the instructions provided with the new head unit or accessories.
Expert Insight: “Always double-check your wiring connections before powering on the new head unit,” advises automotive electrician Mark Williams. “A simple wiring mistake can lead to malfunctions or even damage to your car’s electrical system.”
4. Testing the New Head Unit
Before fully securing the new head unit, reconnect the negative battery terminal and turn on the ignition to ensure everything is functioning correctly. Test the radio, CD player (if applicable), Bluetooth connectivity, and any other features. If everything works as expected, proceed to the next step.
5. Securing the New Head Unit
Carefully slide the new head unit into the dashboard opening, ensuring it’s flush with the surrounding trim. Secure the head unit in place using the mounting brackets or screws provided. Reattach any trim panels you removed earlier, ensuring they fit snugly.
Enjoy Your Upgraded Car Audio
Congratulations! You’ve successfully installed your new car radio head unit. Enjoy the enhanced audio quality, modern features, and personalized entertainment options your new head unit brings to your driving experience.
Frequently Asked Questions
1. Can I install a car radio head unit myself?
Absolutely! With the right tools, a bit of patience, and this guide, you can install a head unit yourself.
2. Where can I get a car radio installed?
If you’re uncomfortable with the installation process, you can have your head unit professionally installed. Check out options for [car radio installation prices near me].
3. What is a DIN size, and why does it matter?
DIN stands for “Deutsches Institut für Normung,” which refers to the standardized size of car radios. It’s crucial to choose a head unit that matches your car’s DIN size to ensure a proper fit.
4. Do I need any special tools to remove the old head unit?
While you can often remove a head unit with basic tools like screwdrivers, using panel removal tools can help prevent damage to your dashboard.
5. What should I do if I encounter problems during installation?
If you face any issues, referring to the instructions that came with your head unit is a good first step. You can also find helpful resources and tutorials online or consult a professional if needed.