The Land Rover Discovery 3 is a capable and luxurious SUV, but like any vehicle, it can experience issues. One common issue that drivers encounter is the brake pad warning light illuminating on the dashboard. This light indicates that your brake pads are nearing the end of their lifespan and need to be replaced. While it’s important to address this issue promptly, you can also reset the warning light yourself to avoid unnecessary trips to the mechanic.
Understanding the Brake Pad Warning Light
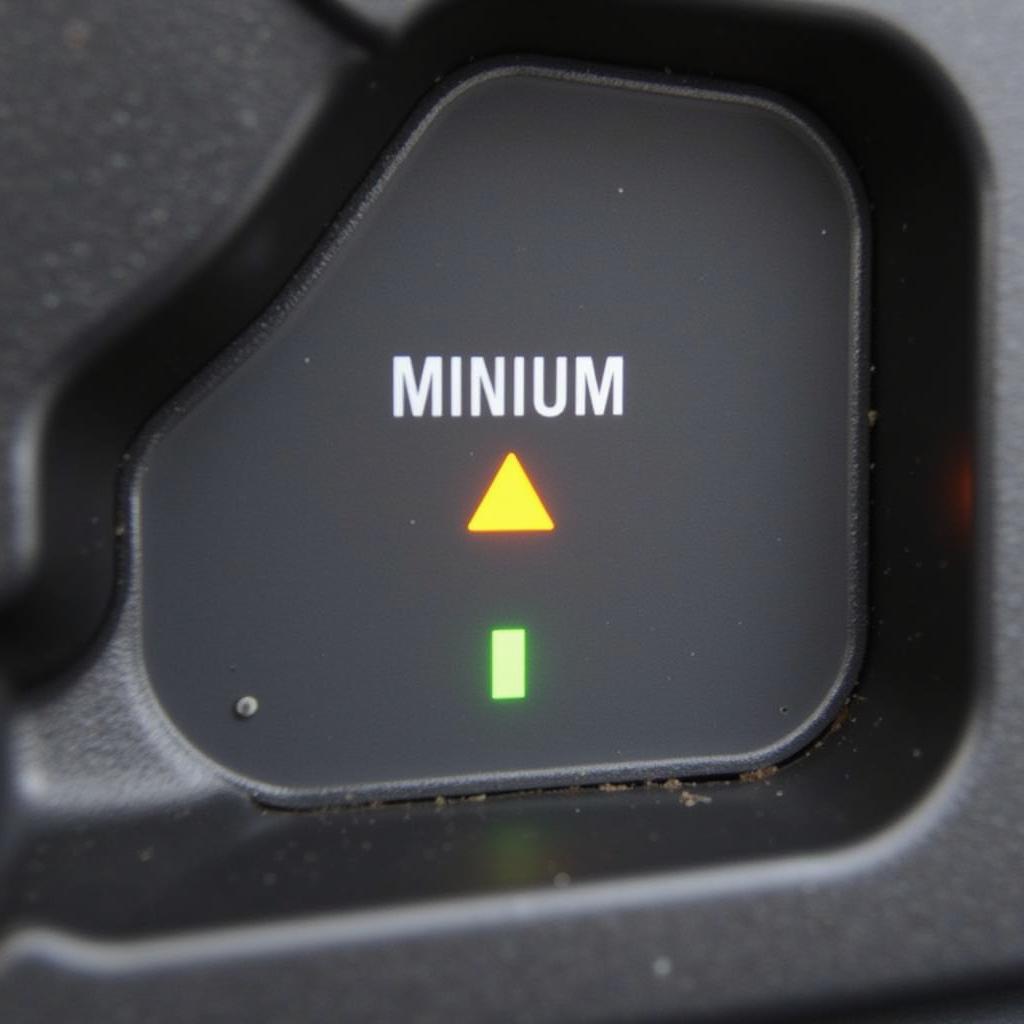
The brake pad warning light is a critical indicator designed to alert you when your brake pads have worn down to a dangerous level. It’s crucial to heed this warning and have your brake pads inspected and replaced as soon as possible. Neglecting this warning can lead to severe brake damage and even potentially hazardous driving conditions.
How to Reset the Brake Pad Warning Light
Resetting the brake pad warning light on a Land Rover Discovery 3 is relatively straightforward. Follow these steps:
- Park your vehicle on a level surface and engage the parking brake.
- Insert the key into the ignition and turn it to the “on” position (without starting the engine).
- Press and hold the brake pedal firmly for at least 10 seconds.
- While keeping the brake pedal depressed, turn the ignition off.
- Release the brake pedal and turn the ignition back to the “on” position.
- The brake pad warning light should now be reset.
Troubleshooting Common Issues
If the brake pad warning light persists after following the steps above, there might be a few possible reasons:
- Low Battery: A low battery can interfere with electronic systems, including the brake pad warning light. Ensure your battery is fully charged.
- Faulty Brake Pad Sensor: The brake pad sensor might be faulty and needs to be replaced.
- Electrical Fault: There could be an electrical issue in the wiring or connection to the brake pad sensor.
If you suspect an electrical fault, it’s recommended to consult with a qualified mechanic for diagnosis and repair.
Important Considerations
- Brake Pad Replacement: Resetting the warning light does not fix the underlying issue of worn brake pads. It’s crucial to have your brake pads inspected and replaced as soon as possible.
- Safety First: Always prioritize safety when working on your vehicle. If you’re unsure about any step, seek professional assistance.
- Maintenance Schedule: Regularly inspect your brake pads according to your vehicle’s maintenance schedule.
FAQs
Q: How often should I replace my brake pads?
A: Brake pad replacement intervals vary depending on driving habits and conditions. Generally, they should be replaced every 25,000 to 50,000 miles.
Q: What are the signs of worn brake pads?
A: Signs of worn brake pads include a squealing or grinding noise when braking, a longer braking distance, and a spongy brake pedal.
Q: Can I reset the brake pad warning light myself?
A: Yes, you can reset the brake pad warning light yourself following the steps outlined above.
Q: What if the brake pad warning light doesn’t reset?
A: If the light persists, consult with a qualified mechanic to diagnose and repair the underlying issue.
Q: How can I prolong the life of my brake pads?
A: Avoid harsh braking, maintain a consistent speed, and ensure your vehicle is properly aligned.
Q: Are there any benefits to replacing my brake pads with aftermarket ones?
A: Aftermarket brake pads can offer cost savings, but it’s crucial to choose reputable brands that meet OEM (Original Equipment Manufacturer) specifications.
Remember: It’s essential to maintain your Land Rover Discovery 3 properly, including regular brake inspections and replacements, to ensure a safe and enjoyable driving experience.