Your 2002 Cooper’s brake warning light is on, and it’s not going off, even after you’ve applied the brakes. This can be a frustrating and potentially dangerous situation. The brake warning light illuminates when there’s an issue with your car’s braking system, and it’s crucial to diagnose and address the problem as soon as possible. This guide will help you understand the common causes behind this issue and guide you through troubleshooting steps to identify and fix the problem.
Understanding the Brake Warning Light
The brake warning light serves as a vital indicator of potential issues within your braking system. It’s connected to various components that monitor the health of your brakes. When the light comes on, it’s a signal that something is amiss and demands your attention.
Common Causes of a Brake Warning Light That Won’t Go Off
Several factors can lead to the brake warning light staying on. Some of the most common include:
1. Low Brake Fluid
A lack of brake fluid is a frequent culprit for a persistent brake warning light. Brake fluid lubricates and transfers pressure within your braking system, and if the level is low, the system might not function optimally.
2. Faulty Brake Pad or Shoe Wear Sensors
Most modern cars come equipped with sensors that monitor the wear and tear of your brake pads or shoes. When the pads or shoes are worn down, the sensor triggers the warning light to inform you that they need replacement.
3. Problems with the Parking Brake System
A malfunctioning parking brake can also cause the warning light to stay on. This could be due to a faulty parking brake switch, a stuck parking brake caliper, or issues with the parking brake cable.
4. ABS (Anti-lock Braking System) Issues
The ABS system, which helps prevent your wheels from locking during braking, can also trigger the brake warning light if there’s a problem. This could be due to a faulty ABS sensor, a faulty ABS module, or problems with the ABS hydraulic unit.
5. Electrical Problems
Electrical malfunctions can sometimes cause the brake warning light to illuminate. This could be a faulty wiring connection, a blown fuse, or a problem with the brake warning light bulb itself.
Troubleshooting Steps
Let’s tackle these potential issues one by one. Here’s a step-by-step guide to help you diagnose and fix the problem:
1. Check the Brake Fluid Level
Start by checking the brake fluid level in the reservoir under the hood. The reservoir typically has markings indicating the minimum and maximum fluid levels.
If the fluid level is low, you’ll need to add more brake fluid. However, before adding fluid, it’s crucial to identify the reason for the low level. A leak somewhere in the system could be the culprit.
Expert Tip: “Always check your brake fluid level regularly. It’s a simple yet critical maintenance task that can help prevent more serious issues.” – Ethan Miller, Certified Automotive Technician
2. Inspect the Brake Pads or Shoes
Next, you need to visually inspect the brake pads or shoes. You can often see them through the wheels, but you might need to remove the wheels for a closer inspection.
Look for signs of excessive wear, uneven wear, or cracks. If the brake pads or shoes are worn down, it’s time for replacement. Additionally, check the brake pad wear sensors. They’re usually located on the brake pads or shoes and can sometimes break or become disconnected, causing the warning light to stay on.
3. Test the Parking Brake
Engage and release the parking brake several times. If you feel resistance or notice that the parking brake is not fully releasing, there might be an issue with the parking brake system.
Inspect the parking brake cable for signs of wear, fraying, or stretching. If the cable is damaged, it needs to be replaced.
4. Check the ABS System
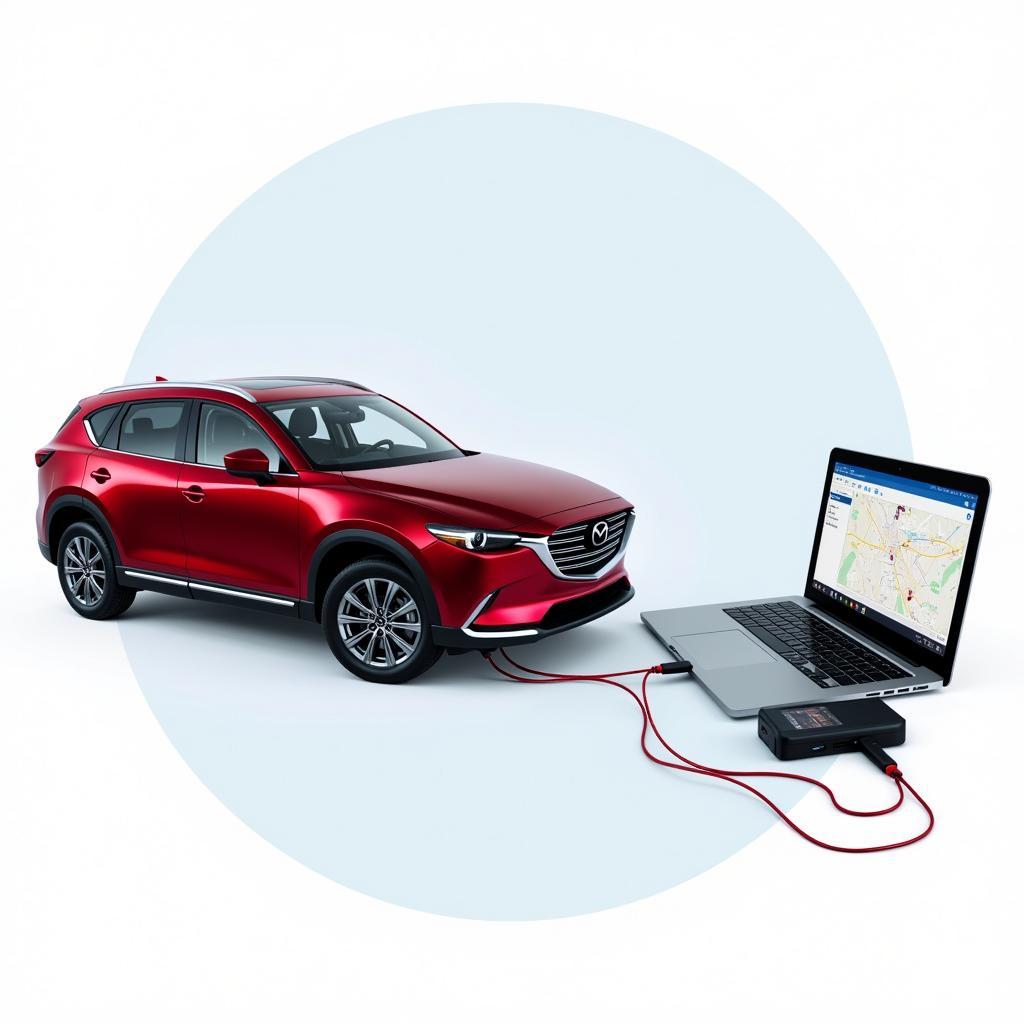
If the brake warning light remains on even after addressing the above issues, you might have a problem with the ABS system. A code reader can help identify any ABS-related fault codes. You can use a code reader to scan for any fault codes stored in the ABS module.
If you’re not familiar with using a code reader, you can take your car to an automotive technician for diagnosis.
5. Check the Electrical System
Finally, if the problem isn’t related to any of the previous factors, you might have an electrical issue. Check the wiring harness connected to the brake warning light switch, the brake fluid level sensor, and the ABS module. Ensure there are no loose connections or damaged wires. Also, check the brake warning light bulb itself to make sure it’s not burnt out.
Conclusion
A persistent brake warning light in your 2002 Cooper shouldn’t be ignored. It’s a sign that something is amiss with your braking system, and addressing it promptly is essential for your safety. This guide provides you with a comprehensive roadmap for troubleshooting the common causes behind this issue. However, if you’re uncomfortable tackling the problem yourself, it’s best to seek the expertise of a qualified automotive technician. Remember, safe braking is crucial, so don’t compromise your safety by delaying the repair.
FAQ
Q: What happens if I ignore the brake warning light?
A: Ignoring the brake warning light could lead to serious consequences, including brake failure, accidents, and potential injury.
Q: Can I drive my car with the brake warning light on?
A: It’s not advisable to drive your car with the brake warning light on. It’s a sign that your braking system isn’t functioning optimally, and doing so poses a safety risk.
Q: How much will it cost to fix a brake warning light issue?
A: The cost of repair varies depending on the specific cause. It could range from a simple brake fluid refill to more complex repairs like replacing brake pads, sensors, or parts of the ABS system.
Q: Can I reset the brake warning light myself?
A: Sometimes, you can reset the brake warning light by simply topping off the brake fluid or replacing the brake pads. However, in some cases, a scan tool or a visit to a technician may be required to reset the light.
Q: Should I always replace all brake pads and rotors at the same time?
A: While not always necessary, it’s generally a good practice to replace brake pads and rotors at the same time, as they wear down together. This ensures even wear and tear and promotes optimal braking performance.


