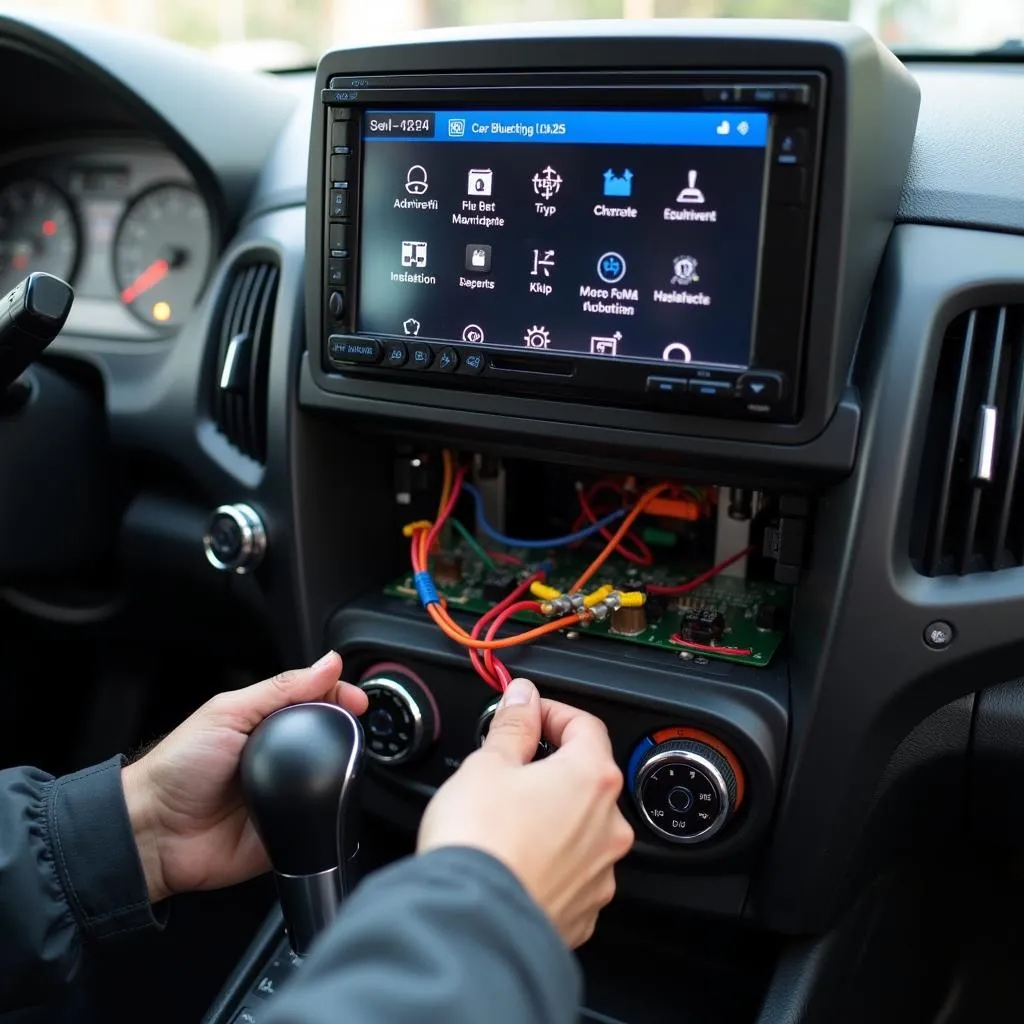
The Mini Cooper is a popular car known for its sporty handling and stylish design. However, like any vehicle, it can experience problems. One common issue is the “brake pad warning indicator.” This indicator is a vital safety feature that alerts you when your brake pads are worn down and need replacement. In this guide, we will delve into the meaning of this indicator, explore common causes, and provide you with actionable steps to resolve the problem.
What Does the Mini Cooper Brake Pad Warning Indicator Mean?
The Mini Cooper brake pad warning indicator is typically a red or yellow light with a stylized image of a brake pad or a circle with an exclamation point inside. This light signifies that your brake pads have reached a critical wear level and require immediate attention. While you might still have some brake pad material remaining, it’s essential to address this issue promptly to prevent further damage to your brake system and ensure safe driving conditions.
Why Is the Brake Pad Warning Indicator On?
Several reasons can trigger the brake pad warning indicator on your Mini Cooper:
- Worn Brake Pads: The most common reason for the indicator to illuminate is worn brake pads. As you use your brakes, the pads gradually wear down due to friction. Once the pads reach a predetermined minimum thickness, the sensor embedded in the pad triggers the warning indicator.
- Faulty Sensor: The brake pad sensor itself can malfunction. A faulty sensor may trigger the warning indicator even if the brake pads are still in good condition.
- Electrical Issues: Occasionally, wiring issues or a problem with the brake warning system’s electronics can cause the indicator to activate falsely.
What Should You Do If the Mini Cooper Brake Pad Warning Indicator Is On?
If your Mini Cooper’s brake pad warning indicator is on, it’s crucial to take the following steps:
- Don’t Ignore It: The brake pad warning indicator is not something to be dismissed. It’s a critical alert signaling a potential safety issue.
- Inspect Your Brake Pads: Visually inspect your brake pads to assess their wear level. If they are thin or have significant grooves, you need to replace them.
- Check for Other Issues: Look for any other signs of brake problems, such as grinding noises, spongy brakes, or brake fluid leaks.
- Seek Professional Assistance: If you’re unsure about the cause or feel uncomfortable inspecting the brake pads yourself, it’s best to consult a qualified mechanic.
How to Replace Mini Cooper Brake Pads
Replacing brake pads on a Mini Cooper is a relatively straightforward procedure. Here’s a step-by-step guide:
- Gather Necessary Tools: You will need a set of wrenches, sockets, and a torque wrench.
- Secure the Vehicle: Park your Mini Cooper on a level surface and engage the parking brake. Chock the rear wheels to prevent the car from rolling.
- Remove the Wheels: Remove the lug nuts and wheels from the affected side.
- Access the Brake Caliper: Locate the brake caliper and carefully remove the brake pad retaining clips.
- Replace the Brake Pads: Remove the worn brake pads and install the new ones, ensuring they are correctly positioned.
- Reassemble the Brake Caliper: Reinstall the brake pad retaining clips and make sure the caliper is securely attached.
- Reinstall the Wheel: Reinstall the wheel and tighten the lug nuts to the correct torque specifications.
- Test Brakes: After replacing the brake pads, test the brakes by carefully applying them to ensure they function correctly.
Can You Reset the Mini Cooper Brake Pad Warning Indicator Yourself?
Yes, you can reset the Mini Cooper brake pad warning indicator yourself. Here’s how:
- Locate the Reset Button: The reset button is typically located near the dashboard, under the steering wheel, or in the instrument cluster.
- Engage the Parking Brake: Ensure the parking brake is engaged.
- Press and Hold the Reset Button: Press and hold the reset button for several seconds until the warning light goes out.
Note: The resetting procedure may vary depending on your Mini Cooper model year. Refer to your owner’s manual for detailed instructions.
How Often Should You Replace Mini Cooper Brake Pads?
The lifespan of Mini Cooper brake pads varies depending on several factors, including driving habits, driving conditions, and the quality of the pads. However, it’s generally recommended to replace them every 20,000 to 30,000 miles.
What Happens If You Don’t Replace Worn Brake Pads?
Driving with worn brake pads can be incredibly dangerous and lead to serious consequences:
- Reduced Braking Power: Worn pads provide less friction, resulting in longer stopping distances.
- Damage to Other Components: The brake rotors can be damaged by worn pads, leading to excessive noise and vibration.
- Increased Wear and Tear: Other brake system components, such as calipers and brake lines, can wear out prematurely.
- Accidents: Worn brakes increase the risk of accidents, especially during emergency braking situations.
What Can I Do to Make My Mini Cooper Brake Pads Last Longer?
You can extend the life of your Mini Cooper brake pads by following these tips:
- Smooth Braking: Avoid hard braking and abrupt stops.
- Proper Maintenance: Regularly inspect your brake system and ensure that the brake fluid levels are sufficient.
- High-Quality Pads: Use high-quality brake pads from reputable manufacturers.
- Driving Habits: Driving habits have a significant impact on brake pad wear. Avoid aggressive driving and frequent hard braking.
Expert Insight from David, a Certified Automotive Technician:
“Always listen to your car. If you hear grinding noises, feel a vibration in the brake pedal, or notice a spongy feeling when applying the brakes, don’t ignore it. These could be signs of worn brake pads or other brake system issues. It’s better to be safe than sorry.”
FAQ
Q: Is it safe to drive with the Mini Cooper brake pad warning indicator on?
A: It is not safe to drive with the brake pad warning indicator on. It’s essential to replace worn pads as soon as possible to ensure your safety.
Q: How much does it cost to replace Mini Cooper brake pads?
A: The cost of replacing brake pads on a Mini Cooper can vary depending on the model year, location, and type of pads used. However, you can expect to pay between $200 and $500 for a brake pad replacement.
Q: What are some common symptoms of worn brake pads?
A: Some common symptoms of worn brake pads include grinding noises when braking, a spongy feeling in the brake pedal, and a longer stopping distance.
Q: How can I check my Mini Cooper brake pads myself?
A: You can visually inspect your brake pads by removing the wheels. Look for worn pads with a thin layer of material or deep grooves.
Q: Can I replace my Mini Cooper brake pads myself?
A: If you’re comfortable with DIY automotive repairs, you can replace the brake pads yourself. However, if you’re unsure, it’s best to consult a professional mechanic.
By understanding the meaning of the Mini Cooper brake pad warning indicator and following the steps outlined in this guide, you can address this issue promptly and ensure safe driving conditions. Remember, prioritize your safety and seek professional assistance when necessary.


