The brake pressure warning switch in your 1991 Mazda is a critical safety component. It’s responsible for activating the brake warning light on your dashboard if it detects a drop in brake fluid pressure, signaling a potential issue with your braking system. If you’re experiencing problems with this switch, it’s important to diagnose and address them promptly to ensure your safety on the road.
Understanding the Role of the Brake Pressure Warning Switch
The brake pressure warning switch is typically located near the master cylinder of your Mazda. It’s designed to monitor the hydraulic pressure within the braking system. When you press the brake pedal, the master cylinder pressurizes the system, and this pressure is also transmitted to the warning switch.
If the switch detects a significant pressure difference between the two hydraulic circuits in your braking system, it closes an electrical circuit. This action illuminates the brake warning light on your dashboard, alerting you to a potential problem that requires immediate attention.
Common Symptoms of a Faulty Brake Pressure Warning Switch
A malfunctioning brake pressure warning switch can manifest itself in several ways:
- Illuminated Brake Warning Light: This is the most common symptom. The light might stay on constantly or flicker intermittently.
- Difficulty Braking: While a faulty switch itself won’t directly affect your braking ability, the underlying problem it’s indicating can lead to braking issues.
- Spongy Brake Pedal: If you notice the brake pedal feeling unusually soft or spongy, it could be a sign of a leak in the braking system, which the warning switch might be detecting.
Diagnosing the Problem: Is it the Switch or Something Else?
It’s crucial to remember that a lit brake warning light doesn’t automatically mean the switch itself is faulty. It could be a symptom of a different issue within the braking system:
1. Check Brake Fluid Level:
Before suspecting the switch, ensure your brake fluid reservoir is full. Low fluid level is a common cause of brake warning light illumination and points to a potential leak in the system.
2. Inspect for Brake Fluid Leaks:
Carefully examine the area around the master cylinder, brake lines, and calipers for any signs of fluid leaks. If you find a leak, address it immediately and refill the brake fluid.
3. Test the Warning Switch:
If the fluid level is adequate and there are no visible leaks, the next step is to test the switch itself. This usually involves using a multimeter to check for continuity.
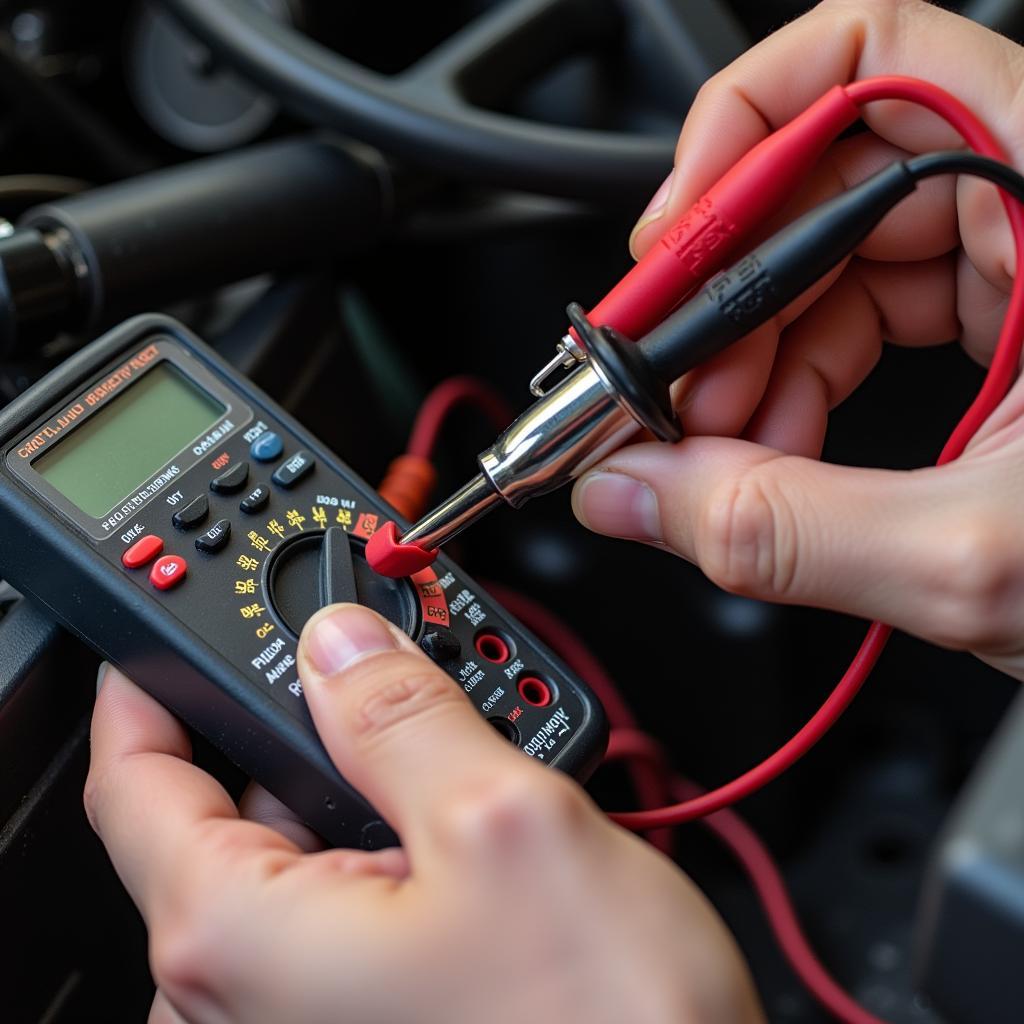 Testing Brake Pressure Warning Switch
4. Consult a Professional:
If you’re not comfortable performing these diagnostics yourself, it’s best to take your Mazda to a qualified mechanic specializing in brake systems. They have the expertise and equipment to accurately diagnose and address the issue.
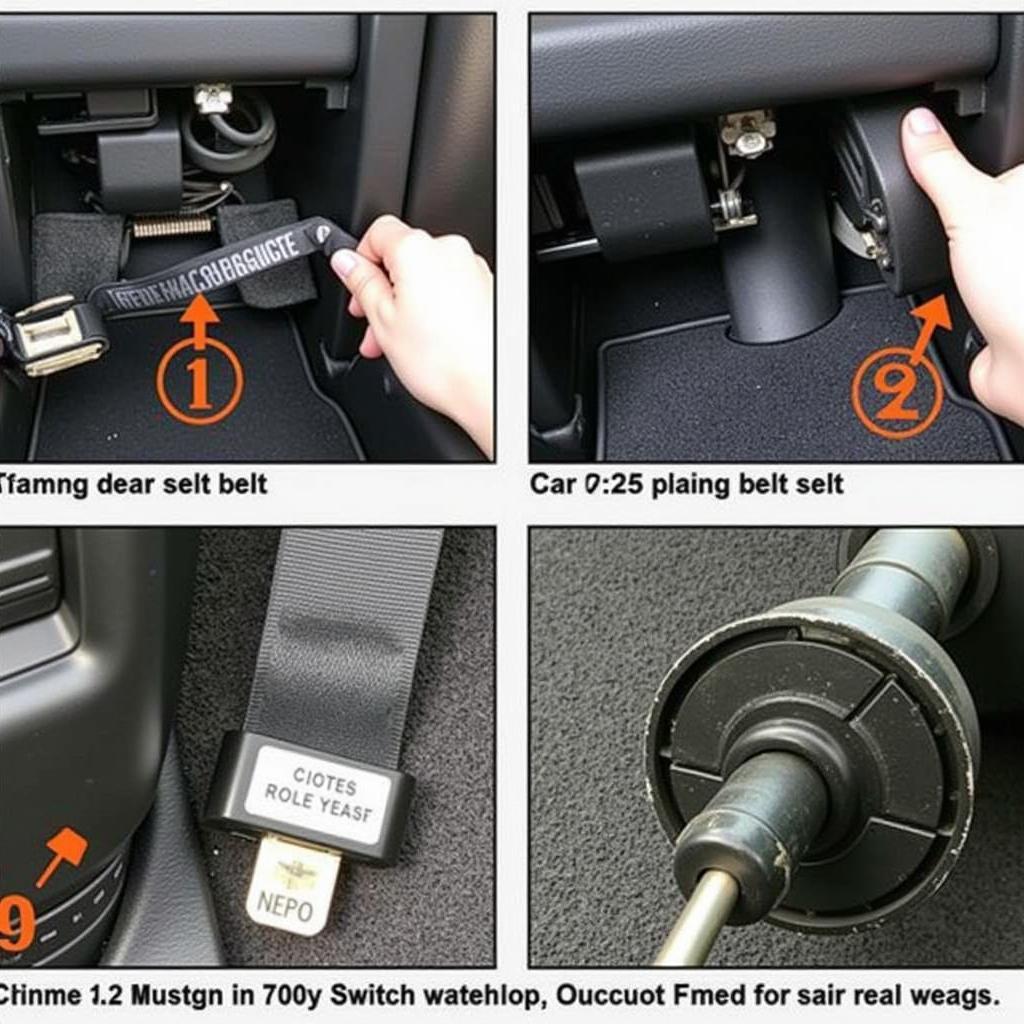
Replacing a 1991 Mazda Brake Pressure Warning Switch
If your diagnosis points to a faulty switch, replacing it is crucial. Here’s a simplified guide:
-
Disconnect the Battery: Always disconnect the negative battery terminal before working on any electrical components in your vehicle.
-
Locate the Switch: The brake pressure warning switch is typically located near the master cylinder. Consult your vehicle’s repair manual for the exact location.
-
Depressurize the System: Before disconnecting any brake lines, depressurize the braking system. This can be done by slowly pumping the brakes several times with the engine off.
-
Disconnect the Electrical Connector: Gently disconnect the electrical connector attached to the switch.
-
Remove and Replace the Switch: Use the appropriate wrench to loosen and remove the old switch. Install the new switch, ensuring it’s properly tightened.
-
Reconnect the System: Reattach the electrical connector and any brake lines that were disconnected.
-
Refill Brake Fluid: Top up the brake fluid reservoir to the appropriate level using the correct type of brake fluid specified in your owner’s manual.
-
Bleed the Brakes: This step is crucial to remove any air that might have entered the system. You can bleed the brakes yourself or have a mechanic do it for you.
-
Test the System: Once the system is reassembled and bled, start the engine and check that the brake warning light goes off when you press the brake pedal. Test the brakes in a safe environment to ensure they’re functioning correctly.
The Importance of Professional Expertise
While this guide provides a general overview, always remember that working on your vehicle’s braking system can be dangerous if you’re not familiar with automotive repair. If you’re unsure about any step or encounter difficulties, it’s always best to consult a qualified mechanic. They have the experience, tools, and knowledge to ensure the job is done safely and correctly, keeping you and others safe on the road.
Maintaining Your Mazda’s Braking System
Regular maintenance is crucial for keeping your Mazda’s braking system in optimal condition. Follow these tips to prevent future problems:
- Regular Inspections: Visually inspect your brakes for wear and tear, leaks, or any other signs of damage during routine maintenance checks.
- Fluid Flush: Have your brake fluid flushed and replaced according to the manufacturer’s recommendations or if you notice any discoloration or contamination.
- Timely Repairs: Address any brake-related issues promptly. Ignoring seemingly minor problems can lead to more extensive and costly repairs down the line.
By understanding the role of the brake pressure warning switch, recognizing potential issues, and addressing them promptly, you can maintain a safe and reliable braking system for your 1991 Mazda.