Setting the correct gap on your Warner brake is crucial for optimal braking performance and safety. While it might seem intimidating, adjusting the auto gap on your Warner brake is a manageable task that can be done with the right knowledge and tools. This comprehensive guide will walk you through the process step-by-step, ensuring you can confidently tackle this essential maintenance task.
Understanding Auto Gap on a Warner Brake
Before diving into the “how-to,” it’s vital to grasp what auto gap means and why it’s essential for your Warner brake system. In simple terms, the “auto gap” refers to the automatic adjustment mechanism that maintains the correct clearance between the brake shoes and the drum. This clearance is vital to ensure the brakes engage effectively when you press the pedal.
A properly adjusted auto gap ensures:
- Optimal Braking Performance: The right gap ensures the brake shoes contact the drum with the correct force, resulting in smooth and effective braking.
- Extended Brake Life: A well-maintained gap prevents premature wear and tear on both the brake shoes and the drum, prolonging their lifespan.
- Enhanced Safety: Correct auto gap adjustment is critical for reliable braking and preventing accidents caused by brake failure.
Now that you understand the importance of a properly set auto gap, let’s explore how to do it yourself.
Step-by-Step Guide to Setting Auto Gap on a Warner Brake
Before starting, gather the necessary tools:
- Wheel chocks
- Lug wrench
- Jack and jack stands
- Flat-head screwdriver
- Brake adjusting tool (if applicable for your specific Warner brake model)
- Work gloves (recommended)
Step 1: Safely Secure Your Vehicle
- Park your vehicle on a level surface and engage the parking brake.
- Place wheel chocks behind the rear wheels to prevent any movement.
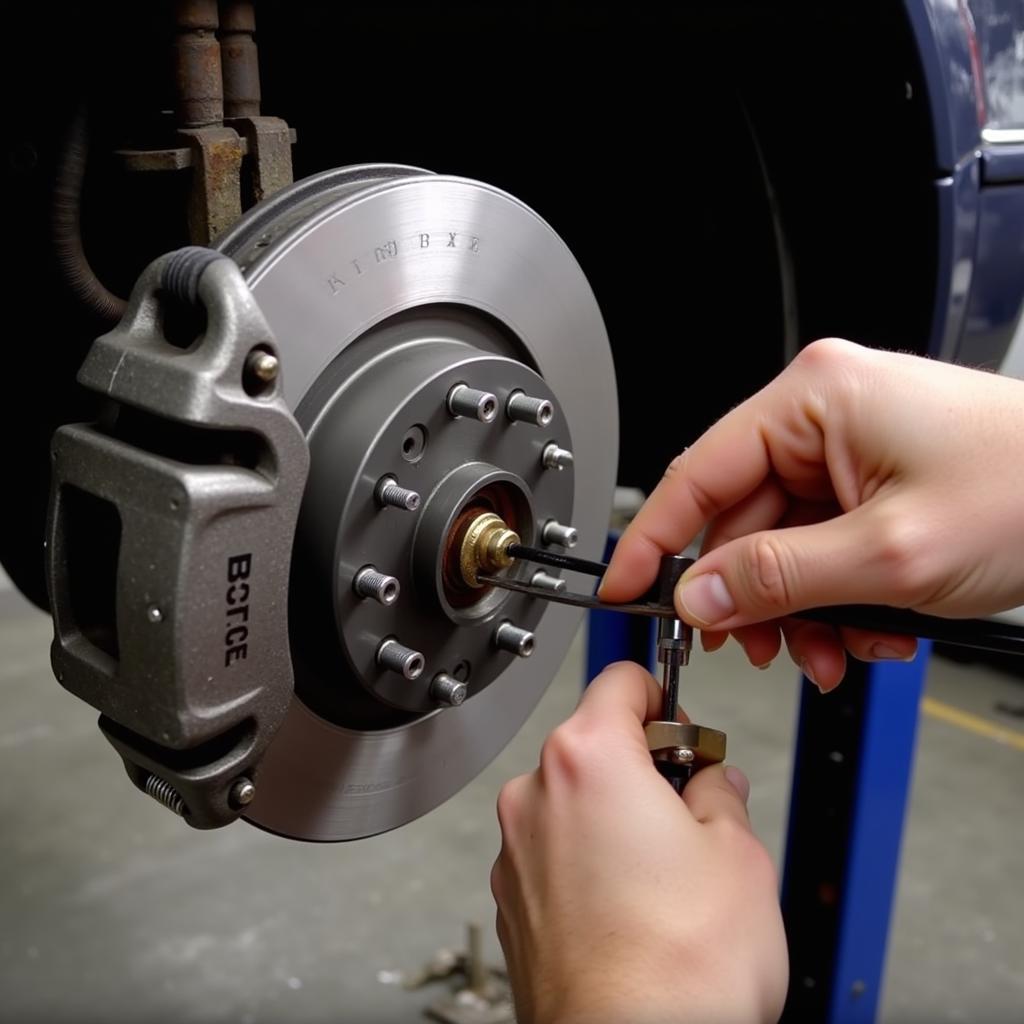
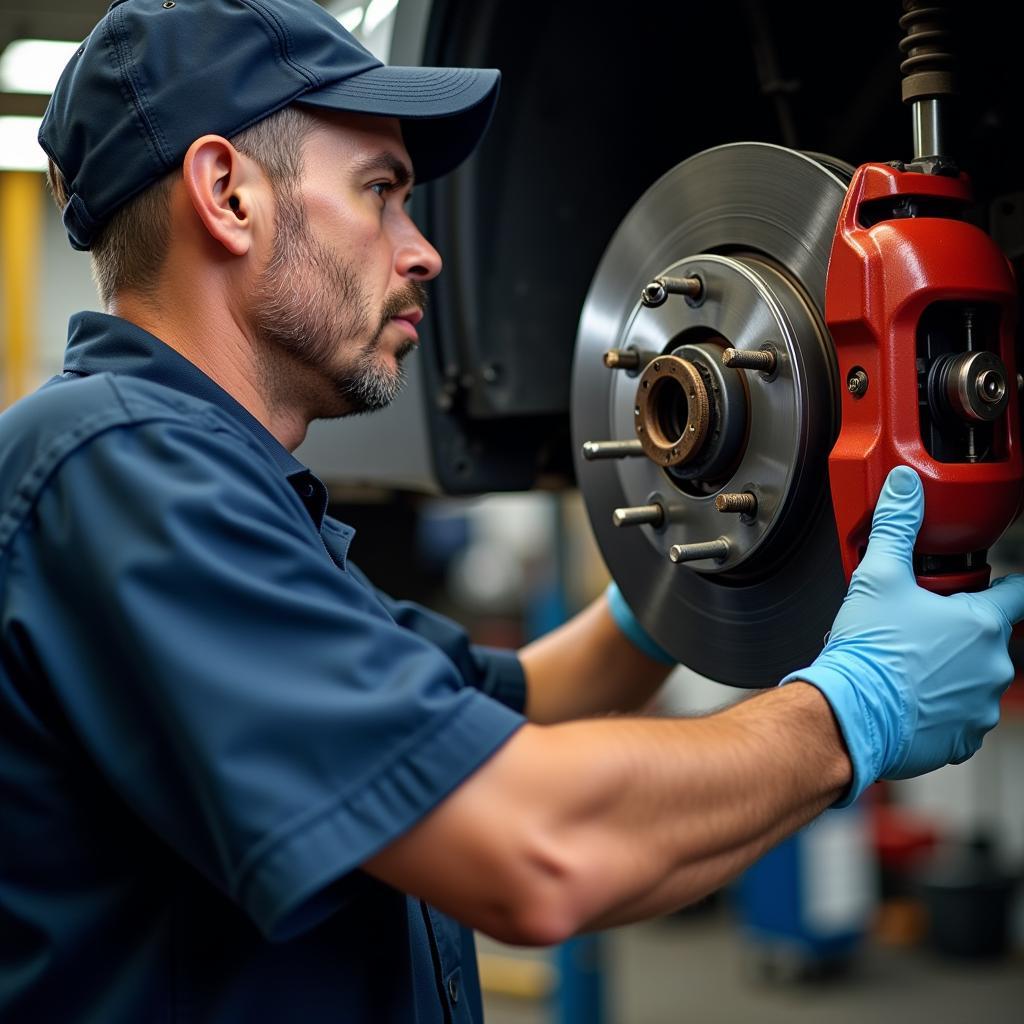
Step 2: Access the Rear Brakes
- Using the lug wrench, loosen the lug nuts on the rear wheel where you’ll be adjusting the brake.
- Use the jack to lift the vehicle, ensuring it’s securely positioned on jack stands.
- Completely remove the lug nuts and the wheel.
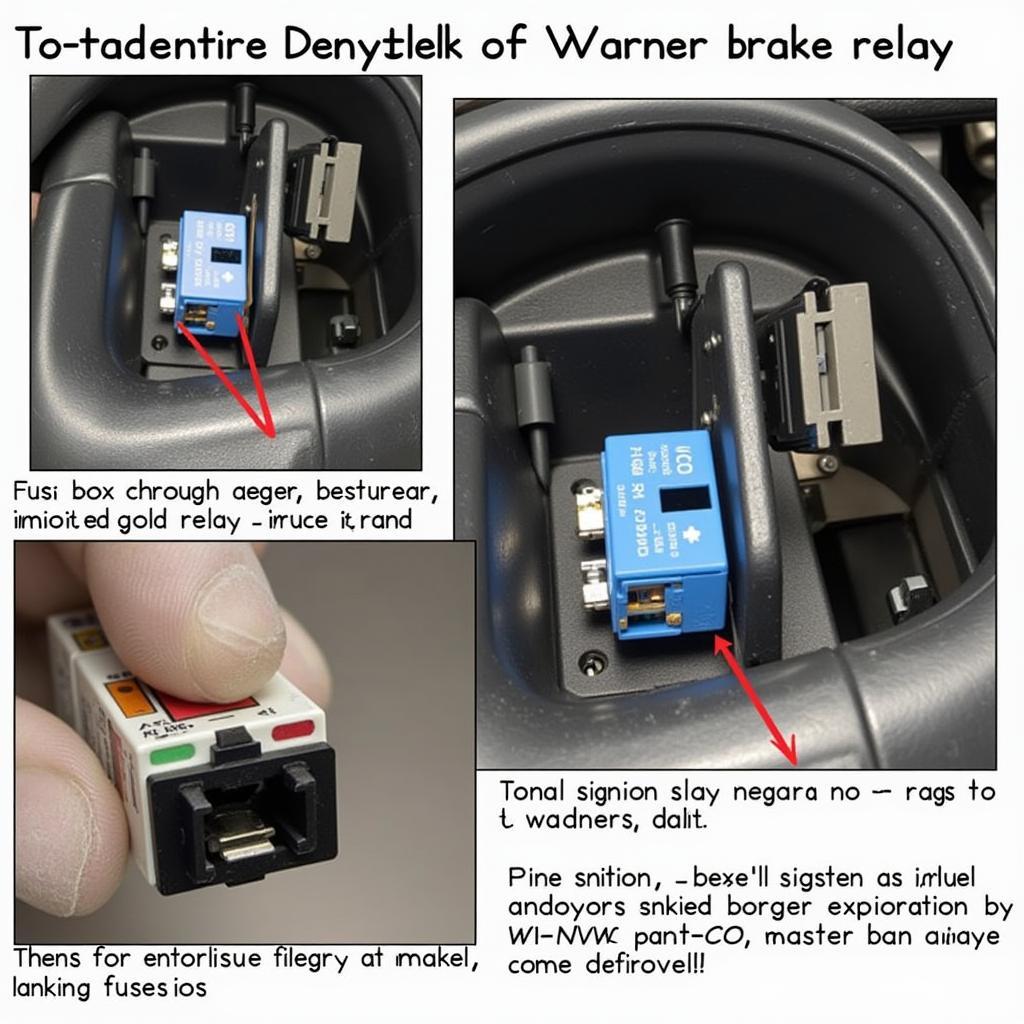
Step 3: Locate the Adjustment Mechanism
- With the wheel removed, you’ll see the brake assembly. Look for a small rubber plug or access hole on the backing plate of the brake drum.
- This access point allows you to reach the star wheel adjuster, which controls the brake shoe gap.
Step 4: Adjust the Star Wheel
- Using a flat-head screwdriver or a brake adjusting tool (depending on your Warner brake model), insert it into the access hole.
- Rotate the star wheel adjuster. To tighten the brake shoes (reduce the gap), turn the adjuster upwards or in the direction that makes the brake shoes tighter against the drum.
- Listen carefully. You should hear a slight dragging sound as the brake shoes begin to make contact with the drum.
Step 5: Verify the Adjustment
- Spin the brake drum by hand. It should rotate with slight resistance. If the drum doesn’t move or is extremely difficult to turn, you’ve overtightened the adjuster. Loosen it slightly.
- If the drum spins freely with no resistance, the gap is too wide. Tighten the adjuster slightly and repeat this step.
Step 6: Reassemble and Test
- Once you’ve achieved the proper adjustment, replace the rubber plug or cover on the access hole.
- Remount the wheel and tighten the lug nuts by hand.
- Lower the vehicle using the jack and fully tighten the lug nuts using a star pattern.
- Test the brakes at low speed in a safe environment to ensure they are engaging properly.
 Adjusting Warner Brake
Troubleshooting Common Issues
While setting the auto gap is generally straightforward, you might encounter a few hiccups:
- Difficulty Turning the Star Wheel: This could indicate rust or debris buildup. Try applying a penetrating lubricant and working the adjuster back and forth gently.
- Uneven Braking: If one side brakes more aggressively than the other, double-check your adjustments on both sides. Ensure the star wheels are adjusted to similar positions.
- Spongy Brake Pedal: A spongy feeling in the brake pedal suggests air in the brake lines. Bleeding the brakes might be necessary.
 Troubleshooting Brake Issues
Expert Insight
“Remember, brake adjustments are not a ‘set it and forget it’ task,” advises John Miller, a seasoned automotive technician with over 20 years of experience. “Regularly inspecting your brakes and adjusting the auto gap, especially after periods of heavy braking or driving in challenging conditions, is crucial for maintaining optimal braking performance and safety.”
Conclusion
Setting the auto gap on your Warner brake is a crucial part of vehicle maintenance that directly impacts your safety on the road. While this guide provides a comprehensive overview, always refer to your vehicle’s specific repair manual for model-specific instructions and safety precautions.
If you encounter any difficulties or are uncomfortable performing this adjustment yourself, don’t hesitate to seek assistance from a qualified mechanic. Remember, a little preventative maintenance goes a long way in ensuring the longevity and reliability of your braking system.