The dreaded brake pad warning light on your Mini Cooper is on, and you’re probably wondering what to do next. This little light is a crucial safety indicator, telling you it’s time to pay attention to your braking system. Don’t panic! In this comprehensive guide, we’ll delve into the intricacies of the brake pad warning light in your Mini, covering everything from its meaning to troubleshooting and resetting.
Understanding the Brake Pad Warning Light
The brake pad warning light, typically a circle with dotted lines on either side and an exclamation mark in the center, illuminates for several reasons. While it primarily signals worn brake pads, it can also indicate other issues within the braking system.
Here’s a breakdown of common causes:
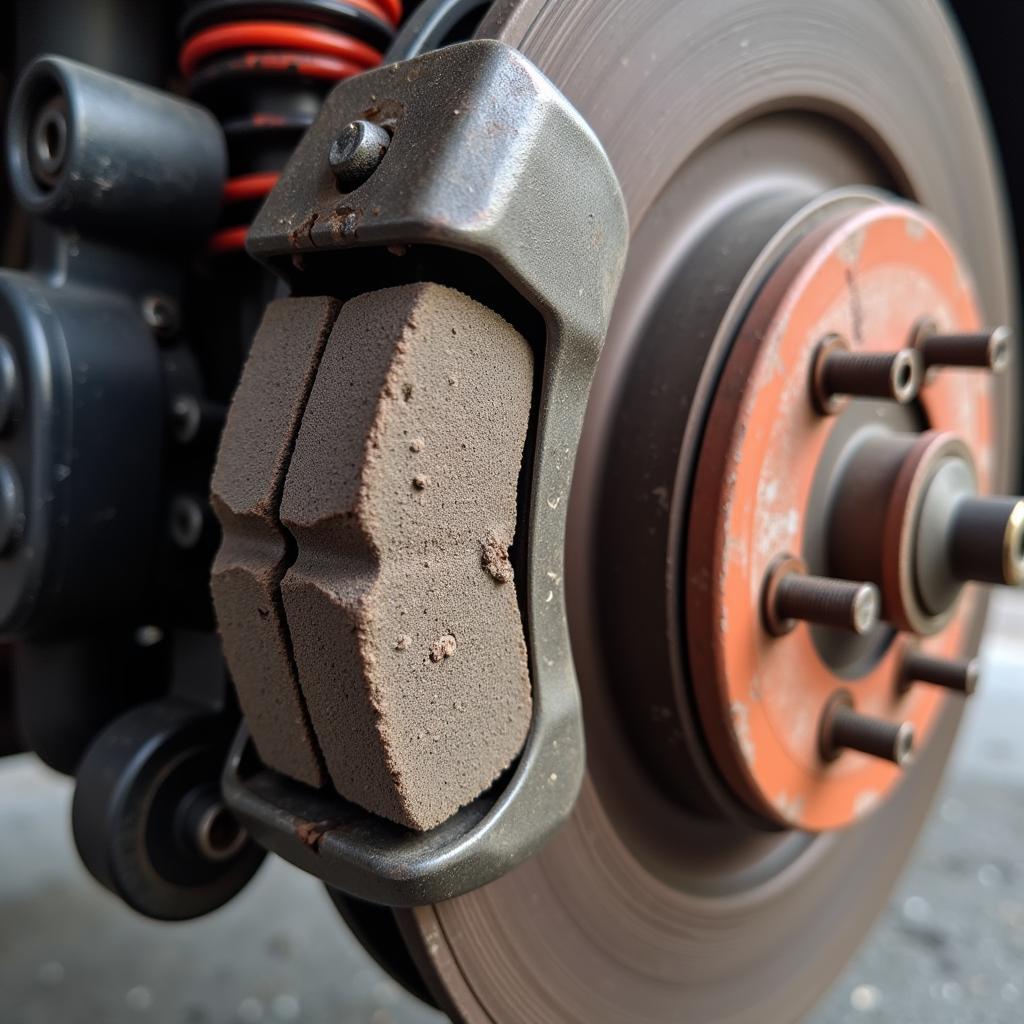
- Worn Brake Pads: Your Mini’s brake pads are equipped with wear indicators, small metal tabs that make contact with the brake rotor when the pads wear thin. This contact creates a high-pitched squealing sound, alerting you to the need for a brake pad replacement.
- Low Brake Fluid: The brake warning light can also illuminate if the brake fluid level is low. This could indicate a leak in the brake system, which should be addressed immediately by a qualified mechanic.
- Faulty Brake Pad Sensor: In some cases, the brake pad sensor itself might be faulty, triggering the warning light even if the pads are in good condition.
- Electrical Issues: Electrical problems, such as a short circuit in the wiring, can also cause the brake pad warning light to come on.
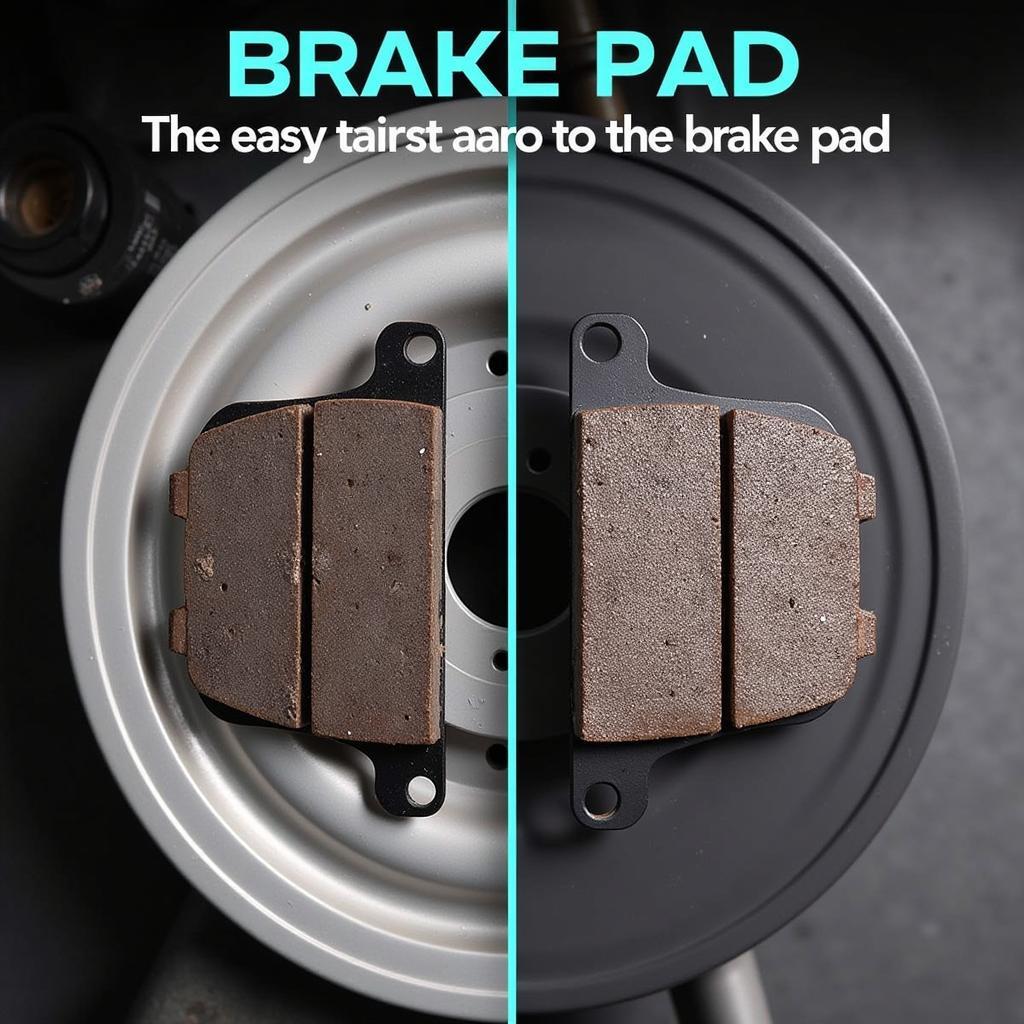
 Mini Brake Pad Wear Indicator
Diagnosing the Problem
Determining the root cause of the brake pad warning light requires a bit of investigation:
- Listen for Unusual Noises: When applying the brakes, do you hear a high-pitched squealing or grinding sound? This is a telltale sign of worn brake pads.
- Inspect Your Brake Pads: If you’re comfortable doing so, you can visually check your brake pads for wear. Look through the spaces between the wheel spokes to see how much pad material is remaining. If the pad material is less than 1/4 inch thick, it’s time for a replacement.
- Check Your Brake Fluid: Locate the brake fluid reservoir under the hood of your Mini. The reservoir is typically translucent, allowing you to see the fluid level inside. If the fluid level is below the “Min” mark, add more brake fluid until it reaches the “Max” line. Be sure to use the correct type of brake fluid specified in your Mini’s owner’s manual.
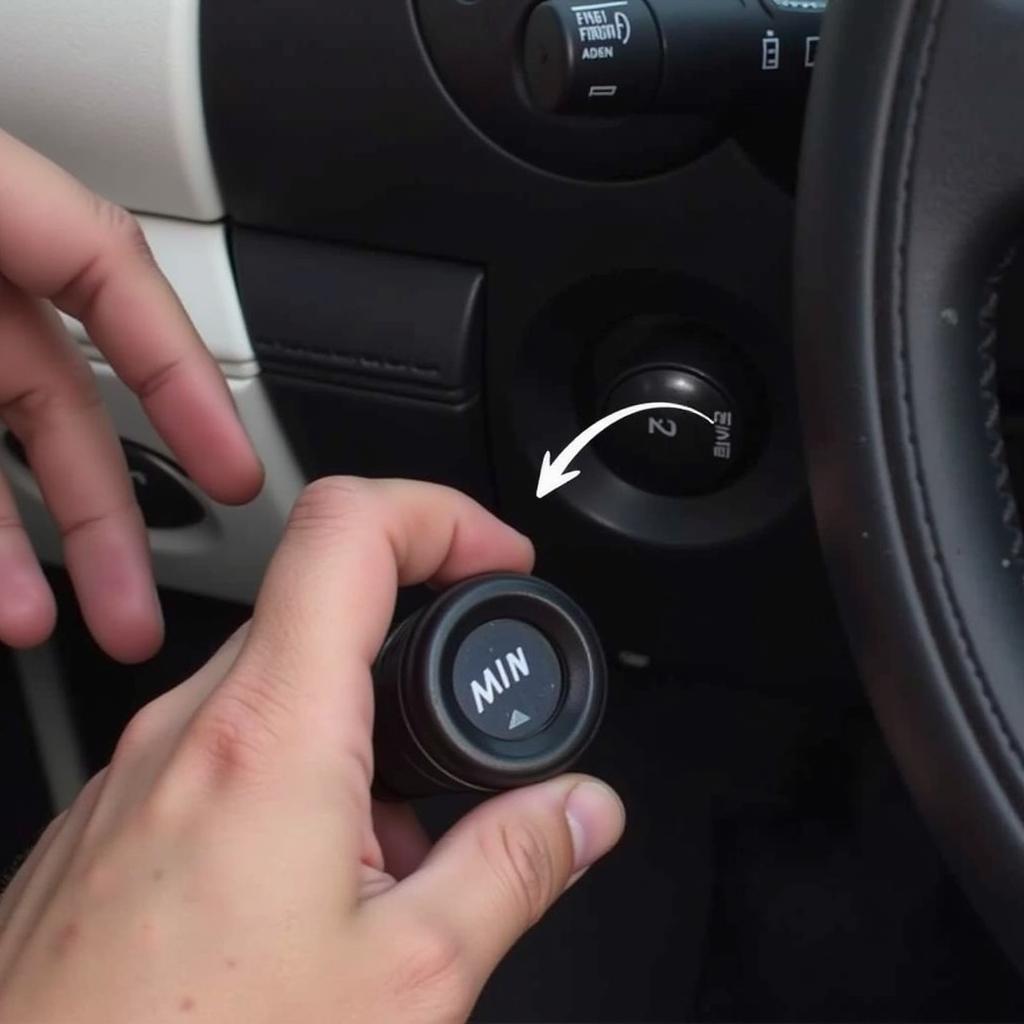 Checking Brake Fluid Level in a Mini Cooper
What to Do When the Light Comes On
If the brake pad warning light comes on, follow these steps:
- Pull Over Safely: As soon as it’s safe, pull your Mini over to the side of the road and come to a complete stop.
- Assess the Situation: Determine if it’s safe to continue driving or if you need to call for roadside assistance. If you hear grinding noises when applying the brakes or notice a significant decrease in braking performance, do not continue driving.
- Check Your Owner’s Manual: Your Mini’s owner’s manual will provide specific instructions on how to address the brake pad warning light. It will also tell you the recommended brake pad replacement interval for your specific model.
Resetting the Brake Pad Warning Light
After replacing your brake pads or addressing the underlying issue, you’ll need to reset the brake pad warning light. While the process might vary slightly depending on the year and model of your Mini, here’s a general procedure:
- Turn the Ignition Off: Make sure your Mini’s engine is off and the key is removed from the ignition.
- Locate the Reset Button: The brake pad warning light reset button is typically located under the dashboard, near the steering column or behind the glove compartment. Consult your owner’s manual for the exact location.
- Press and Hold the Reset Button: While pressing and holding the reset button, turn the ignition on but don’t start the engine.
- Continue Holding the Button: Keep holding the reset button until the brake pad warning light turns off. This usually takes a few seconds.
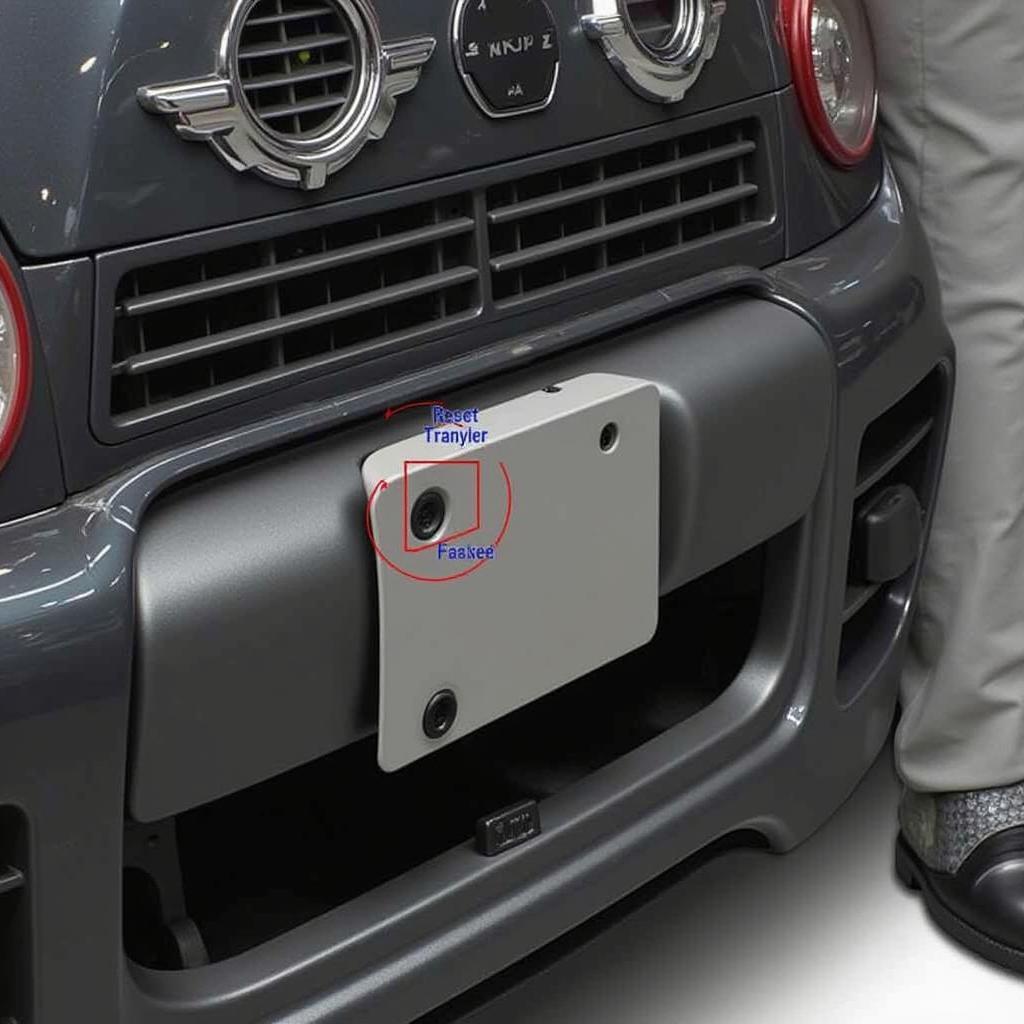 Resetting the Brake Pad Warning Light in a Mini
Expert Insight from John Miller, Automotive Technician at Bavarian Autohaus:
“Always use high-quality brake pads that meet or exceed your Mini’s specifications. When in doubt about your braking system, it’s best to have it inspected by a qualified mechanic to ensure optimal performance and safety.”
Preventive Maintenance
Preventing brake pad warning light issues is always better than dealing with them after the fact. Here are a few proactive steps you can take:
- Regular Brake Inspections: Have your brakes inspected by a qualified mechanic at least once a year or as recommended by your Mini’s maintenance schedule.
- Brake Fluid Flush: Flush your brake fluid every 2-3 years or as recommended in your owner’s manual. Fresh brake fluid helps maintain optimal braking performance and prevents corrosion within the system.
- Avoid Riding the Brakes: Constantly riding your brakes generates excessive heat, leading to premature wear. Anticipate stops and coast to a stop whenever possible.
Frequently Asked Questions
Q: Can I drive my Mini with the brake pad warning light on?
A: It’s not recommended to drive your Mini with the brake pad warning light illuminated, especially if you hear grinding noises or experience reduced braking performance. Driving with worn brake pads can damage the rotors and compromise your safety.
Q: How long can I drive with the brake pad warning light on?
A: There’s no definitive answer to how long you can drive with the brake pad warning light on, as it depends on the severity of the wear and your driving conditions. As a rule of thumb, it’s best to address the issue as soon as possible.
Q: How much does it cost to replace brake pads on a Mini?
A: The cost of brake pad replacement varies depending on the model year of your Mini, the type of brake pads you choose, and labor costs in your area. Generally, you can expect to pay between $150 and $300 per axle.
Q: Can I replace my Mini’s brake pads myself?
A: While replacing brake pads is a relatively straightforward DIY job for those with mechanical experience, it’s generally recommended to have this service performed by a qualified mechanic, especially if you’re not comfortable working on your car’s braking system.
Q: How often should I replace my Mini’s brake pads?
A: The lifespan of brake pads varies widely depending on driving habits, road conditions, and brake pad quality. However, it’s a good idea to have them checked at least once a year and replaced every 25,000-70,000 miles.
Q: Why is my brake pad warning light still on after replacing the pads?
A: If the brake pad warning light remains on after replacing the pads, it could be due to a faulty sensor, improper installation, or another issue within the braking system.
Q: What should I do if the brake pad warning light comes on again shortly after replacing the pads?
A: If the warning light reappears soon after replacing the pads, have your braking system inspected by a qualified mechanic to identify and address the root cause.
Conclusion
The brake pad warning light in your Mini Cooper plays a vital role in keeping you safe on the road. By understanding its significance, knowing how to diagnose the problem, and taking preventive measures, you can ensure your Mini’s braking system remains in top condition. If you’re ever unsure about any aspect of your Mini’s brakes, don’t hesitate to seek assistance from a qualified mechanic. Safe driving!