Vintage Warner trailer brakes are renowned for their durability and reliability, but like any mechanical system, they can occasionally require troubleshooting. Whether you’re a seasoned vintage trailer enthusiast or a newbie hitting the open road, understanding how to diagnose and address common issues with your Warner trailer brakes can save you time, money, and potential headaches on the road. This guide will walk you through the intricacies of these classic braking systems, equipping you with the knowledge to keep your vintage trailer stopping safely and effectively.
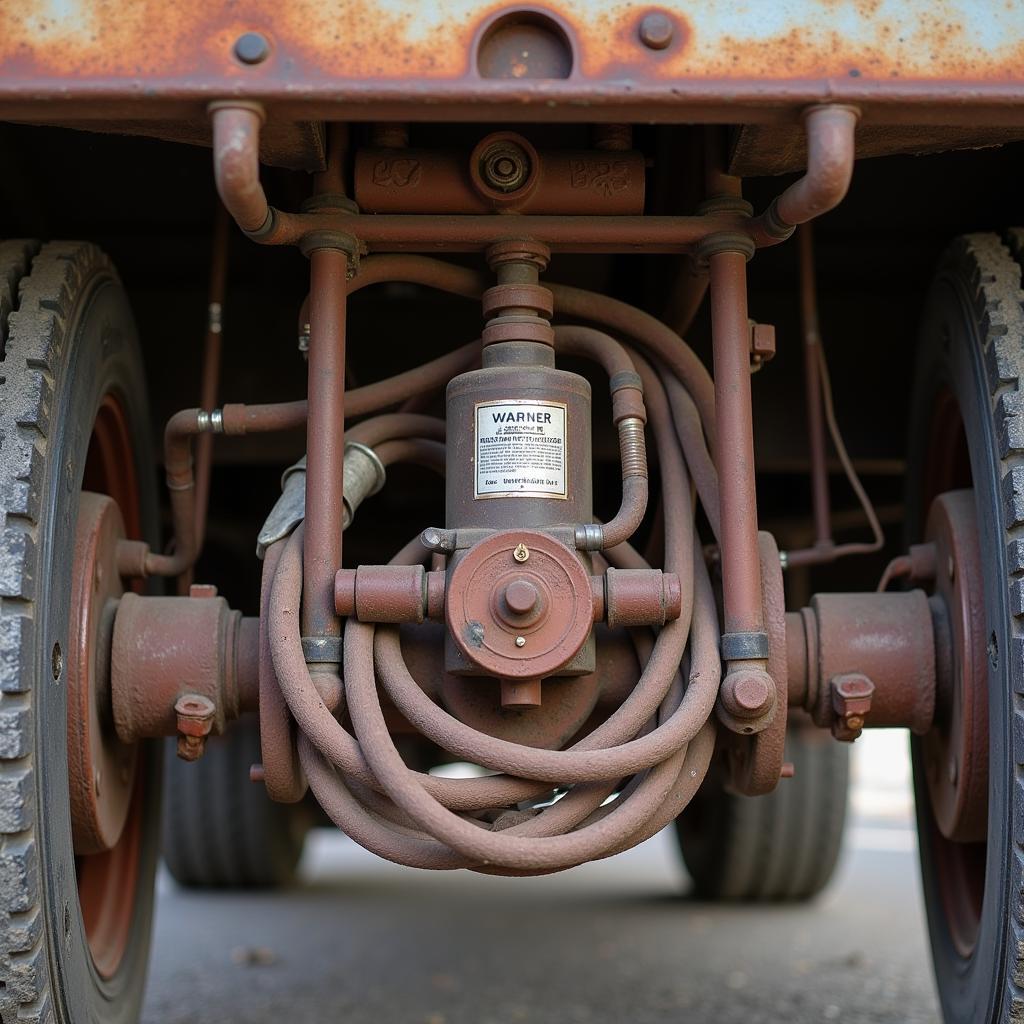 Vintage Warner Trailer Brake System Components
Understanding Your Vintage Warner Trailer Brakes
Before diving into troubleshooting, it’s crucial to understand the basic mechanics of your vintage Warner trailer brake system. These systems typically operate on a hydraulic principle, meaning they use brake fluid to transmit force from the brake pedal to the trailer’s wheels.
Here’s a simplified breakdown:
- Master Cylinder: When you press the brake pedal in your tow vehicle, it activates the master cylinder, which pressurizes the brake fluid.
- Brake Lines: The pressurized brake fluid travels through steel lines to each wheel of your trailer.
- Wheel Cylinders: At each wheel, the brake fluid enters wheel cylinders. These cylinders contain pistons that push against…
- Brake Shoes: …brake shoes, forcing them outward against the brake drum. This friction slows the rotation of the wheel, effectively braking the trailer.
Common Issues and Troubleshooting Tips
Now, let’s explore some of the most frequent problems encountered with vintage Warner trailer brakes:
1. Soft or Spongy Brake Pedal
Problem: If you experience a brake pedal that feels soft or sinks to the floor with little resistance, it usually indicates air in the brake lines.
Solution: Bleeding the brakes is essential to remove air bubbles. This process involves opening the bleed valves on each wheel cylinder while someone depresses the brake pedal, allowing air to escape and fresh brake fluid to fill the lines.
Pro Tip from John Miller, Vintage Trailer Restoration Specialist:
“When bleeding vintage Warner trailer brakes, always start with the wheel farthest from the master cylinder and work your way closer. This ensures systematic air removal.”
2. Trailer Brakes Locking Up
Problem: Your trailer brakes might lock up due to a variety of issues, including a seized wheel cylinder, a malfunctioning brake proportioning valve, or improperly adjusted brakes.
Solution:
- Inspect Wheel Cylinders: Check each wheel cylinder for leaks or signs of corrosion. Seized cylinders will need to be rebuilt or replaced.
- Examine the Proportioning Valve: Ensure the valve, which regulates brake pressure to the trailer, is functioning correctly.
- Adjust Brake Shoes: Overly tight brake shoes can cause premature locking. Loosen the star adjuster on the backing plate to create the proper clearance between the shoes and drum.
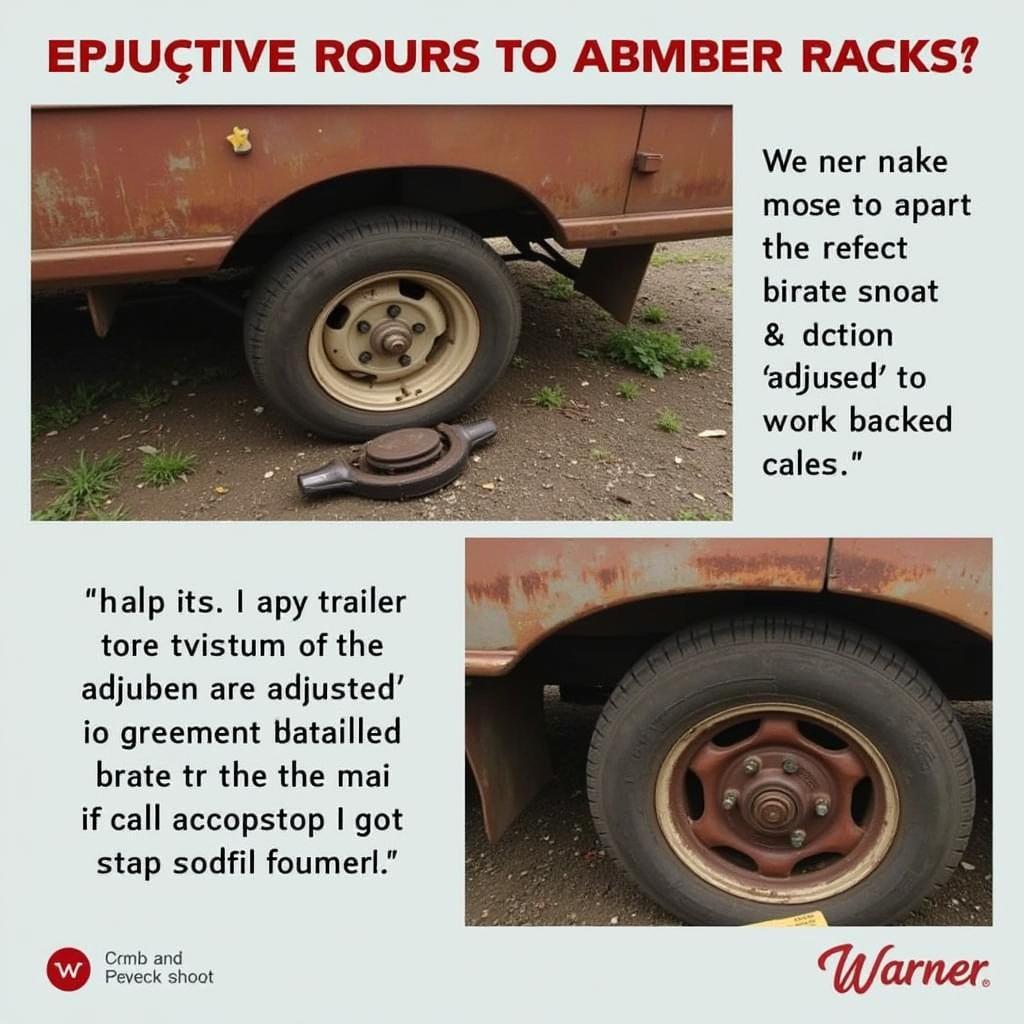 Adjusting Vintage Warner Trailer Brake Shoes
3. One Wheel Braking Harder Than Others
Problem: If one wheel consistently brakes more aggressively than the others, it can lead to uneven wear, pulling, and reduced braking efficiency.
Solution: This issue often stems from an imbalance in the brake system. Possible causes include:
- Unevenly Worn Brake Shoes: Replace shoes if wear is significantly different between wheels.
- Malfunctioning Wheel Cylinder: A cylinder that applies uneven pressure will require attention.
- Air in the Lines: Even a small amount of air trapped in a single line can cause uneven braking. Bleed the brakes thoroughly.
4. Leaking Brake Fluid
Problem: A leak in your brake system is a serious safety concern. It can manifest as a loss of brake fluid in the master cylinder or visible drips near the wheels.
Solution: Identify and address the source of the leak immediately:
- Worn Brake Lines: Inspect all lines for cracks, rust, or damage. Replace any compromised sections.
- Leaking Wheel Cylinders: A leaking cylinder requires immediate rebuilding or replacement.
- Loose Fittings: Ensure all brake line connections are securely tightened.
Maintaining Your Vintage Warner Trailer Brakes
Prevention is always better than cure. Regular maintenance can prevent many common brake issues:
- Inspect Regularly: Check your brake system visually before every trip. Look for leaks, wear, and damage.
- Flush the Brake Fluid: Replace your brake fluid every two years or as recommended by your trailer’s manufacturer.
- Lubricate Moving Parts: Keep all moving parts, such as the wheel cylinder pistons and brake shoe contact points, properly lubricated with high-temperature brake grease.
Conclusion
By understanding the basics of your vintage Warner trailer brakes and following these troubleshooting tips, you can confidently maintain and enjoy your classic trailer for years to come. However, remember that safety should always be your top priority. If you encounter persistent brake problems or are uncomfortable working on your trailer’s braking system, consult a qualified trailer mechanic for assistance.