A faulty parking brake warning switch can be a nuisance, triggering a persistent warning light on your dashboard even when your parking brake isn’t engaged. This issue not only creates unnecessary distraction but can also mask potential problems with your braking system. The good news is that replacing the parking brake warning switch is often a straightforward task that you can tackle yourself with a few basic tools. This comprehensive guide will walk you through the process, equipping you with the knowledge to confidently diagnose and replace your parking brake warning switch.
Understanding the Parking Brake Warning Switch
Before we delve into the replacement process, it’s crucial to understand the role of the parking brake warning switch. This small but vital component acts as a safety mechanism, alerting you if the parking brake is not fully released or if there’s an issue within the system. Typically located near the parking brake pedal or lever, the switch works by detecting the position of the parking brake and sending a signal to the dashboard.
A malfunctioning switch can send false signals, leading to a perpetually illuminated warning light. This could be due to a faulty switch itself, damaged wiring, or issues with the parking brake mechanism.
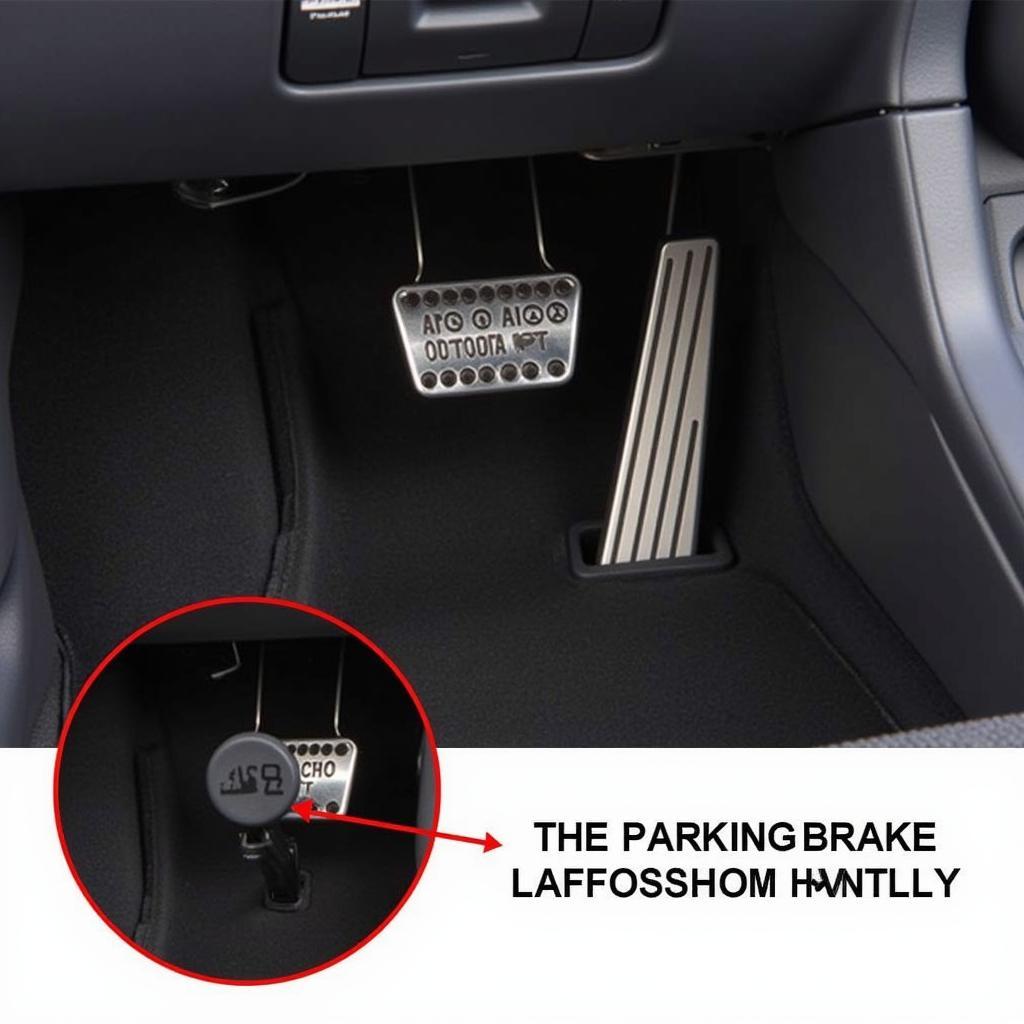 Parking Brake Warning Switch Location
Common Signs of a Failing Parking Brake Warning Switch
Recognizing the symptoms of a failing parking brake warning switch is crucial for early diagnosis and repair. Here are some common indicators:
- Illuminated Parking Brake Warning Light: The most obvious sign is a constantly illuminated parking brake warning light on your dashboard, even when the parking brake is fully disengaged.
- Intermittent Warning Light: The warning light may flicker or turn on and off intermittently, indicating a loose connection or a failing switch.
- No Warning Light: In some cases, the warning light might not illuminate at all, even when the parking brake is engaged. This suggests a complete failure of the switch or its wiring.
If you experience any of these symptoms, it’s essential to inspect your parking brake system and consider replacing the warning switch.
Tools and Materials You’ll Need
Before you begin the replacement process, gather the necessary tools and materials:
- New parking brake warning switch: Ensure you purchase the correct switch compatible with your vehicle’s make, model, and year.
- Socket set and ratchet: For removing the bolts securing the switch.
- Screwdrivers (Phillips and flathead): Depending on your vehicle model, you may need these for accessing the switch.
- Pliers: Useful for disconnecting wiring harnesses.
- Work gloves: For protecting your hands.
- Safety glasses: To protect your eyes from debris.
 Tools for Replacing Parking Brake Switch
Step-by-Step Guide to Replace a Parking Brake Warning Switch
Step 1: Disconnect the Battery
Locate your vehicle’s battery and disconnect the negative terminal. This crucial safety step prevents accidental electrical shorts during the replacement process.
Step 2: Locate the Parking Brake Warning Switch
The switch is typically located under the dashboard near the parking brake pedal or lever. You may need to consult your vehicle’s repair manual for its exact location.
Step 3: Disconnect the Wiring Harness
Carefully disconnect the wiring harness connected to the parking brake warning switch. Use pliers if necessary, and take note of the connector’s orientation for reinstallation.
Step 4: Remove the Old Switch
Depending on your vehicle model, the switch may be secured with bolts or clips. Use the appropriate tools (socket set or screwdrivers) to loosen and remove these fasteners.
Step 5: Install the New Switch
Align the new parking brake warning switch with the mounting points and secure it using the removed bolts or clips. Ensure the switch is properly seated and tightened.
Step 6: Reconnect the Wiring Harness
Carefully reconnect the wiring harness to the new switch, ensuring it’s securely fastened and aligned correctly.
Step 7: Reconnect the Battery
Reconnect the negative battery terminal you disconnected earlier.
Step 8: Test the New Switch
Turn on the ignition and check if the parking brake warning light illuminates when the parking brake is engaged and turns off when released. If the light functions correctly, you’ve successfully replaced the switch.
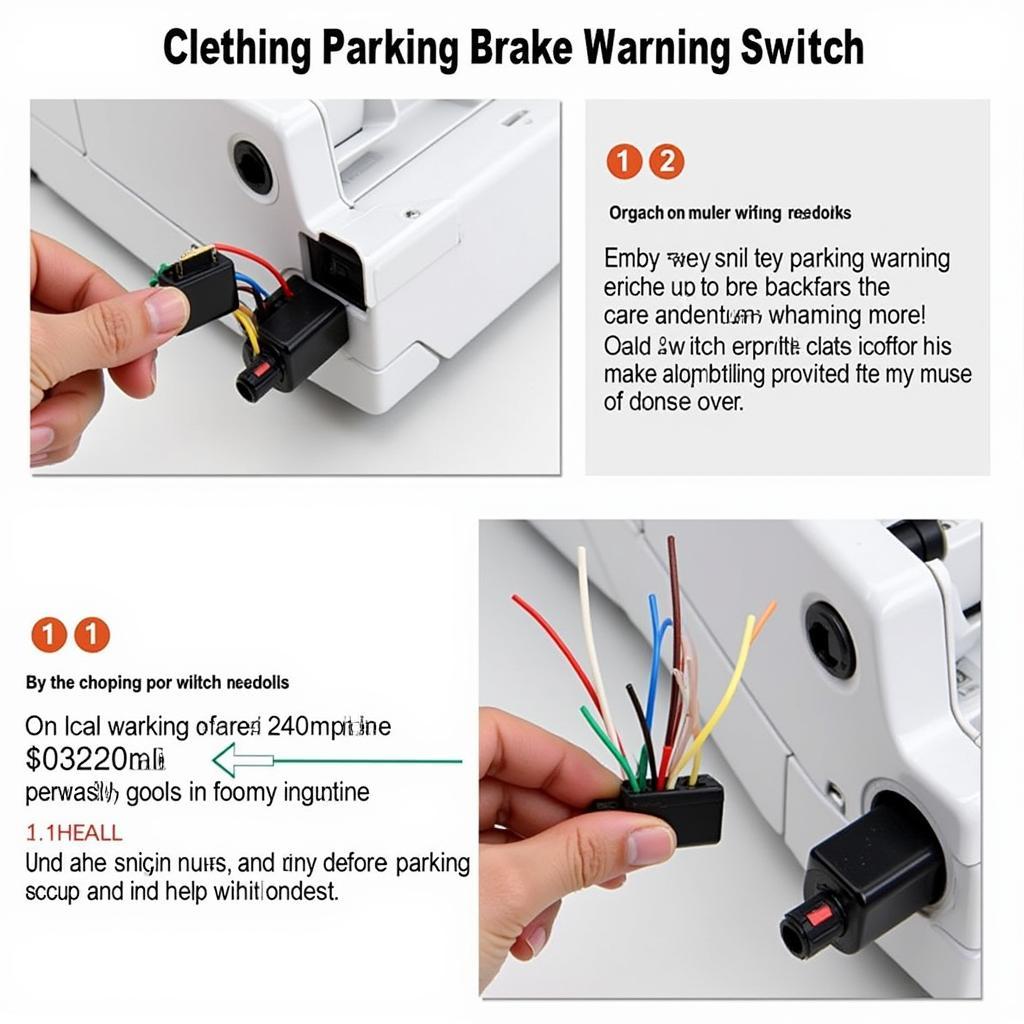 Installing New Parking Brake Warning Switch
When to Seek Professional Help
While replacing a parking brake warning switch is often a DIY-friendly task, certain situations warrant professional assistance. If you encounter any of the following, consider taking your vehicle to a qualified mechanic:
- Difficulty accessing the switch: Some vehicle models have complex designs that may require specialized tools or knowledge to access the switch.
- Extensive wiring damage: If you notice damaged or corroded wiring connected to the switch, it’s best to have a professional assess the situation.
- Uncertainty about compatibility: If you’re unsure about the correct replacement switch for your vehicle, a mechanic can help you source the right part.
Tips for Maintaining Your Parking Brake System
Regular maintenance can prolong the lifespan of your parking brake system and prevent premature component failure. Here are some helpful tips:
- Engage the parking brake regularly: Even when parked on level ground, engaging the parking brake helps maintain its functionality.
- Inspect the parking brake cable: Periodically inspect the parking brake cable for signs of wear, fraying, or damage.
- Lubricate moving parts: Applying lubricant to the parking brake mechanism’s moving parts can reduce friction and prevent premature wear.
Conclusion
Replacing a faulty parking brake warning switch is a manageable repair that can save you time and money at the mechanic. By following this comprehensive guide, you can confidently diagnose the issue and replace the switch yourself. Remember to prioritize safety by disconnecting the battery before starting the repair and always refer to your vehicle’s repair manual for specific instructions. With a bit of patience and the right tools, you can keep your parking brake system functioning optimally and ensure your safety on the road.