A brake lamp warning light illuminating on your dashboard is a clear signal that something is amiss with your vehicle’s braking system. While it might seem like a minor annoyance, ignoring this warning could lead to dangerous driving conditions for you and others on the road. As an expert in automotive electrical engineering specializing in remote diagnostics, programming, and software installations, I’m here to guide you through understanding and resolving this common car issue.
Common Causes of a Brake Lamp Warning Light
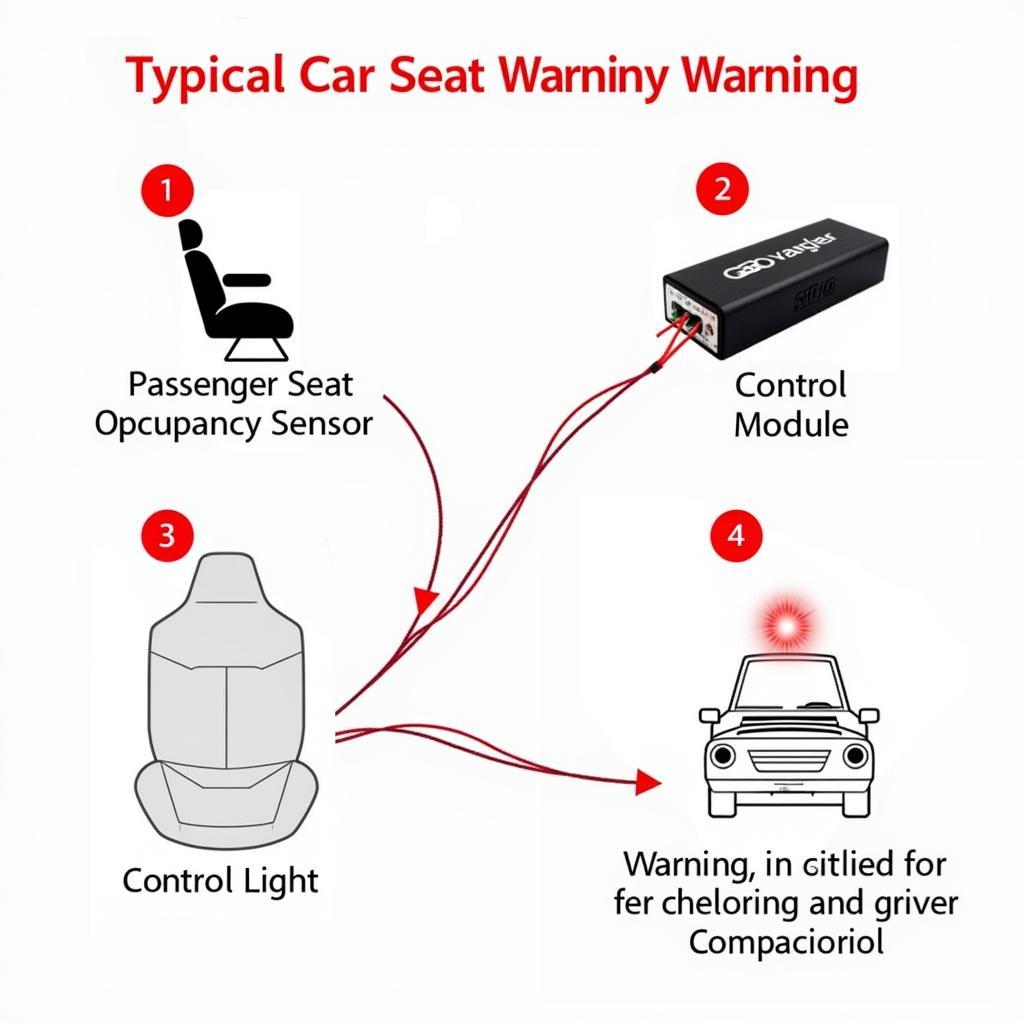
There are several reasons why your brake lamp warning light might be on. These range from simple bulb failures to more complex electrical issues. Let’s explore some of the most common culprits:
1. Burnt Out Bulb: The most frequent cause is a simple one – a burnt-out brake light bulb. Brake light bulbs, like any other bulb, have a limited lifespan and will eventually need replacing.
2. Blown Fuse: Your car’s electrical system relies on fuses to protect delicate components. A blown fuse dedicated to the brake light circuit can cause the warning light to turn on.
3. Faulty Brake Light Switch: The brake light switch, usually located near the brake pedal, activates your brake lights when you press the pedal. A malfunctioning switch can disrupt this signal, leading to the warning light.
4. Wiring Problems: Damaged or corroded wiring within the brake light circuit can interrupt the flow of electricity, causing the brake lights to malfunction and the warning light to activate.
5. Trailer Wiring Issues: If you frequently tow a trailer, problems with the trailer wiring, particularly the connection to your vehicle, can affect the brake light system.
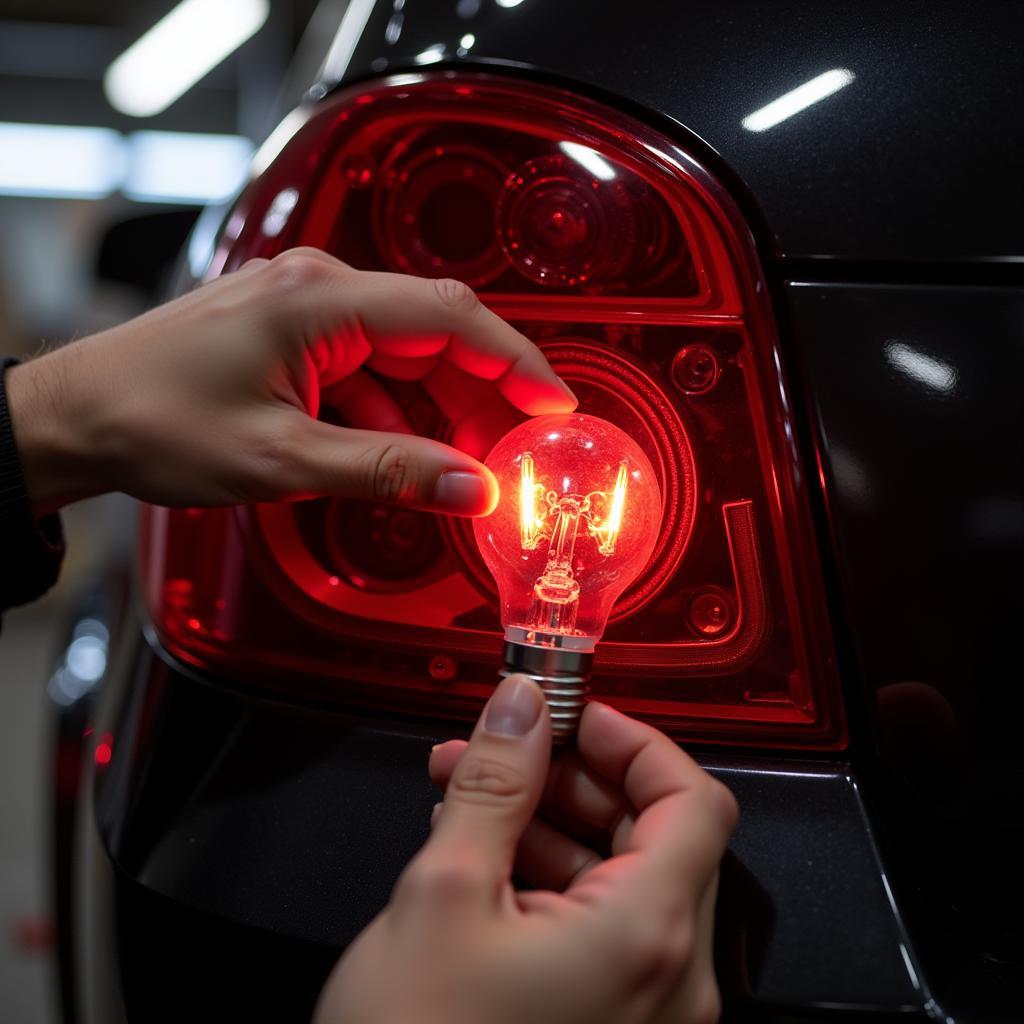 Replacing a Brake Light Bulb
Diagnosing the Problem
Identifying the root cause of the brake lamp warning light is crucial for a proper fix. Here’s a step-by-step approach to help you diagnose the issue:
1. Visual Inspection: Begin by visually inspecting all your brake lights, including the high-mounted brake light if your vehicle has one. Look for burnt-out bulbs or bulbs that appear dim.
2. Check the Fuse: Consult your vehicle’s owner’s manual to locate the fuse box and identify the fuse associated with the brake lights. Inspect the fuse for any signs of damage or a blown element.
3. Test the Brake Light Switch: If the bulbs and fuse appear fine, the brake light switch is the next suspect. You can test the switch with a multimeter or by carefully bypassing it to see if the brake lights illuminate.
4. Inspect the Wiring: Trace the wiring harness connected to your brake lights, looking for any signs of damage, fraying, or corrosion. Pay close attention to areas where the wiring might rub against sharp edges.
“It’s always a good idea to start with the simplest and most obvious solutions,” says automotive electrician John Miller. “Often, a simple bulb replacement or fuse change is all it takes. However, if you’re uncomfortable working with electrical components, seeking professional help is always recommended.”
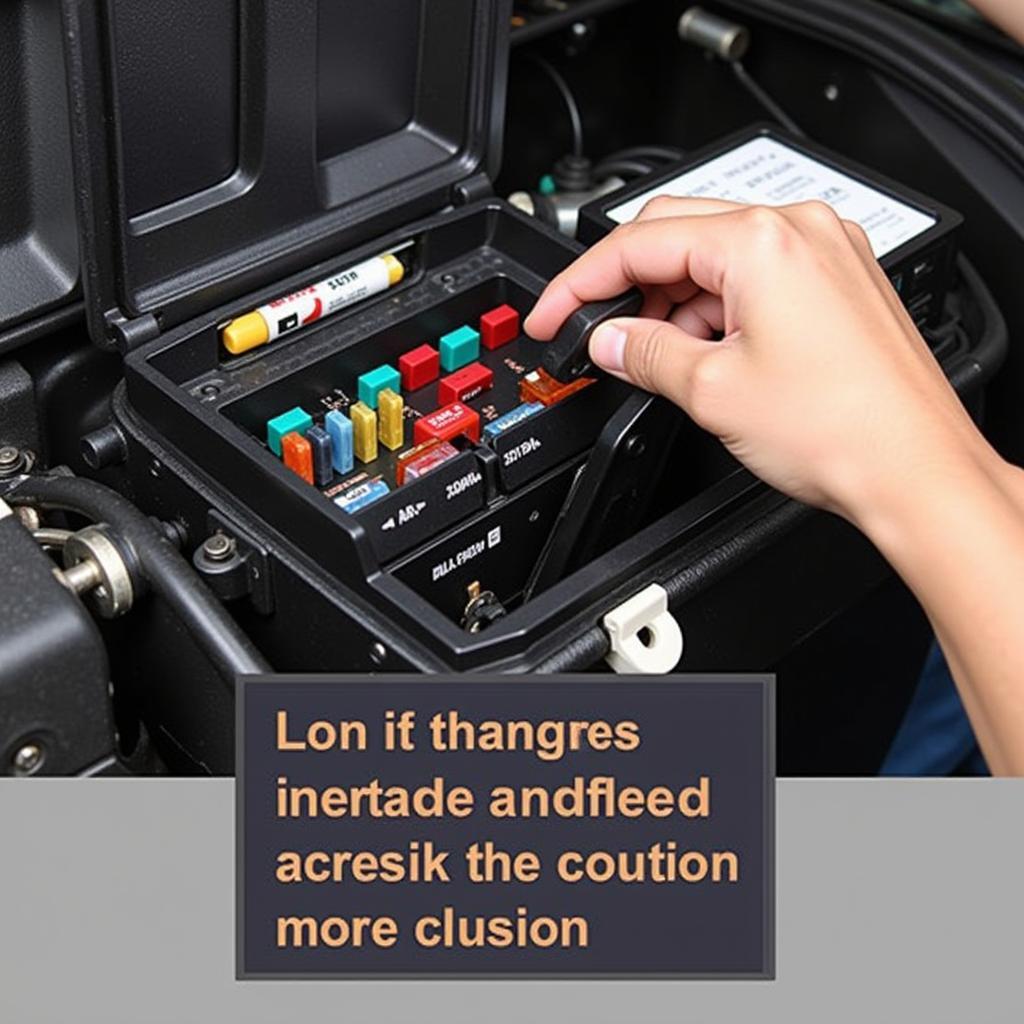 Inspecting a Car Fuse Box
Fixing the Issue: DIY or Professional Help?
Once you’ve diagnosed the problem, you can decide whether it’s a DIY fix or if professional help is needed. Simple tasks like replacing a bulb or fuse are often manageable for car owners with basic mechanical skills. However, issues with the brake light switch or wiring may require the expertise of a qualified mechanic, especially if you’re not comfortable working with electrical components.
Importance of Addressing the Issue Promptly
Remember, a functioning brake light system is crucial for your safety and the safety of others. Driving with a faulty brake light system increases the risk of accidents, especially rear-end collisions.
ford-transit-brake-pad-warning-light-fuse
Preventing Future Issues
While some issues are unavoidable due to wear and tear, here are some preventative measures to minimize future brake lamp warnings:
- Regularly inspect your brake lights: Make it a habit to check your brake lights periodically for any signs of malfunction.
- Replace bulbs proactively: Consider replacing your brake light bulbs every two years or 25,000 miles, even if they haven’t burnt out yet.
- Address moisture issues: Regularly check for any signs of moisture or condensation in your tail light assemblies and address them promptly to prevent corrosion.
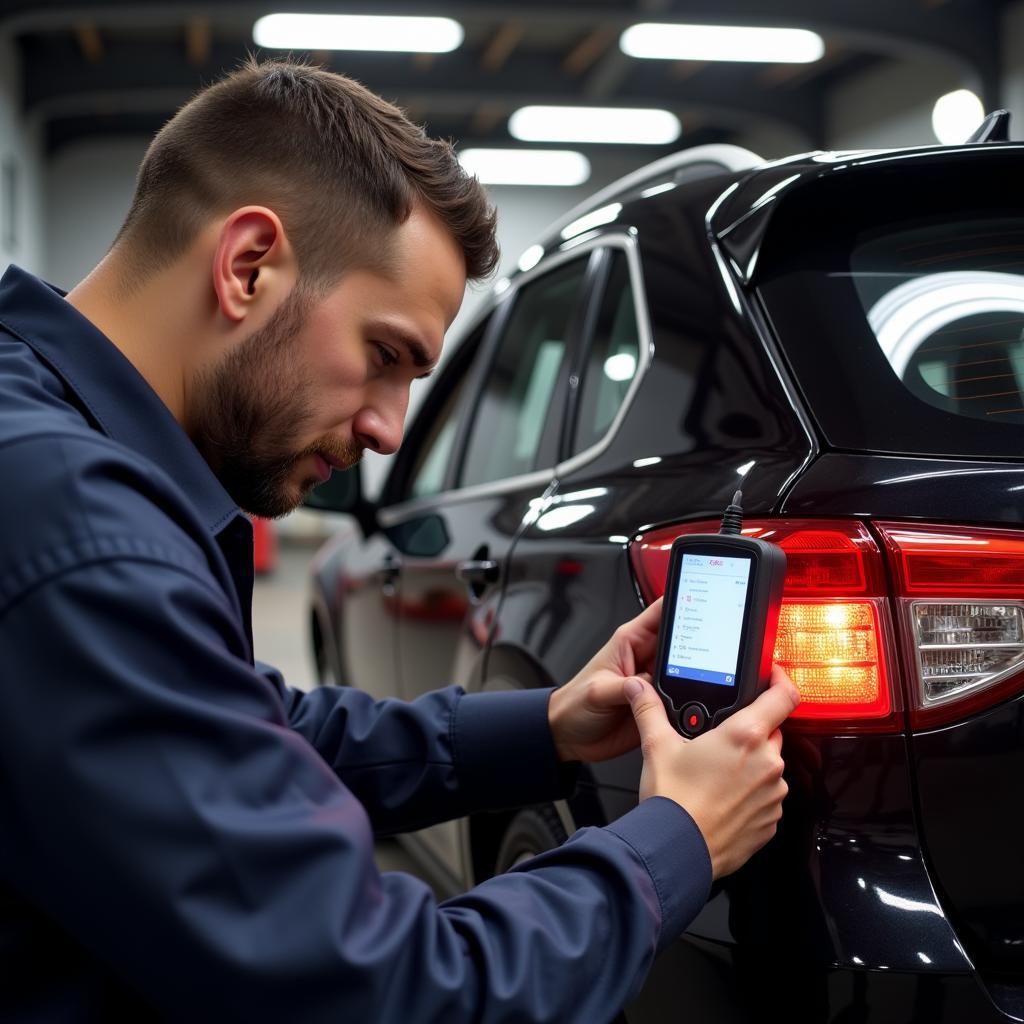 Mechanic Inspecting Brake Lights
Conclusion
A brake lamp warning light should never be ignored. By understanding the potential causes and following the diagnostic steps outlined above, you can effectively address this issue and ensure a safer driving experience. Remember, if you’re unsure about any step of the process, seeking help from a qualified mechanic is always the safest option. Don’t compromise on safety – address brake lamp issues promptly to keep yourself and others safe on the road.