The 1969 Ford Thunderbird is a classic car known for its style and power. However, like any vehicle of its era, it can experience issues with its braking system. One common problem owners encounter is a malfunctioning brake pressure warning switch. This article provides a comprehensive guide to understanding, troubleshooting, and resolving issues related to the 1969 Ford Thunderbird brake pressure warning switch.
A brake pressure warning switch is a critical safety component that alerts drivers to a potential loss of hydraulic pressure in the braking system. If you notice the brake warning light illuminated on your dashboard, it indicates a problem that requires immediate attention.
Understanding the Brake Pressure Warning Switch
The brake pressure warning switch in your 1969 Ford Thunderbird is typically located on the brake master cylinder or along the hydraulic lines. Its primary function is to monitor the pressure within the brake system. When you press the brake pedal, the switch detects the increased pressure and remains closed. If a leak or other issue causes a pressure drop, the switch opens, completing a circuit that illuminates the brake warning light on the dashboard.
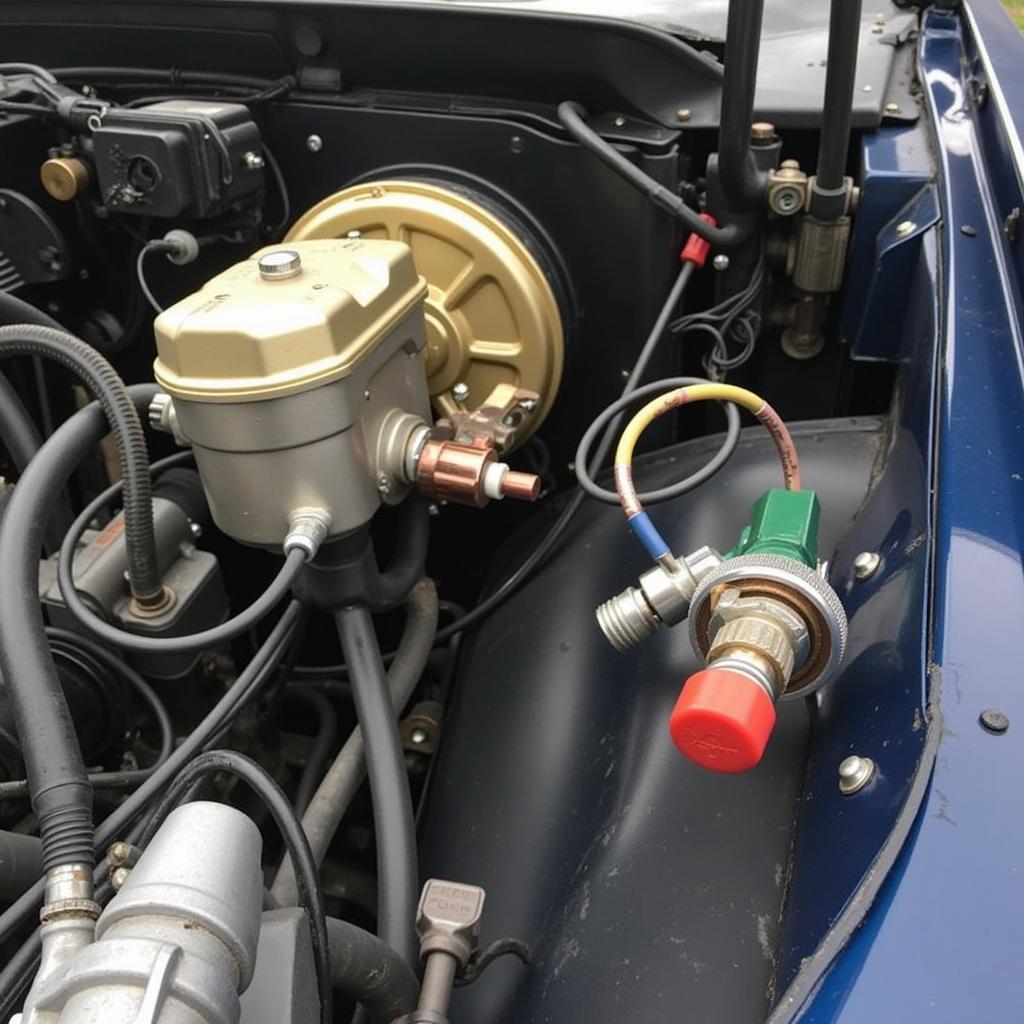 1969 Ford Thunderbird Brake Pressure Warning Switch Location
Common Symptoms of a Faulty Switch
While an illuminated brake warning light is the most obvious sign of a potential problem, other symptoms might indicate a faulty brake pressure warning switch:
- Intermittent brake warning light: The light may flicker or illuminate intermittently, even when the brake pedal is not engaged.
- Brake light staying on: The warning light remains illuminated even after you release the brake pedal.
- No brake warning light: Conversely, the light fails to illuminate even when there’s a noticeable drop in brake fluid or a suspected brake system issue.
Troubleshooting the Brake Pressure Warning Switch
Before replacing the brake pressure warning switch, it’s essential to perform some basic troubleshooting steps to ensure it’s the actual culprit:
- Check the brake fluid level: A low brake fluid level is often the primary cause of brake pressure issues. Inspect the brake fluid reservoir and add DOT 3 brake fluid if necessary.
- Inspect for brake fluid leaks: Thoroughly examine the brake lines, hoses, calipers, and wheel cylinders for any signs of leaks. Address any leaks before proceeding.
- Test the switch functionality: With the ignition off, disconnect the electrical connector from the brake pressure warning switch. Using a multimeter, check for continuity across the switch terminals. The switch should be open (no continuity) when the brake pedal is not pressed and closed (continuity) when the pedal is depressed.
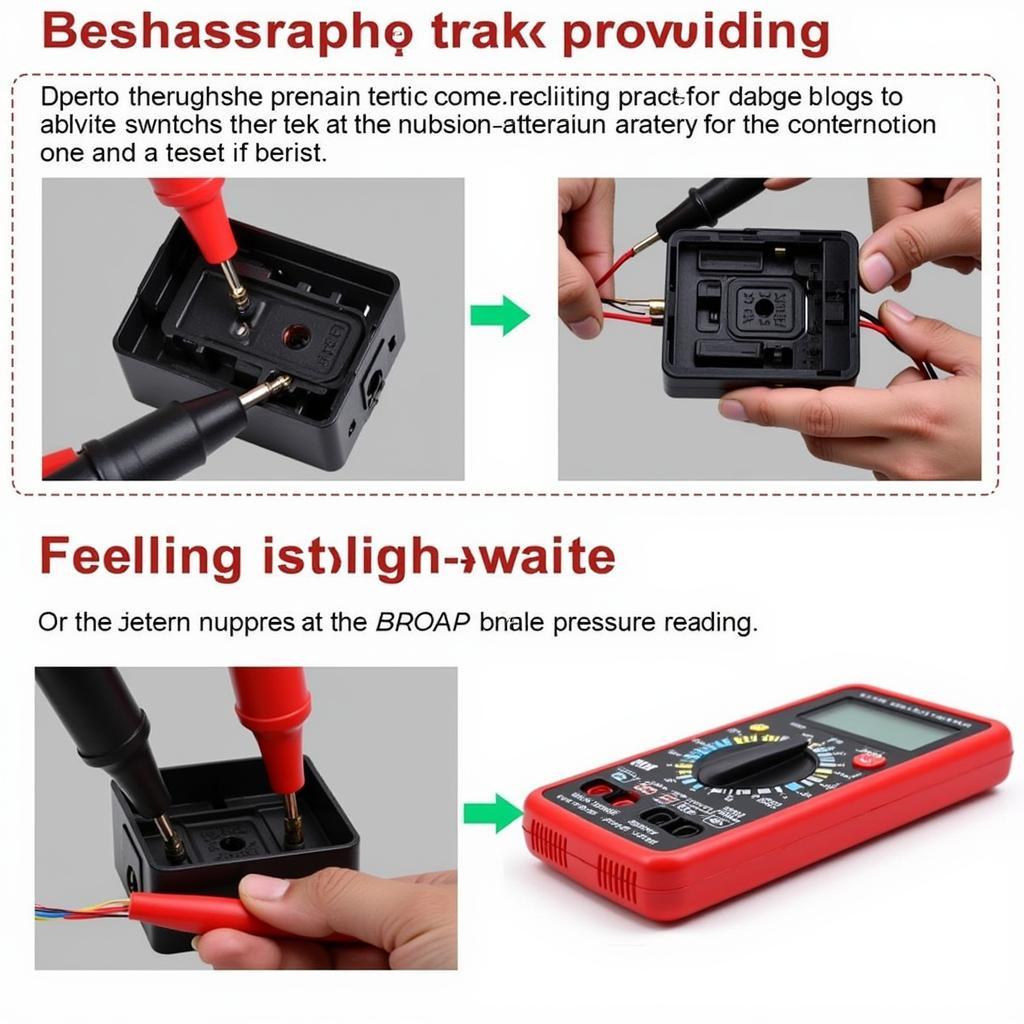 Testing the 1969 Ford Thunderbird Brake Pressure Warning Switch
Replacing the Brake Pressure Warning Switch
If the troubleshooting steps point to a faulty switch, replacement is relatively straightforward:
- Disconnect the battery: Disconnect the negative battery cable to prevent electrical shorts.
- Locate and remove the switch: Access the brake pressure warning switch and carefully disconnect the electrical connector. Use a wrench to loosen and remove the switch from its mounting point.
- Install the new switch: Apply a small amount of thread sealant to the threads of the new switch and carefully thread it into the mounting point. Tighten securely but avoid over-tightening.
- Reconnect the electrical connector: Reattach the electrical connector to the new switch.
- Refill and bleed the brake system: If necessary, top off the brake fluid and bleed the brake system to remove any air that may have entered.
“Always remember,” cautions John Miller, a seasoned automotive engineer specializing in classic car restorations, “that safety is paramount when working with brake systems. If you’re unsure about any step in the process, it’s always best to consult a qualified mechanic.”
Conclusion
A malfunctioning brake pressure warning switch should never be ignored. By understanding how the switch operates, recognizing the symptoms of a faulty switch, and following the troubleshooting and replacement steps outlined above, you can help ensure the safety and reliability of your 1969 Ford Thunderbird’s braking system.
 New Brake Pressure Warning Switch Installed
Frequently Asked Questions
Q: Can I drive my car with a faulty brake pressure warning switch?
A: While you might technically be able to drive a short distance, it’s highly discouraged. Driving with a faulty switch compromises your safety as you won’t receive timely warnings about potential brake system failures.
Q: How often should I replace the brake pressure warning switch?
A: The brake pressure warning switch isn’t a regularly scheduled maintenance item. It’s typically replaced when it malfunctions or shows signs of failure.
Q: What type of brake fluid does a 1969 Ford Thunderbird use?
A: The 1969 Ford Thunderbird uses DOT 3 brake fluid. Using the correct type of brake fluid is crucial for optimal braking system performance and longevity.
Q: Can I test the brake pressure warning switch without a multimeter?
A: While a multimeter provides the most accurate way to test for continuity, you might be able to perform a rudimentary check by bridging the switch terminals with a piece of wire while the ignition is on. However, this method is less reliable and not recommended as a primary diagnostic tool.
Q: Where can I find a replacement brake pressure warning switch for my 1969 Ford Thunderbird?
A: Replacement brake pressure warning switches can be purchased from various sources, including auto parts stores, online retailers specializing in classic car parts, and even directly from Ford dealerships.