The dreaded brake pad warning light on your Mini Cooper dashboard can be a cause for concern. But don’t panic just yet! While it usually signals worn brake pads requiring replacement, it can sometimes be triggered prematurely. This comprehensive guide will walk you through the steps to reset your Mini Cooper’s brake pad warning light, covering both scenarios: when it’s a genuine warning and when it’s a false alarm.
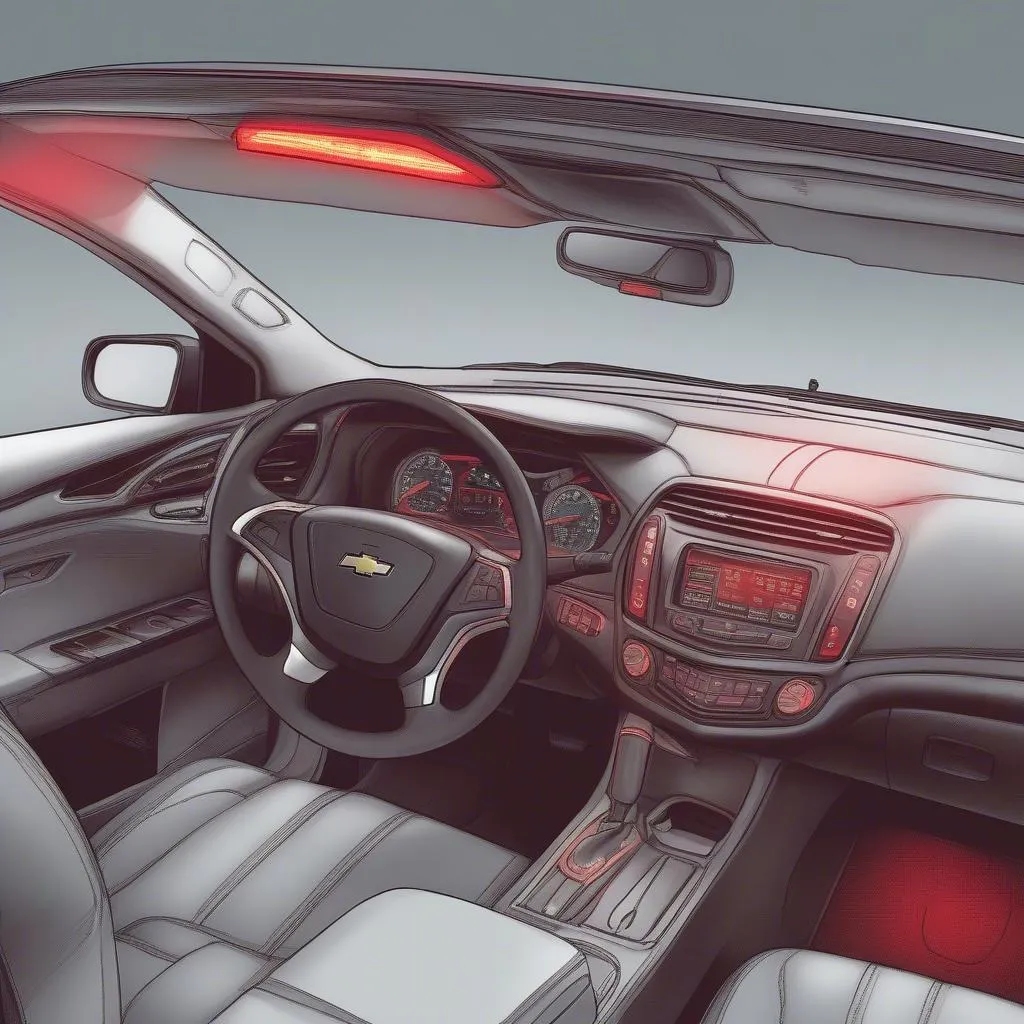
 Mini Cooper Dashboard Displaying Brake Pad Warning Light
Understanding Your Mini Cooper’s Brake Pad Sensor
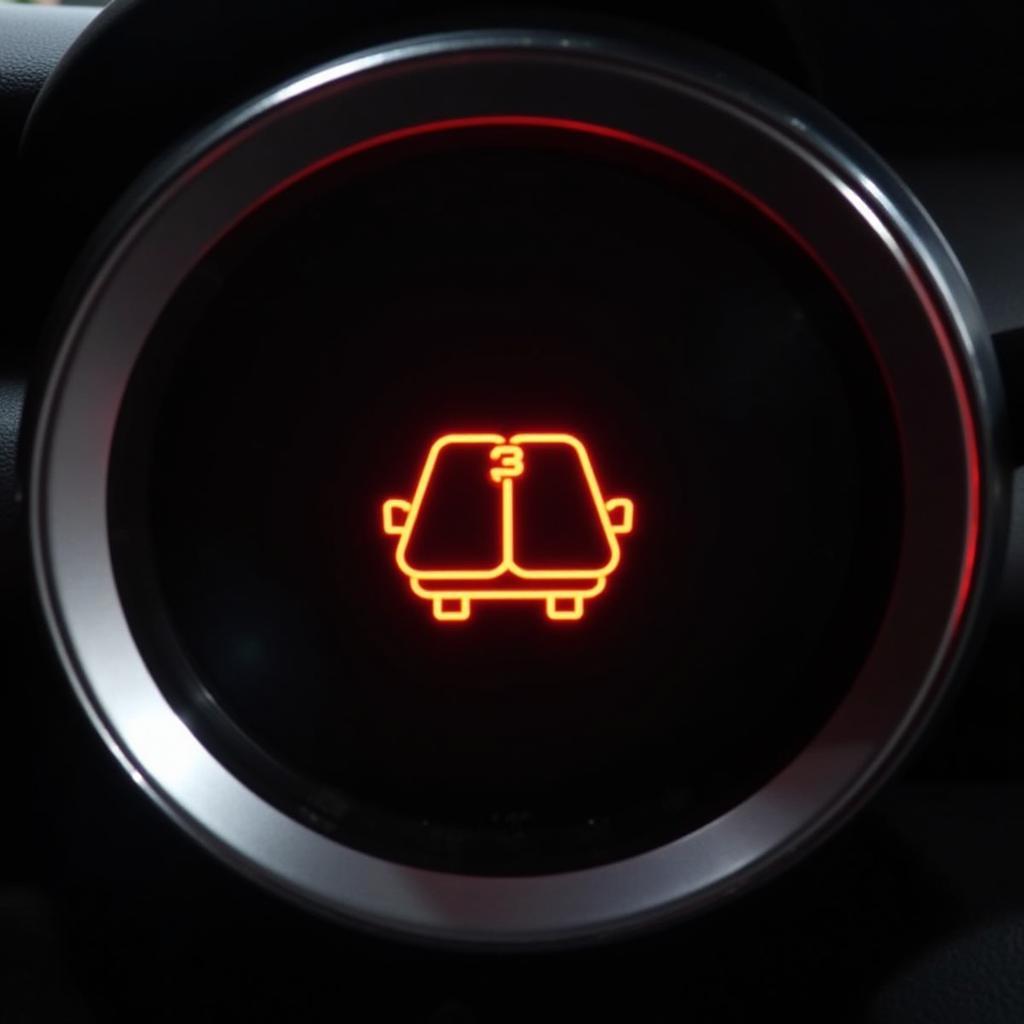
Before attempting a reset, it’s crucial to understand how your Mini Cooper’s brake pad wear sensor works. This tiny sensor, embedded within your brake pads, acts as an early warning system. When the brake pad material wears down to a certain level, the sensor comes into contact with the brake rotor, completing a circuit and illuminating the warning light on your dashboard.
When to Replace Your Brake Pads
If you see the brake pad warning light, the first step is to assess the condition of your brake pads.
Here’s how:
- Safety First: Park your Mini Cooper on a level surface and engage the parking brake.
- Locate the Brake Pads: Look behind your wheel. You’ll see the brake caliper, and nestled within it are the brake pads.
- Inspect the Pads: Look for a noticeable groove or indentation on the brake pad surface. The general rule of thumb is that if the pad material is less than ¼ inch thick, it’s time for a replacement.
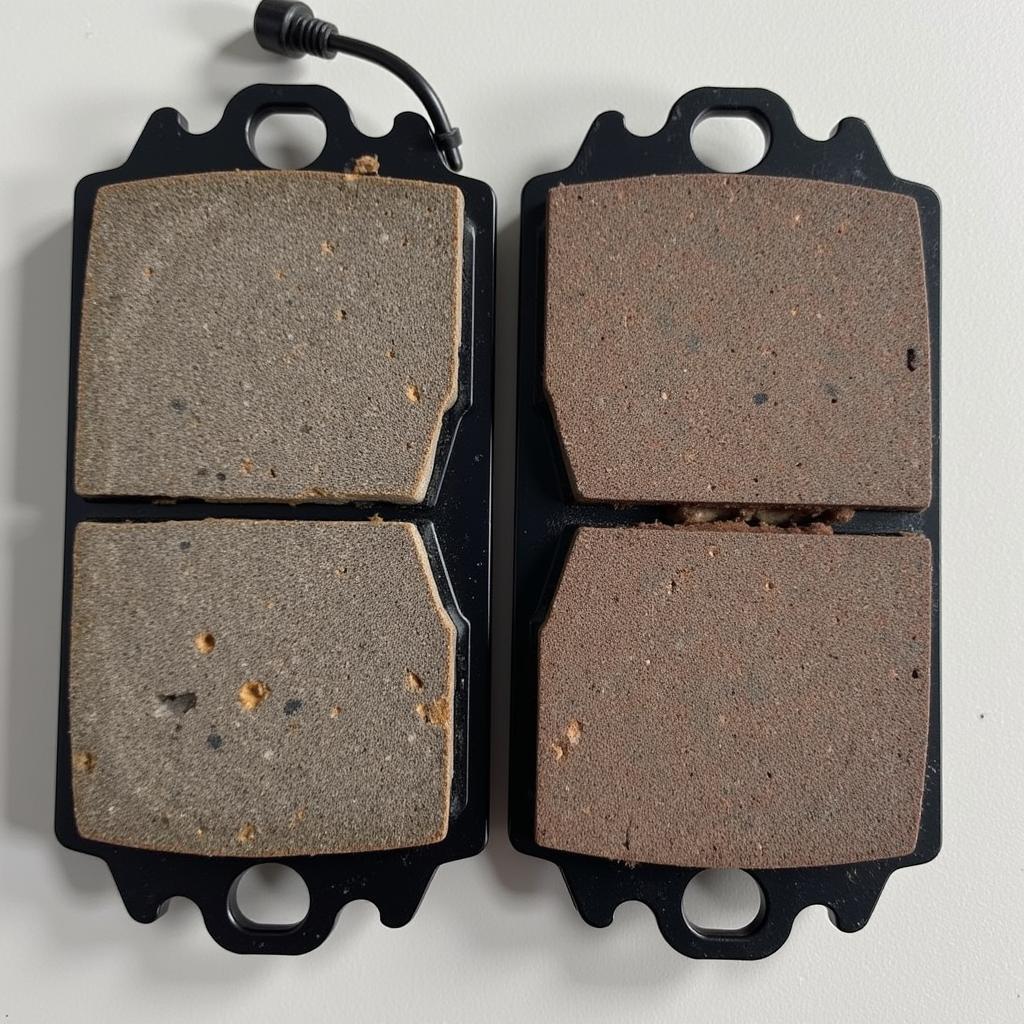 Worn Brake Pads on Mini Cooper
Important: Driving with severely worn brake pads is extremely dangerous and can lead to brake failure. If your inspection reveals significantly worn pads, seek professional help immediately.
Resetting the Brake Pad Warning Light After Replacement
If you’ve replaced your brake pads or confirmed they are not the issue, you can manually reset the warning light. Here’s a simple guide:
Method 1: Disconnecting the Battery
- Disconnect the Negative Terminal: Open the hood and disconnect the negative (black) terminal of your Mini Cooper’s battery.
- Wait: Allow the car to sit for at least 15 minutes. This will give the system enough time to reset.
- Reconnect: Reconnect the negative terminal to the battery.
- Confirm Reset: Turn on the ignition and check if the warning light has gone off.
Method 2: Using a Diagnostic Tool (Advanced)
For those comfortable with a bit more technical know-how, a specialized OBD2 diagnostic tool can be used to reset the brake pad warning light.
- Connect the Tool: Plug the OBD2 scanner into the diagnostic port located under the driver’s side dashboard.
- Access the Brake System: Follow the on-screen prompts to navigate to the brake system module.
- Reset the Light: Select the option to reset the brake pad warning light.
- Confirmation: The tool will confirm if the reset was successful.
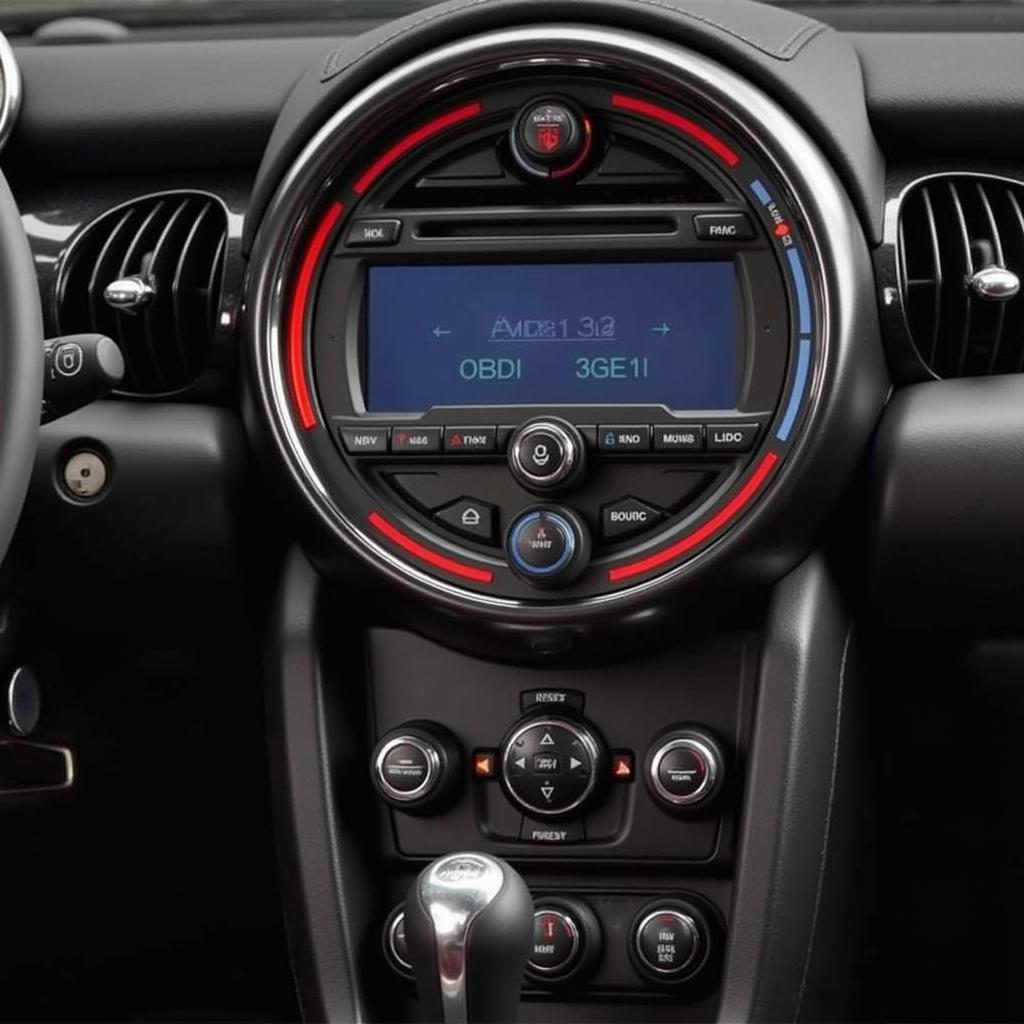 OBD2 Port Location in Mini Cooper
“It’s important to remember that while resetting the warning light yourself can be a temporary fix, it’s crucial to address the underlying issue. Ignoring a genuine brake pad warning can compromise your safety and lead to costly repairs down the line.” – John Miller, Senior Automotive Technician at Munich Motors
When a Reset Doesn’t Work
If the warning light persists even after replacing the brake pads or attempting a reset, there might be an underlying issue requiring professional attention. This could include:
- Faulty Brake Pad Sensor: The sensor itself might be damaged or malfunctioning, sending a false signal.
- Wiring Issues: Damaged or corroded wires connecting the sensor to the car’s electrical system can cause malfunctions.
- Brake System Problems: More serious problems within the brake system, such as issues with the ABS module, can also trigger the warning light.
Conclusion
Resetting your Mini Cooper’s brake pad warning light can be a straightforward process when done correctly. However, it’s crucial to remember that this is just a temporary fix. Always prioritize your safety by addressing the underlying issue promptly. Regular maintenance, including timely brake pad replacements and inspections, can help prevent unexpected warning lights and ensure optimal braking performance, keeping you and your Mini Cooper safe on the road.