The brake pressure warning switch in your 1991 Mazda 323 plays a critical role in your safety by alerting you to potential problems within the braking system. When functioning correctly, it illuminates a warning light on your dashboard if it detects a drop in brake fluid pressure, signaling a potential leak or other issue. Ignoring this warning could lead to brake failure and a dangerous situation. This article will guide you through understanding, diagnosing, and potentially fixing issues related to your Mazda 323’s brake pressure warning switch.
Understanding the Brake Pressure Warning Switch
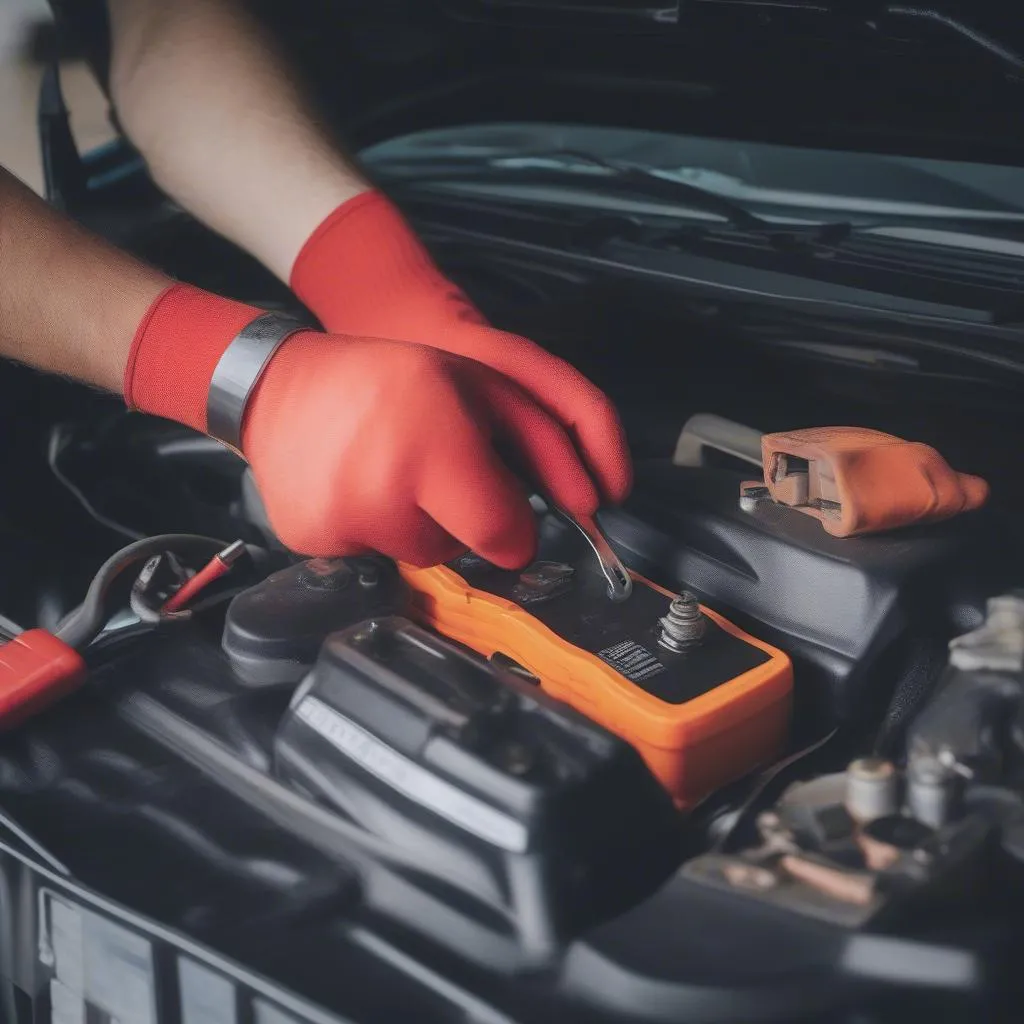
The brake pressure warning switch is typically located directly on the master cylinder, a vital component responsible for distributing brake fluid pressure to the wheels when you press the brake pedal. This switch acts as a safety net, monitoring the pressure within the brake lines.
Here’s how it works:
- Pressure Applied: When you engage your brakes, pressure builds within the system. As long as the pressure remains within a specific range, the switch remains open, and no warning light appears on your dashboard.
- Pressure Drop: If the switch detects a drop in brake fluid pressure below the designated threshold, it closes, completing a circuit that illuminates the brake warning light. This drop could indicate a leak in the brake lines, a malfunctioning master cylinder, or an issue with the switch itself.
Common Symptoms of a Faulty Brake Pressure Warning Switch
While an illuminated brake warning light is a clear indicator of a potential problem, other symptoms might point to a faulty brake pressure warning switch:
- Brake Warning Light Stays On: If the light remains illuminated even when the brake pedal isn’t pressed, it suggests a possible issue with the switch itself or the wiring connected to it.
- Intermittent Brake Warning Light: A flickering or intermittent warning light might signal a loose connection within the switch or wiring.
- No Brake Warning Light: While a lack of a warning light might seem positive, it can be dangerous if the switch fails. If you suspect a problem with your braking system but the warning light doesn’t activate, it’s crucial to have it inspected immediately.
Diagnosing the Problem: Is it the Switch or Something Else?
Before replacing the brake pressure warning switch, it’s vital to ensure it’s the root cause of the problem. Here’s a step-by-step guide to help you diagnose the issue:
-
Check Brake Fluid Level: Locate the brake fluid reservoir under the hood. Ensure the fluid level is between the minimum and maximum marks. Low brake fluid is a common indicator of a leak within the braking system.
-
Inspect for Leaks: Visually examine the brake lines, hoses, and connections around the master cylinder and wheels for any signs of leakage. Brake fluid is typically clear or slightly yellowish.
-
Test the Switch: If you don’t see any obvious leaks and the fluid level is adequate, the next step is to test the switch. This involves using a multimeter to check for continuity. If the multimeter shows continuity when the brake pedal is released and no continuity when pressed, the switch is likely functioning correctly.
Expert Insight: “Remember, a faulty brake pressure warning switch doesn’t always mean a leak. It could be a faulty sensor or wiring issue. A thorough diagnosis is crucial before any replacement.” – John Miller, Automotive Electrical Engineer
Replacing the Brake Pressure Warning Switch: A Step-by-Step Guide
If your diagnosis points to a faulty brake pressure warning switch, replacing it is a relatively straightforward procedure. Here’s how:
-
Gather Your Tools: You’ll need a new brake pressure warning switch (compatible with your 1991 Mazda 323), a wrench set, a container to catch brake fluid, and safety glasses.
-
Locate the Switch: As mentioned earlier, the switch is usually found on the master cylinder.
-
Disconnect the Negative Battery Terminal: This step is crucial to prevent any electrical shorts.
-
Remove the Electrical Connector: Gently disconnect the electrical connector attached to the switch.
-
Loosen and Remove the Switch: Using the appropriate wrench, carefully loosen and remove the old switch from the master cylinder. Be prepared for some brake fluid to leak out.
-
Install the New Switch: Thread the new switch into the master cylinder, ensuring it’s snug but not overtightened.
-
Reconnect the Electrical Connector and Battery: Reattach the electrical connector and reconnect the negative battery terminal.
-
Bleed the Brakes (If Necessary): If you lost a significant amount of brake fluid during the process, you’d need to bleed the brakes to remove any air bubbles in the system.
-
Test the New Switch: Turn on the ignition and press the brake pedal. The warning light should illuminate and then turn off when the pedal is released, confirming the new switch is working correctly.
Conclusion
Addressing a potential brake pressure warning switch issue is crucial for your safety on the road. By understanding how the system works, recognizing the symptoms, and following the steps outlined in this guide, you can ensure your 1991 Mazda 323’s braking system remains in optimal condition. Remember, if you are unsure about any step in the process, it’s always best to consult a qualified mechanic.