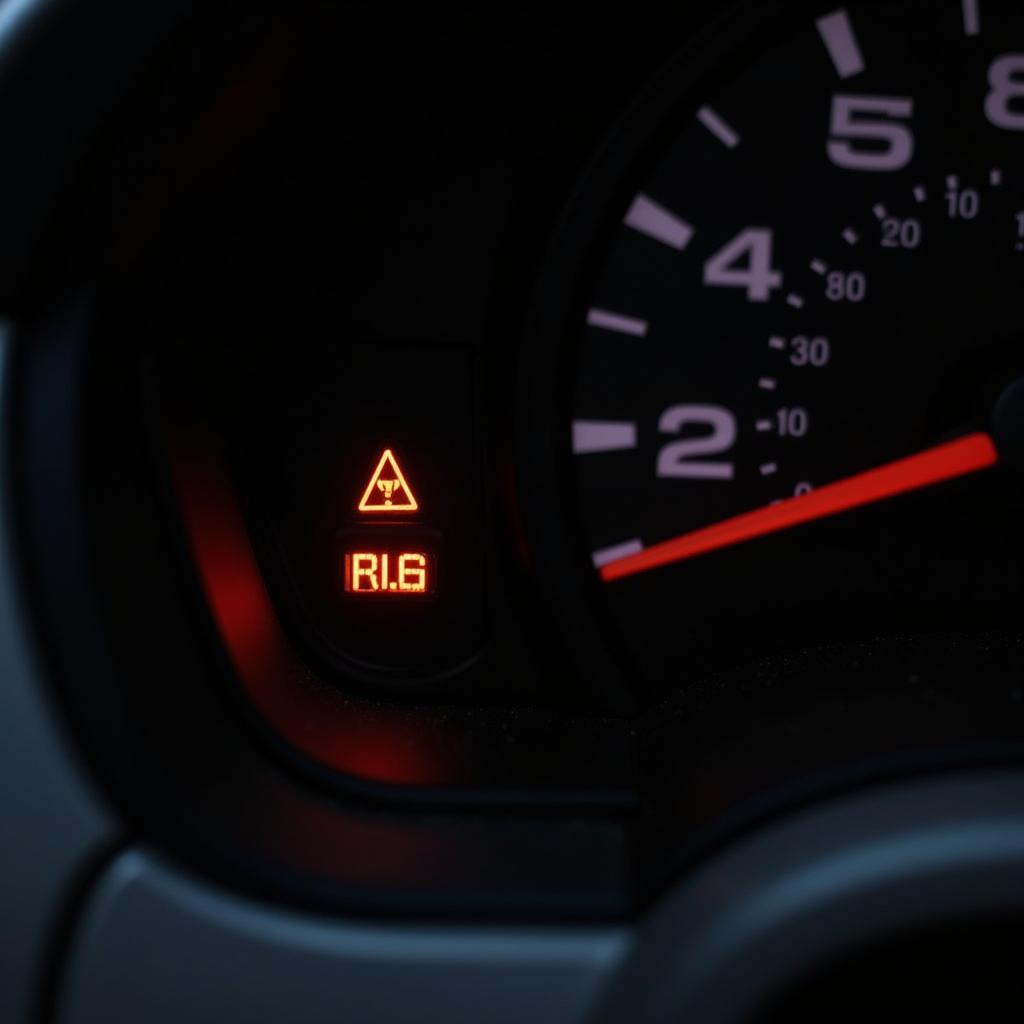
Encountering the dreaded “ER-825” error code on your dashboard can be a stressful experience. This code typically signals an issue with your Warner electric trailer brake system, specifically requiring a brake magnet replacement. While it may seem daunting, replacing the brake magnet isn’t as complicated as you might think. This guide will provide you with a step-by-step walkthrough, ensuring a smooth and successful replacement process.
Understanding the ER-825 Code and its Implications
Before diving into the replacement process, it’s crucial to understand what the “ER-825” code signifies. In essence, it indicates a malfunction within the brake magnet on your Warner electric trailer brake system. This system relies on electromagnetism to activate your trailer brakes when you apply your vehicle’s brakes.
The brake magnet plays a critical role in this process. When you hit the brakes, it receives an electrical signal, creating a magnetic field that pulls the brake shoes against the drum, effectively slowing down or stopping your trailer. When the magnet malfunctions, this crucial safety feature is compromised, necessitating immediate attention to ensure your and others’ safety on the road.
Identifying the Faulty Brake Magnet
Pinpointing the problematic brake magnet is the first step in the replacement process. Here’s how you can do it:
- Visual Inspection: Begin by visually inspecting each brake assembly on your trailer. Look for any signs of physical damage, such as cracks, burns, or loose wiring.
- Resistance Test: Using a multimeter, test the resistance of each brake magnet. Connect the multimeter probes to the magnet’s terminals and compare the readings to the manufacturer’s specifications. A significant deviation in resistance usually points to a faulty magnet.
- Professional Diagnosis: If you’re unsure or uncomfortable performing these checks yourself, it’s always best to seek professional assistance. A qualified mechanic or trailer specialist can accurately diagnose the issue and recommend the appropriate course of action.
Tools and Materials for the Replacement
Having the right tools and materials on hand will make the replacement process smoother. You will need:
- New Warner brake magnet: Ensure you purchase the correct model compatible with your specific trailer brake system.
- Jack and jack stands: Safely lift and support your trailer while working on the brakes.
- Lug wrench: Remove the lug nuts to detach the wheel and access the brake assembly.
- Socket set and wrenches: For disassembling and reassembling the brake components.
- Screwdrivers: For removing screws and prying components apart (if necessary).
- Brake cleaner: Clean the brake assembly before installing the new magnet.
- Shop rags: Wipe away dirt, grime, and excess brake cleaner.
- Safety glasses and gloves: Protect your eyes and hands during the process.
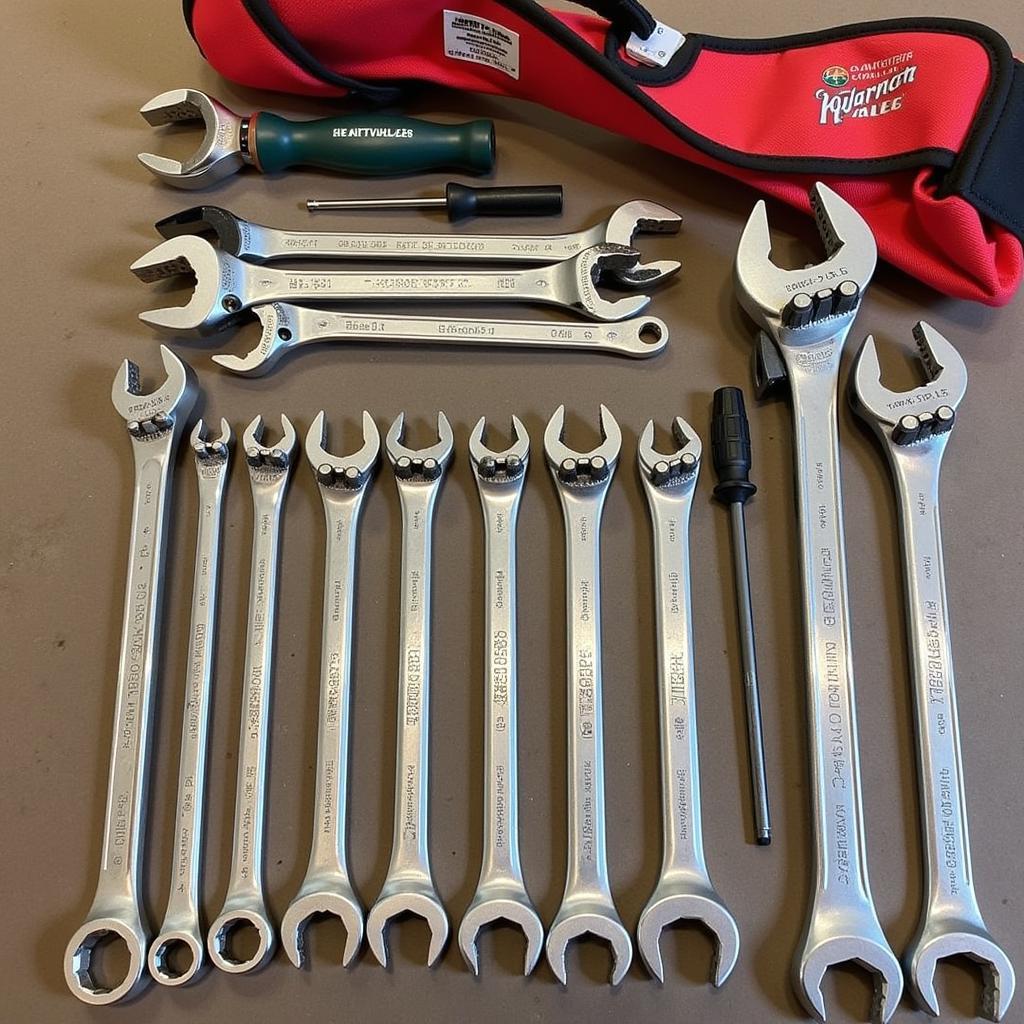 Tools and Materials for Warner Brake Magnet Replacement
Step-by-Step Guide to Replacing the Warner Brake Magnet
Now, let’s dive into the actual replacement process. Remember, safety is paramount throughout this procedure.
- Prepare your workspace: Find a level, well-lit area and ensure your trailer is properly hitched to your vehicle for added stability.
- Chock the wheels: Securely chock the trailer wheels that will not be removed to prevent any unexpected movement.
- Lift and secure the trailer: Using the jack, lift the side of the trailer with the faulty brake magnet, ensuring it’s high enough for you to work comfortably. Place jack stands under the trailer frame for safety and stability.
- Remove the wheel: Loosen the lug nuts on the wheel with the faulty magnet using the lug wrench. Once loosened, completely remove the lug nuts and take the wheel off.
- Access the brake assembly: With the wheel removed, you’ll see the brake assembly behind the hub.
- Disconnect the wiring: Carefully disconnect the wires connected to the old brake magnet. Remember their positions for reconnecting the new magnet later.
- Remove the old magnet: Depending on your specific brake assembly, you may need to remove a retaining clip or screws to detach the old magnet.
- Install the new magnet: Align the new magnet with the mounting points and secure it using the retaining clip or screws.
- Reconnect the wiring: Connect the wires to the new magnet, ensuring they match the positions from the previous connection.
- Reassemble the brake assembly: If you had to disassemble any other components, reassemble them in reverse order, ensuring all parts are properly secured.
- Reinstall the wheel: Put the wheel back onto the hub and hand-tighten the lug nuts.
- Lower the trailer: Use the jack to lower the trailer slightly and fully tighten the lug nuts in a star pattern to ensure even pressure.
- Repeat for other faulty magnets: If you identified multiple faulty magnets, repeat steps 3-12 for each one.
- Test the brakes: Once all replacements are complete, reconnect the trailer to your vehicle and test the brakes in a safe environment to ensure they are functioning correctly.
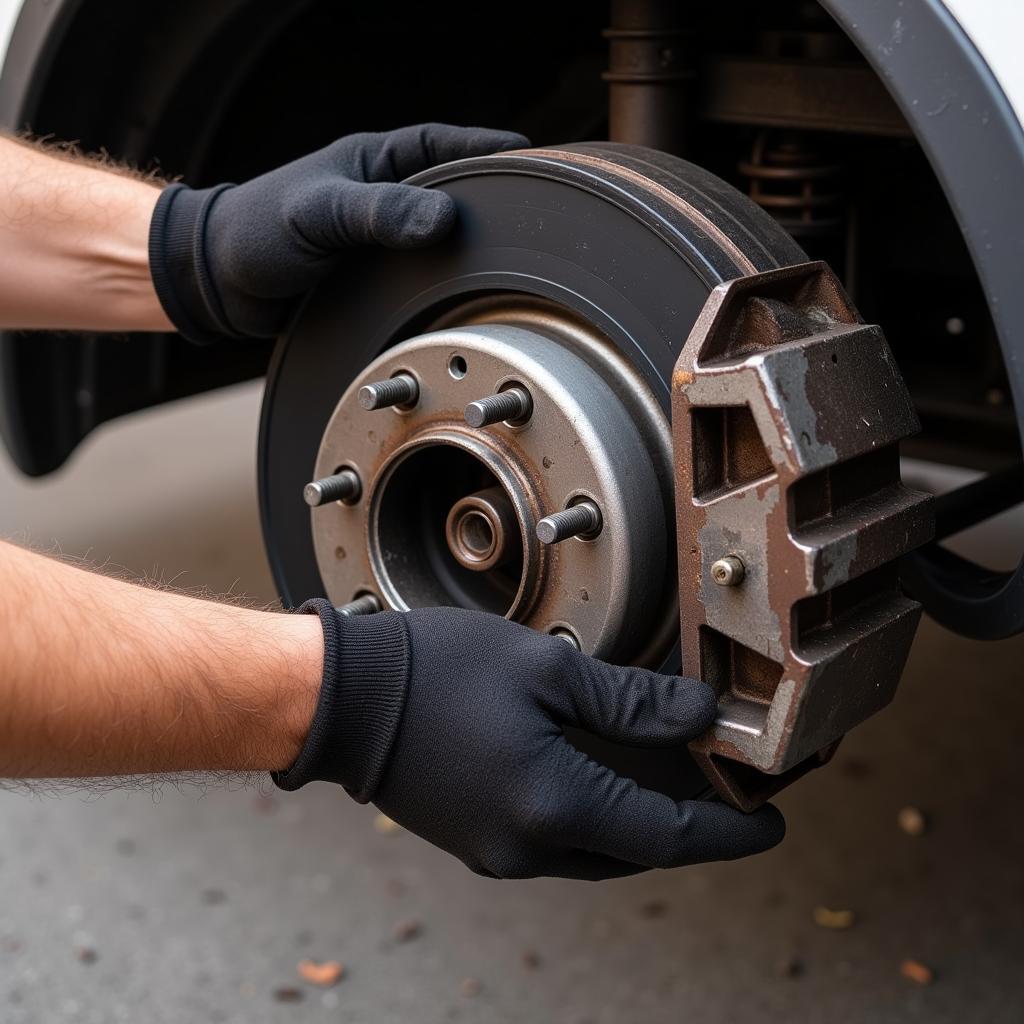
 Installing the new Warner brake magnet
Common Mistakes to Avoid
While the replacement process is relatively straightforward, here are some common pitfalls to avoid:
- Using incompatible parts: Always double-check that the new brake magnet matches your trailer’s specifications.
- Overtightening fasteners: Use a torque wrench to tighten all fasteners to the manufacturer’s specifications to prevent damage.
- Incorrect wiring: Ensure the wiring is connected correctly to avoid brake malfunction.
- Neglecting brake adjustments: After replacing the magnet, adjust the brakes according to your trailer’s manual to ensure optimal performance.
When to Seek Professional Help
While replacing a Warner brake magnet is achievable for DIY enthusiasts, there are instances when seeking professional help is advisable:
- Lack of experience: If you’re uncomfortable working with trailer brakes, it’s best to leave it to the professionals.
- Complex brake systems: Some brake systems can be more intricate and require specialized knowledge.
- Underlying issues: If the “ER-825” code persists after replacing the magnet, there might be other underlying electrical problems that require professional diagnosis and repair.
Maintaining Your Trailer Brakes: Tips for Longevity
Regular maintenance is key to ensuring the longevity and optimal performance of your trailer brakes. Here are some tips:
- Regular inspections: Inspect your trailer brakes regularly, especially before long trips. Look for any signs of wear and tear, damage, or loose connections.
- Cleaning and lubrication: Periodically clean your brake assemblies with brake cleaner and lubricate moving parts according to your trailer’s manual.
- Timely replacements: Don’t delay replacing worn-out brake components, including brake shoes, drums, and magnets.
- Professional service: Consider scheduling annual professional inspections and servicing to ensure your trailer brakes are in top condition.
 Regular inspection of trailer brakes
Conclusion
A malfunctioning brake magnet can be a safety hazard. By following the steps outlined in this guide, you can confidently replace the Warner brake magnet on your trailer, ensuring a safe and enjoyable towing experience. Remember, prioritizing safety and seeking professional help when needed will always be the most prudent course of action.